
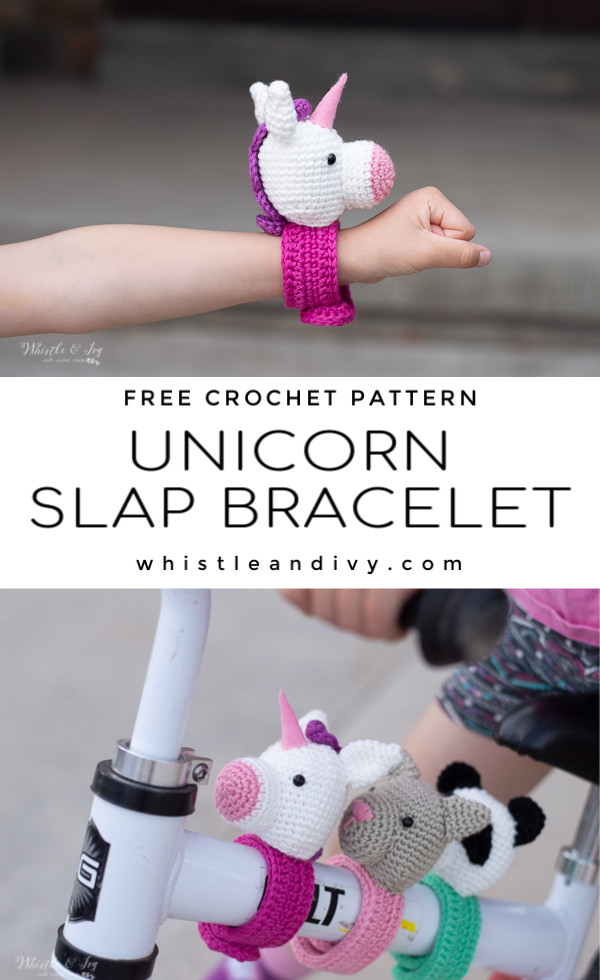
Looking for a fun crochet toy for the kiddos? This darling crochet unicorn slap bracelet is the answer! Take a regular slap bracelet and add some crochet to make it a treasured toy. Wear in on the wrist or slap it to bike handlebars. Take this little crochet unicorn bracelet everywhere!
This post also contains affiliate links, which means I get a small commission at no extra cost to you. Thank you for your support!
My second is obsessed with magical creatures, and of course she is especially enamored with unicorns (as is the rest of society!). Surprisingly, I don’t have any unicorn projects on my blog, but I am definitely taking the opportunity to fix that today.
I don’t know how I thought of this crochet unicorn slap bracelet buddy, but it turned out quite cute. Hubs had the idea to put it on the body of her bike and she absolutely loved the idea. Isn’t it brilliant?

They are fun to put on bike handlebars as well as wrists and I think there are probably even more ways to use them. I will have to observe Sis and she what she does and share with you. Kids are the must creative of all the humans!


I SEE YOU, BUSY MAKER
You’re tired of sifting through complicated tutorials and daunting patterns that leave you feeling overwhelmed.
Let me help.
Picture this:
🧶 Joining a thriving community of fellow crocheters who share your passion.
📚 Access to our ENTIRE library of patterns that will buildsyour confidence.
🎁 Gifting handcrafted treasures to be cherished by your loved ones.
🌟 Modern, easy-to-follow patterns that will leave you feeling accomplished.
It’s time to make your crafting experience as joyful as it should be. We can’t wait to meet you!
CROCHET UNICORN SLAP BRACELET BUDDY – FREE CROCHET PATTERN
Please remember: You are free to use this pattern to make and sell, but do not republish or distribute this pattern in any way. DO NOT use my photos in your listings. Please do share my blog links! It’s a quick and FREE way of supporting Whistle and Ivy and more free crochet patterns in the future.
PLEASE read my Disclaimer before working my free patterns!
What you need: (affiliate links)
– 3.75mm Hook
– Shine Sport Yarn
– 6mm Safety Eyes
– Silicone Slap Bracelets
– Polyfil
– Darning Needle
Abbreviations: US Terms
Ch – chain
Sc – single crochet
Dc – Double Crochet
Hdc – Half Double Crochet
Sl st – Slip Stitch
St – stitch

READY TO MAKE YOUR CROCHET SLAP BRACELETS?
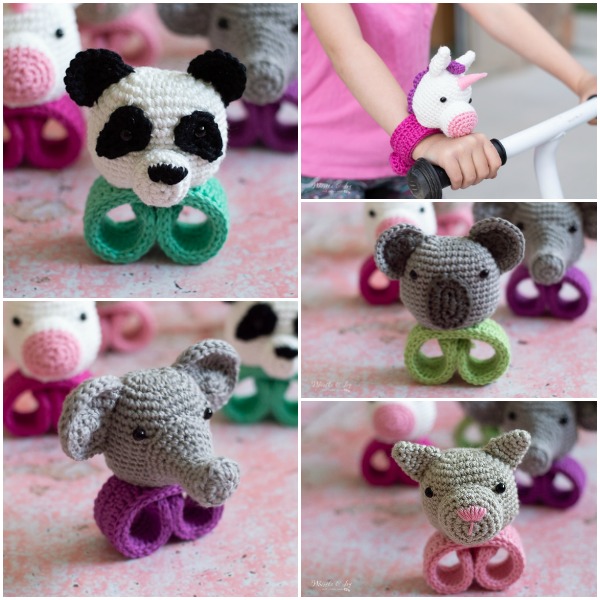
The free pattern includes the cute crochet unicorn slap bracelet buddy. Four additional animals are included in the PDF download (Panda, Cat, Elephant, and Koala) You can get it in my shops:
Gauge: not important, just make sure your stitches are tight. Mind the sizing for the bracelet part and adjust your hook accordingly.
Notes: Always begin the round by working the first st in the same st as the chain. Always join each round with the first st, not the beginning ch.
I recommend getting the bracelets I used. For one, I am very pleased with the quality. I ordered a couple different ones to compare and these were my favorite. I also found that though the silicone doesn’t slide in the crochet casing easily, it stays put once it’s there, so it lends itself to the longevity of your crochet unicorn bracelet. If you decide to go rogue, please find bracelets that are the same size, about 8 1/2″ long and 1″ wide, otherwise you will need to re-design the bracelet casing to fit your bracelets.
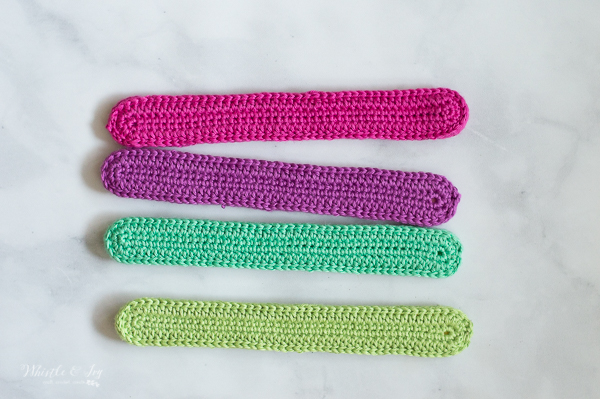
BRACELET: (Make 2)
Ch 44 (should be 7 1/2” long, adjust your hook to achieve this measurement)
1. Work 2 sc in 2nd ch from hook. Sc in next 41 sts. Work 4 sc in last ch. Working across the other side of the chain, sc in next 41 chs. Work 2 sc in last ch (same ch as the first 2 chs). Join with first st. (90 sts)
2. Ch 1. Work 2 hdc in next 2 sts. Hdc in next 41 sts. Work 2 hdc in next 4 sts. Hdc in next 41 sts. Work 2 hdc in next 2 sts. Join with sl st. (98 sts)
Don’t tie off the second piece.
SLAP BRACELET CONSTRUCTION:
Line the two sides up, wrong sides together. Using the loop on the connected side, sl st all around the bracelet, leaving about 3-4″ unstitched. Slide the slap bracelet through the opening. The coating on the outside will not let is slide smoothly, but work it in slowly and make sure it’s all the way to the bottom. Once the bracelet is inserted, you can finish slip stitching all around the bracelet.
Tie off.
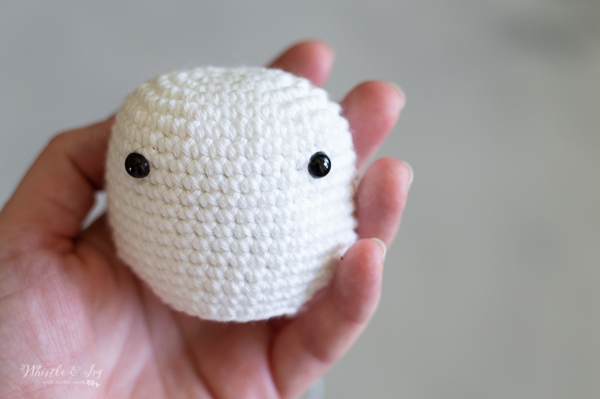
HEAD:
Always work the first st in the same st as the chain. Always join to the first sc, not the beginning ch)
Ch 5
1. Work 2 sc in 2nd ch from hook. Sc in next 2 chs. Work 4 sc in last ch. Sc in next 2 chs. Work 2 sc in last ch (same ch as the first 2 sts) Join. (12 sts)
2. Ch 1. Work 2 sc in next 2 sts. Sc in next 2 sts. Work 2 sc in next 4 sts. Sc in next 2 sts. Work 2 sc in next 2 sts. Join. (20 sts)
3. Ch 1. *Sc in next st. Work 2 sc in next st* work twice. Sc in next 2 sts. *Sc in next st. Work 2 sc in next st* work 4 times. Sc in next 2 sts. *Sc in next st. Work 2 sc in next st* work twice. Join. (28 sts)
4. Ch 1. *Sc in next 2 sts. Work 2 sc in next st* work twice. Sc in next 2 sts. *Sc in next 2 sts. Work 2 sc in next st* work 4 times. Sc in next 2 sts. *Sc in next 2 sts. Work 2 sc in next st* work twice. Join. (36 sts)
5. – 13. Ch 1. Sc in each st around. Join (36 sts)
14. Ch 1. Sc2tog. Sc in next 14 sts. Sc2tog twice. Sc in next 14 sts. Sc2tog. Join. (32 sts)
15. Ch 1. Sc in each st around. Join (32 sts)
16. Ch 1. Sc2tog. Sc in next 12 sts. Sc2tog twice. Sc in next 12 sts. Sc2tog. Join. (28 sts)
17. Ch 1. Sc2tog. Sc in next 10 sts. Sc2tog twice. Sc in next 10 sts. Sc2tog. Join. (24 sts)
Leave a long tail.
(the bottom will not be closed up)
NOSE:
Using Blush, Begin with a magic ring
1. Work 3 sc, 2 dc, 3 sc, 2 dc into ring. (10 sts) Join.
2. Ch 1. Sc in next 3 sts. Work 2 sc in next 2 sts. Sc in next 3 sts. Work 2 sc in next 2 sts. Join. (14 sts)
3. Ch 1. Sc in next 4 sts. Work 2 sc in next 2 sts. Sc in next 5 sts. Work 2 sc in next 2 sts. Sc in next st. Join. (18 sts)
4. Ch 1. Sc in next 3 sts. *Sc in next st. Work 2 sc in next st* work 3 times. Sc in next 3 sts. *Sc in next st. Work 2 sc in next st* work 3 times. Join (24 sts)
Join white.
5. – 8. Ch 1. Sc in each st around. Join. (24 sts)
Leave a long tail.
EARS:
Using White, Begin with a magic ring
1. Ch 1. Work 5 sc into ring. Join. (5 sts)
2. Ch 1. Sc in each st around. Join. (5 sts)
3. Ch 1. Work 2 sc in same st. Sc in next st. Work 2 sc in next st. Sc in next 2 sts. Join. (7 sts)
4. Ch 1. *Sc in next st. Work 2 sc in next st* Work 3 times. Sc in last st. Join. (10 sts)
5. Ch 1.* Work 2 sc in next st. Sc in next 2 sts* Work 3 times. Work 2 sc in last st. Join. (14 sts)
6. – 9. Ch 1. Sc in each st around. Join. (14 sts)
10. Ch 1. *Sc2tog. Sc in next st* Work 3 times. Sc2tog. Join. (7 sts)
Leave a long tail.
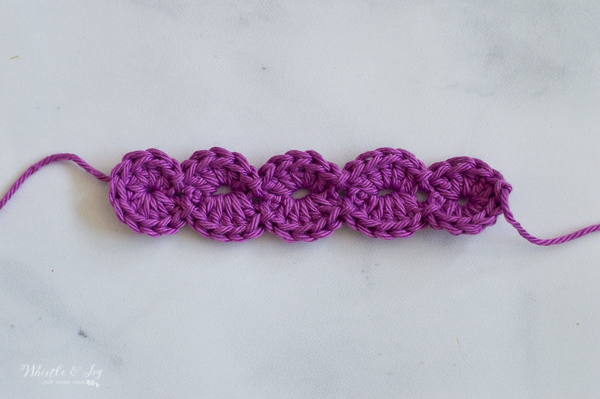
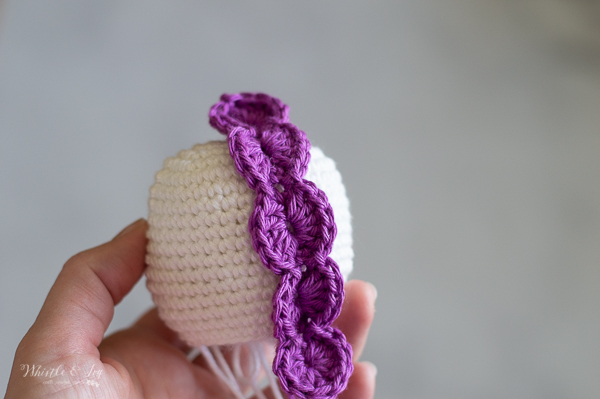
MANE:
Using Crocus, Ch 27.
1. Work in the back loops of the chain: Work 5 dc into 3rd ch from hook. Sk 2 chs. Sl st in next ch. Sk 2 chs. *Work 5 dc in next ch. Sk 2 chs. Sl st in next ch. Sk 2 chs.* work 3 times. Sk 2 chs. Work 10 dc in last ch.
Working across the opposite side of the chain: *Sk 2 chs. Sl st in next ch. Sk 2 chs. Work 5 dc in next ch (same sp as the 5dc from other side of chain).* work 3 times. Sk 2 chs. Sl st in next ch. Work 5 dc in last ch (same sp as first 5 dc).
Join with first dc. Leave a long tail.
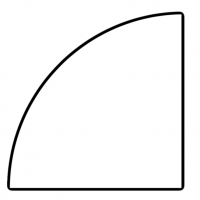
HORN TEMPLATE:
CONTRUCTION:
Place safety eyes between rows 7 and 8, about 3 sts in from either side, and about 9 sts apart. Stuff firmly.
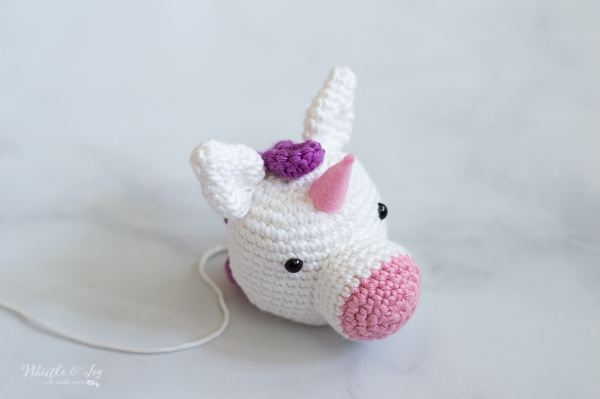
Sew nose in between the eyes, below row 6. Using the tail to sew in place.
Sew ears at the top of the head, starting on row 3 and across to row 6. Pin the bottoms very slightly when sewing them, this helps give them a better shape and makes them stand upward easier.
Sew the mane, exactly in the middle of the two ears. Only sew down the middle of the mane, so the sides pop up. The bottom will hang past the head slightly.
Use the horn template to cut the shape into a piece of brightly colored felt. Heat up your hot glue gun and run a small line of glue along one side. Roll the piece into a cone shape. (cut a few, it takes a couple tries to get the shape right!)
hom
Let it cool. Run a thick line of glue around the bottom of the cone. Press it firmly in the middle of the head, directly below the front of the main. Hold it firmly in place until the glue cools.
CONSTRUCTION:
You can attach the head to the bracelet in two ways:
1. Sewing
Pin the head in place. It should be oblong, pinch it slightly so its width matches the width of the bracelet. Pin in place. Using the tail on the head, sew the head to the top layer of the bracelet. Make sure you sew it so the bracelet folds down and under the head.
2. Hot Glue
Run a line of hot glue around the bottom of the head. Try to keep it on the back loop of the last round, so glue doesn’t squish out and become visible.
Press the head slightly oblong with your fingers, so the width of the head matches the width of the bracelet.
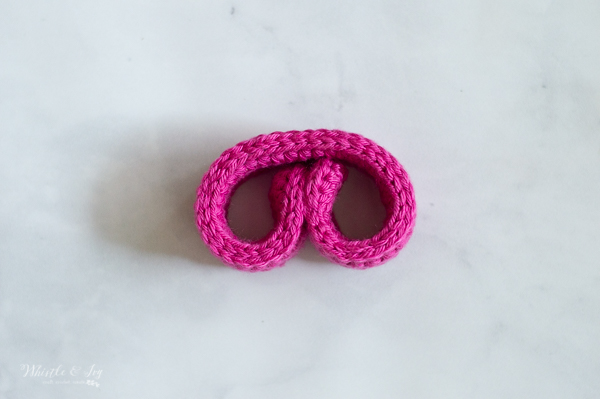
Tip: to help make sure it’s centered, fold the bracelet into a “B” shape before pinning or gluing.
These were so much fun to make. After the fact, my kids had a whole bunch of new animal ideas, so I might have to make a second pattern pack to include them all.
After the unicorn, I think the panda was my favorite. 🐼
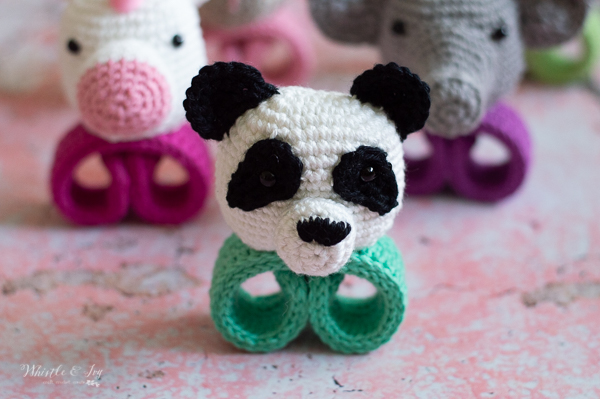
You can get all five animal patterns in my shop: Etsy — Ravelry — W&I Shop and it’s included in the Endless Bundle All Access Pass!
Enjoy your crochet time ❤️
xoxo,


Love this pattern!Thank you!
Thanks Mindy!
I like to a video on this …sometimes it’s hard for me to read patterns
I am so sorry Gail, I don’t have a video!