We are sharing a fabulous post update to our Winter Tree Stripe Hotpad! Cheryl Rumble in the Daisy Farm Crafters Group turned this into a beautiful Christmas-themed blanket. All the details on how to use the tree graph and turn it into a blanket design is at the end of the post. Keep scrolling to see her blanket photos too!
XO, Tiffany
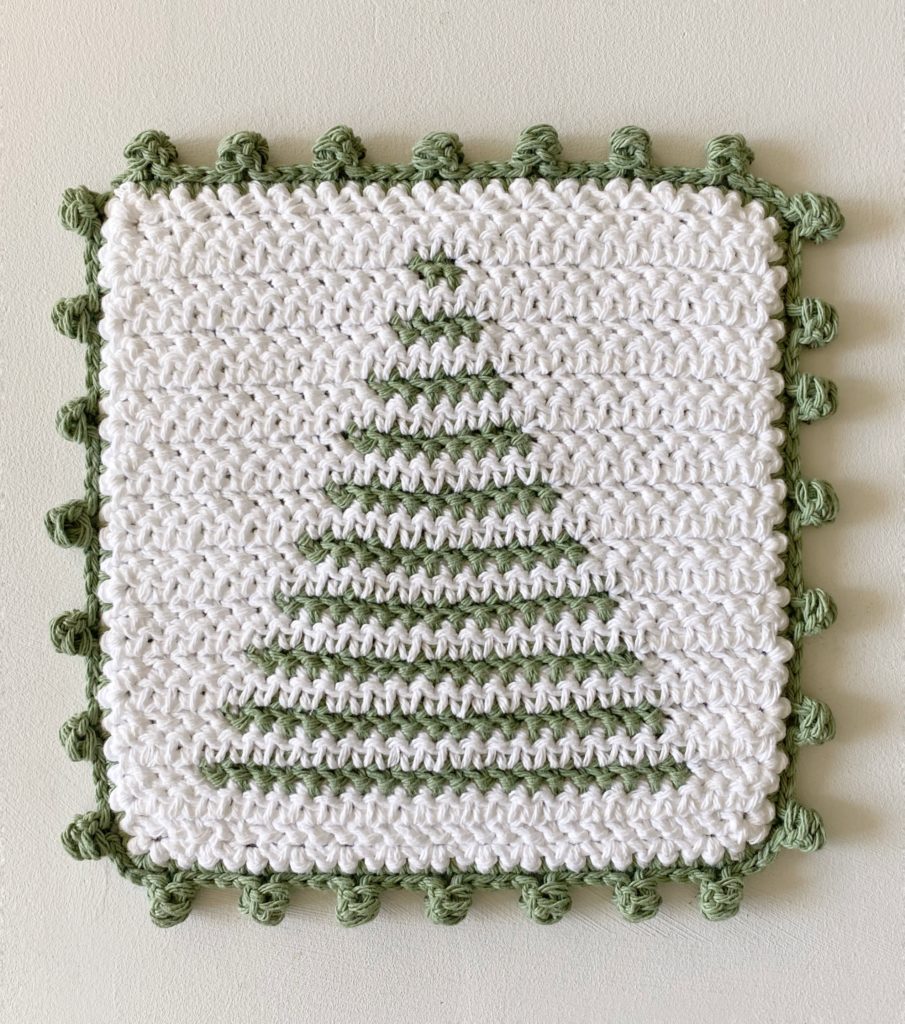
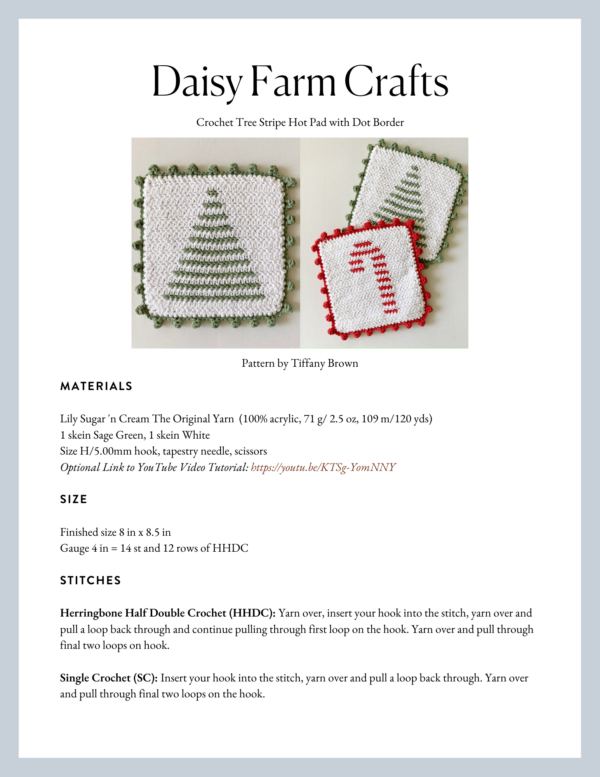
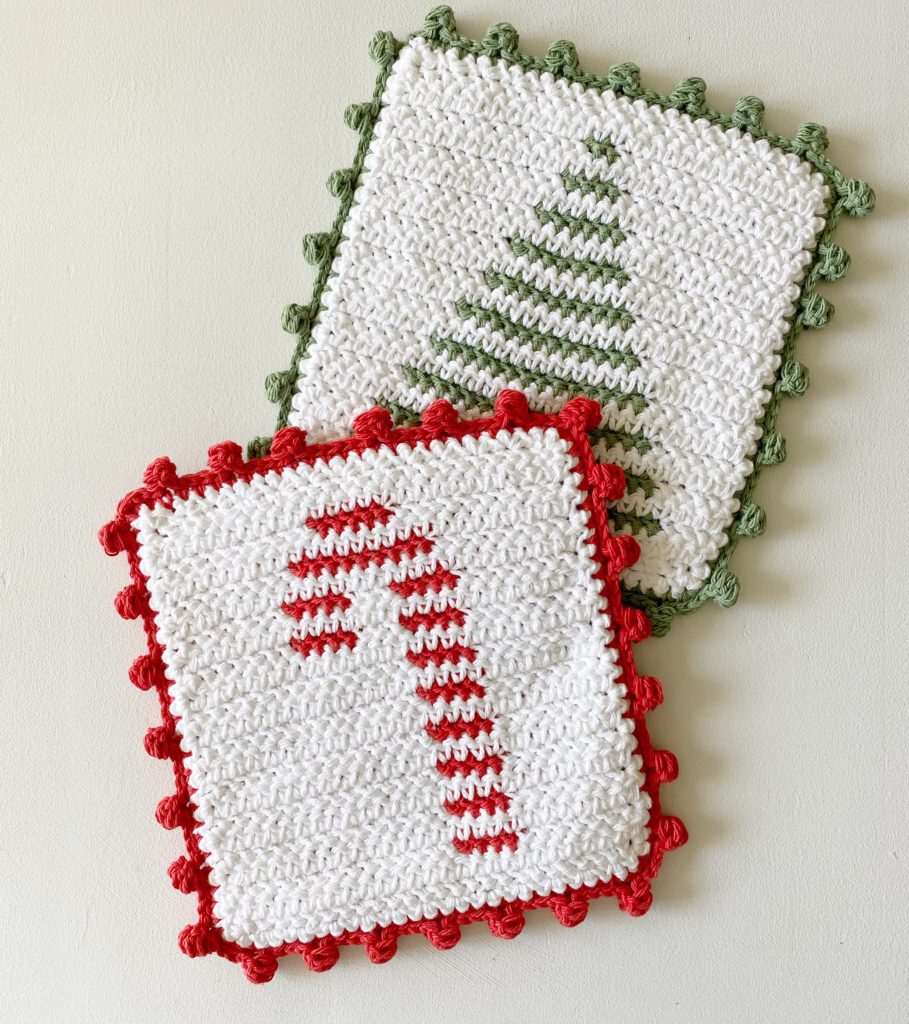
How about adding a few dots around the edge for this cute update of our Winter Tree Stripe Hotpad? It also has a Candy Cane companion.
Materials
Lily Sugar ‘n Cream The Original Yarn (100% cotton, 71 g/ 2.5 oz, 109 m/120 yds)
1 skein Sage Green, 1 skein White
Size H/5.00mm hook, tapestry needle, scissors
Size
Finished size 8 in x 8.5 in
Gauge 4 in = 14 st and 12 rows of HHDC
Stitches
Herringbone Half Double Crochet (HHDC): Yarn over, insert your hook into the stitch, yarn over and pull a loop back through and continue pulling through first loop on the hook. Yarn over and pull through final two loops on hook.
Single Crochet (SC): Insert your hook into the stitch, yarn over and pull a loop back through. Yarn over and pull through final two loops on the hook.
Dot: *Yarn over and insert hook into first chain, yarn over and pull a loop back through. Repeat from * 3 more times. Yarn over and pull through all loops on hook.
Pattern
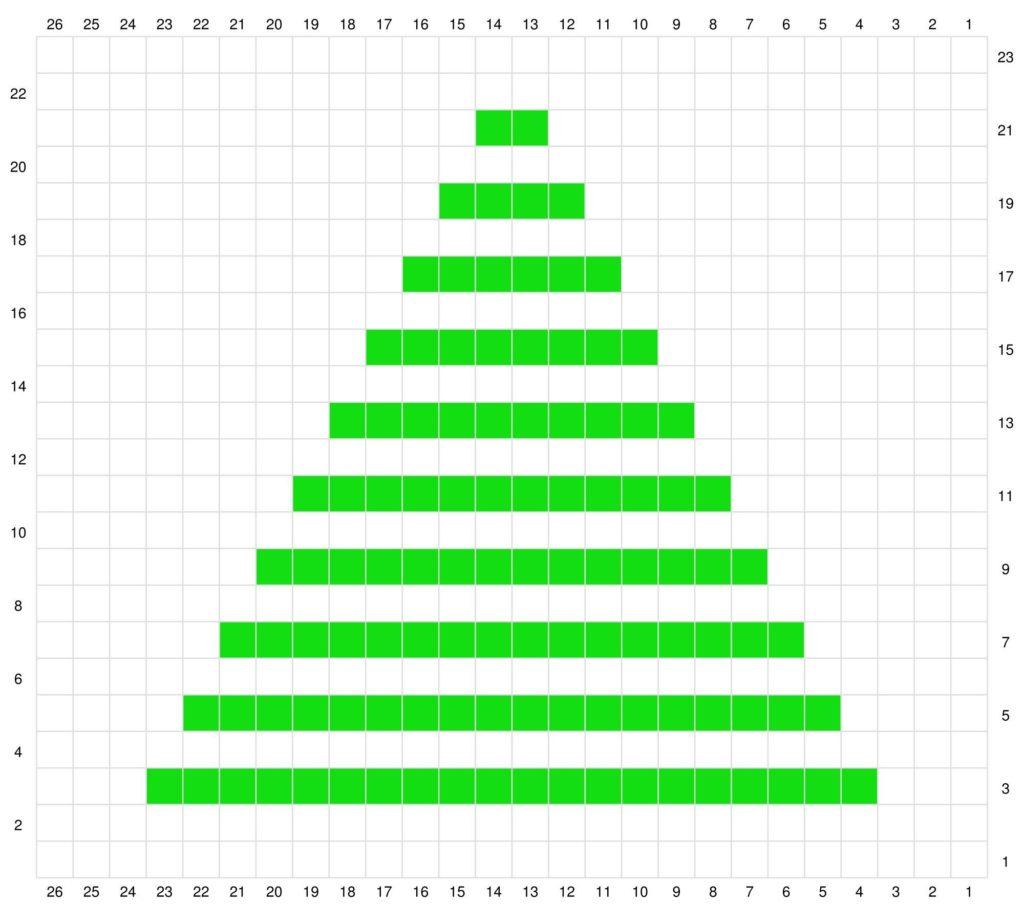
Print the graph linked below. The graph is read as odd rows right to left, the even rows are left to right. (All color changes happen on odd rows.)
Chain 28 with White.
Row 1: Work 1 HHDC in the third chain from the hook. Work 1 HHDC in each chain across the row. CH 2 and turn. (26 HHDC)
Row 2: Work 1 HHDC into the first stitch, (the turning chain does not count as a stitch.) 1 HHDC in each stitch across the row. CH 2 and turn.
Row 3: 1 HHDC in the first 3 sts in White, change to Sage Green, 1 HHDC in each of the next 20 stitches, (crochet over the white tail, laying it across the row as you work the green stitches) change to white, (leave the green tail behind, do not cut or crochet over it.) 1 HHDC in each of the remaining 3 sts. CH 2 and turn.
Row 4 and all Even Rows Going Forward: Repeat Row 2.
Row 5: 1 HHDC in each of the first 4 sts in White, change to Sage Green, 1 HHDC in each of the next 18 stitches, change to White, 1 HHDC in each of the remaining 4 sts, CH 2 and turn.
Row 7: HHDC in each of the first 5 sts in White, change to Sage Green, 1 HHDC in each of the next 16 sts. Change to Whtie, HHDC in each of the remaining 5 sts. CH 2 and turn.
Row 9: HHDC in each of the first 6 sts in White, change to Sage Green, 1 HHDC in each of the next 14 sts. Change to White, HHDC in each of the remaining 6 sts. CH 2 and turn.
Row 11: HHDC in each of the first 7 sts in White, change to Sage Green, 1 HHDC in each of the next 12 sts. Change to White, HHDC in each of the remaining 7 sts. CH 2 and turn.
Row 13: HHDC in each of the first 8 sts in White, change to Sage Green, 1 HHDC in each of the next 10 sts. Change to White, HHDC in each of the remaining 8 sts. CH 2 and turn.
Row 15: HHDC in each of the first 9 sts in White, change to Sage Green, 1 HHDC in each of the next 8 sts. Change to White, HHDC in each of the remaining 9 sts. CH 2 and turn.
Row 17: HHDC in each of the first 10 sts in White, change to Sage Green, 1 HHDC in each of the next 6 sts. Change to White, HHDC in each of the remaining 10 sts. CH 2 and turn.
Row 19: HHDC in each of the first 11 sts in White, change to Sage Green. 1 HHDC in each of the next 4 sts. Change to White, HHDC in each of the remaining 11 sts. CH 2 and turn.
Row 21: HHDC in each of the first 12 sts in White, change to Sage Green. 1 HHDC in each of the next 2 sts. Change to White, HHDC in each of the remaining 12 sts. CH 2 and turn.
Rows 22-23: With White work 2 rows of all HHDC. Always CH 2 and turn. Don’t cut White, continue to border.
Border:
CH 1 and turn. Work 1 SC in the first stitch. *Skip the next st, work 2 SC into the next st. Repeat from * across the top, work 3 SC into the corner. Rotate the hot pad and work the side by working 2 SC around the chain 2 turning chains only. Work 3 SC into the corner. Rotate the hot pad and work across the bottom of starting chain by working 2 SC into the first space, skipping the next and working 2 SC into the next.
Work 3 SC into the corner, rotate the hot pad one last time to work the final side in the same manner as the first. Only work 2 SC around the chain 2 turning chains. Work 2 SC into the final corner and join with a slip stitch to the first stitch of the round. Tie off and weave in all the ends.
Back of Hot Pad:
Chain 28 with Sage Green.
Row 1: Begin in the 3rd chain from the hook with 1 HHDC. HHDC in each chain across the row. Chain 2 and turn.
Row 2 – 23: Work HHDC in each stitch, chain 2 and turn.
Border:
Work in the same manner as above, except don’t tie off, you’ll use Sage Green to SC the two squares together.
Attaching the squares together:
With the Winter Tree right side facing you, place the green square behind. Take your hook out of the green loop, insert it through the white corner, then grab the loop and pull through. Yarn over and pull through slip stitching the two together.
Now work SC under each color of stitches, joining them together. Work 3 SC in each corner. In the final corner, work 3 SC and join with a slip stitch to the first SC. Do not turn.
Dot Border:
**Chain 2.
In the first chain, *yarn over and insert your hook, yarn over and pull up a loop. Repeat from * 3 more times. Yarn over and pull through all loops on your hook. Slip stitch into the stitch just below the chain 2 to secure the puff. Slip stitch into each of the next 4 sts.
Repeat from ** around. Join with a slip stitch to the first st, tie off and weave in all ends.
click here or on the image below for printable graph
POST UPDATE:
A crochet friend in the Daisy Farm Crafters Group has turned this pattern into a full size blanket!
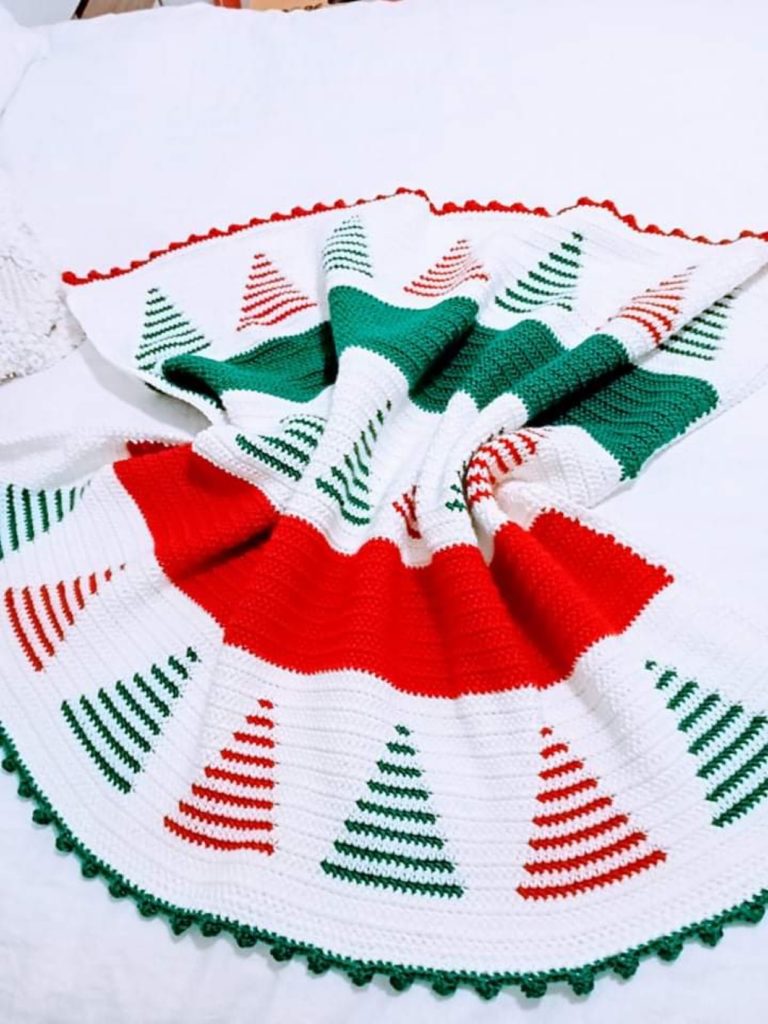
This is the work of Cheryl Rumble. She shared her blanket in the group and many people requested the pattern. So here’s all you need to do:
Repeat the graph 7 times. The pattern repeat is 26 plus 2. So multiply 26 x 7 = 182 plus 2 = 184 for your starting chain. (You could also use 26 x 5 plus 2 if you wanted a smaller blanket)
Then add 18 rows of color and repeat the graph. Add 18 rows of color, repeat the graph one more time and then add the pom pom border across the bottom and the top.
(Cheryl only worked 14 rows of color but now that it’s finished she wished she would have added a few more rows to lengthen the blanket so we’ve adjusted the rows of color to 18.)
(The blanket size of Cheryl’s is 38 wide by 31 high, so adding in the extra rows of color will help to square the blanket up. We also realized that she also made her tree’s 2 rows smaller or starting on row 7 of the graph. If you make the full-size tree the extra rows of color probably won’t be needed.)
You’ll also want to use any 4 weight yarn.
Here’s how she worked the color changes through the tree portion:
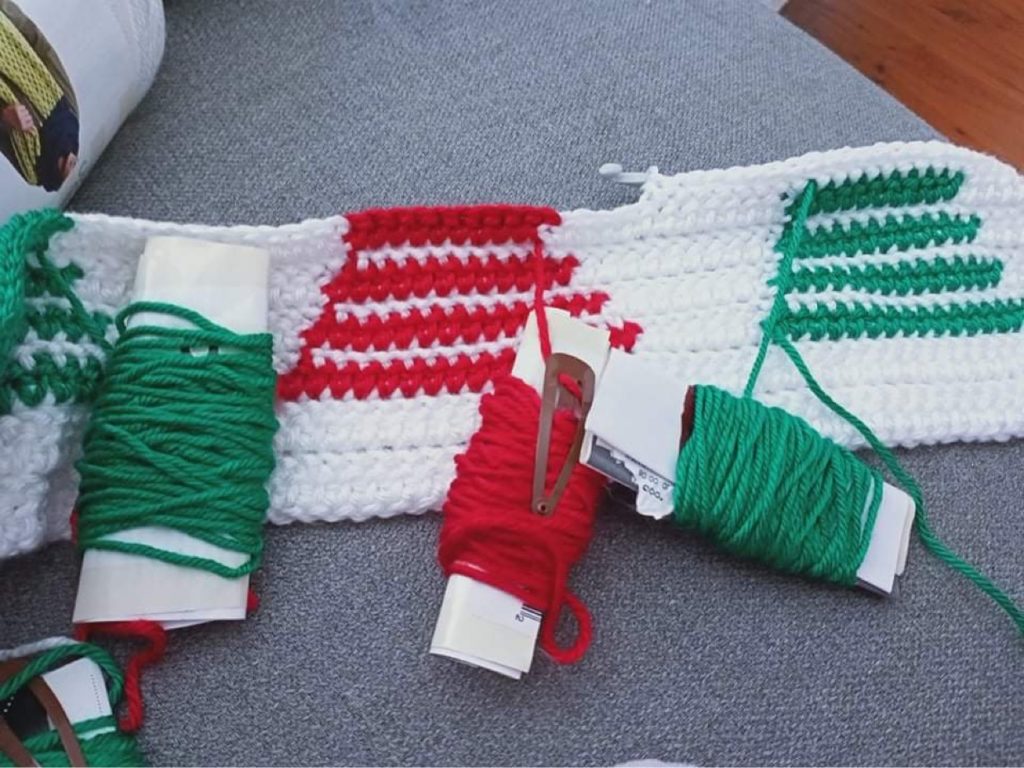
She used bobbins of yarn so she could drop the color and then pick it back up when she needs it. You’ll need to make these ahead of time but it looks like she just wrapped them around yarn labels. This also is a view of what the back looks like. The tree will have a thicker look on one side.
I encourage you to work the hot pad first and then you’ll know what both sides of the blanket could look like. And also to measure and estimate the size of the blanket according to the yarn you choose to use.
Here’s one more photo of her beautiful blanket:
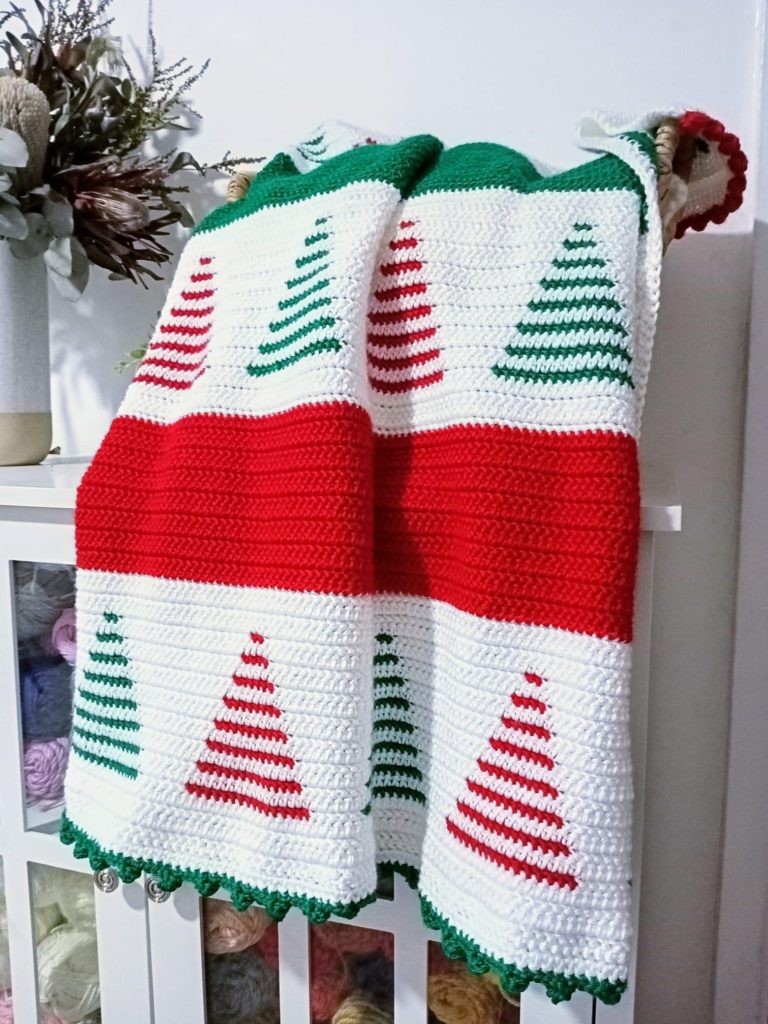
Thank you Cheryl for sharing your vision of the hot pad and turning it into a blanket! So clever and we really are so in love!
XO, Tiffany
Click here or on image below for printable pattern