The Thistle Throw
Do you like crocheting quick and easy blankets? I do! They are one of my favorite things to do when I want a mindless project to work on. The Thistle Throw is the perfect size so that it doesn’t take too long to finish but it’s still looks great thrown on the back of a couch!
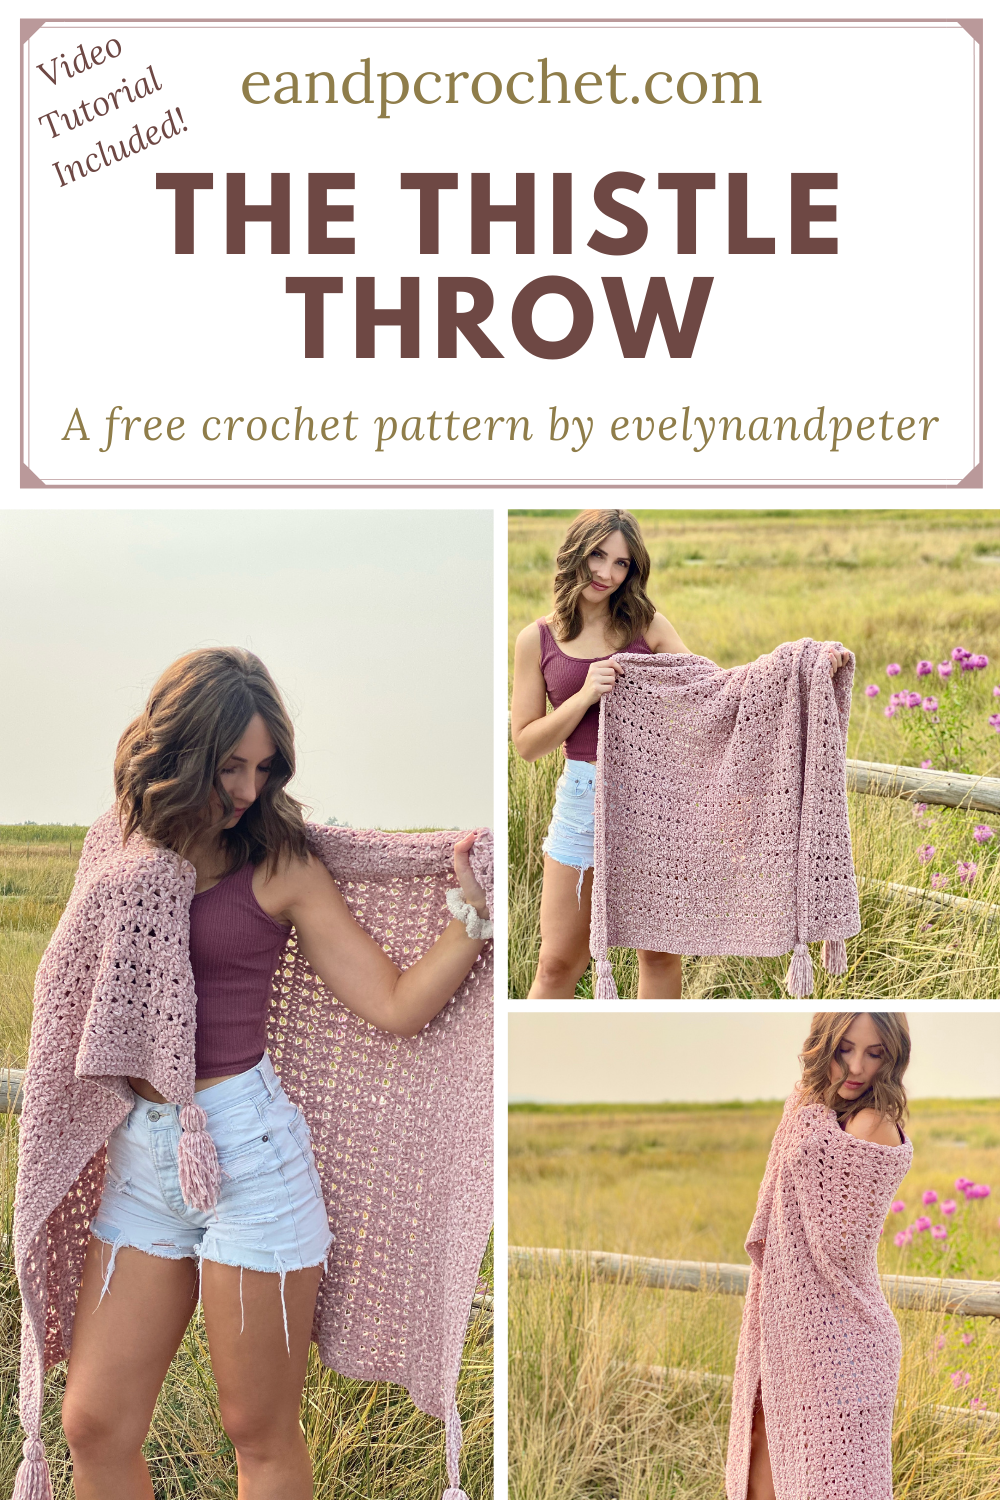
The Thistle Throw is worked from the bottom up, with a fun row repeat! It’s made entirely of double crochet and chain stitches, so it’s perfect for beginners.
The Vel-Luxe yarn is super soft and easy to work with. I used the Dusty Pink color and think it’s beautiful! They have lots of other colors to chose from as well.
I know that you guys have been loving the video tutorials that i’ve been including with my new designs and The Thistle Throw has one too! I’ll walk you through step by step on how to make the blanket, the border and the tassels! Be sure to check it out and subscribe!
Links:
-
The Thistle Throw is available as a kit with Lion Brand! The kit comes with all the yarn you need to make your blanket + the pdf digital download of the pattern. You can even customize your yarn color!
-
I have a full video tutorial of The Thistle Throw on my YouTube Channel!
-
The Thistle Throw is available as a low cost ad-free printable PDF in my Etsy shop and Ravelry shop.
Description:
Wrap yourself up in this cozy velvet throw for ultimate comfort! It has open stitching for a delicate lace look. The easy row repeat is perfect for beginners or those looking for a quick and satisfying blanket!
Materials:
-
Worsted Weight (4) Yarn, Vel-Luxe in “Dusty Pink” (5 skeins- 1,175 yards)
-
I/5.5mm Crochet Hook
-
Yarn Needle
-
Scissors
-
Stitch Markers (4)
Gauge:
4X4”= 12 Dc by Rows 1-6 of pattern.
Finished Blanket Measurements:
40X52”
Notes:
-
This blanket is worked in rows from the bottom up.
-
The Ch 3 at the beginning of each row counts as 1 Dc stitch throughout the pattern.
Video Link:
Need help? Check out the full video tutorial!
Stitches and Abbreviations (US Terms):
Ch- Chain
Fdc- Foundation Double Crochet
Dc- Double Crochet
Sl St- Slip Stitch
Sk- Skip
SM- Stitch Marker
Pattern:
Row 1: 113 Fdc, turn. (113 Dc) Note- Alternatively you can Ch 115, work 1 Dc into the third Ch from the hook and each Ch across, turn. (113 Dc)
Row 2: Ch 3 (counts as 1 Dc), Sk next St, 3 Dc into the following St, *Sk 2 Sts, 3 Dc in next* repeat from * to * across row until 2 Sts remain, Sk 1 St, 1 Dc in final St, turn. (113 Dc)
Row 3: Ch 3 (counts as 1 Dc), Sk next St, (1 Dc, Ch 1, 1 Dc) all into the next St, *Sk 2 Sts, (1 Dc, Ch 1, 1 Dc) into next St*, repeat from * to * across row until 2 Sts remain, Sk 1 St, 1 Dc in final St, turn. (113 Dc/Ch)
Row 4: Ch 3 (counts as 1 Dc), 1 Dc in each St and Ch Sp across row, turn. (113 Dc)
Rows 5-79: Repeat rows 2-4.
Make sure you turned after the final row, do not tie off, go directly to the Border section.
Border:
Round 1: Ch 3 (counts as 1 Dc), 1 Dc in each St across, when you reach the last stitch at the corner, work 3 Dc into the same spot (the top of the Ch 3, place a SM into the center of the 3 Sts) for a total of 115 Dc. Make 1 more Dc into the side of the current top row. Continue making Dc Stitches down the side of the blanket by working 2 Dc into the side of each row. When you reach the bottom row work 1 Dc into the side, then work 3 Dc into the corner St (place a SM into the center of the 3 Sts). Work 1 Dc into each St along the bottom of the blanket. When you reach the next corner, work 3 Dc into the same St (place a SM into the center of the 3 Sts). Make 1 more Dc into the side of the current bottom row, continue up the side with 2 Dc per row. 1 Dc into the side of the last row. Finish with 2 Dc into the same spot as the starting Ch 3 (place a SM in last St). Sl St to the top of the Ch 3 to join, TURN. (546 Dc)
Round 2: Ch 3 (counts as 1 Dc), 3 Dc in next St (the center Dc of the 3- Dc group from the round below), 1 Dc in each St across until you reach the SM, work 3 Dc into that center St, 1 Dc in each St along the bottom row, 3 Dc into the center St with SM at the next corner, 1 Dc in each St up the side, 3 Dc into the center St with SM at the next corner, 1 Dc in each St across, Sl St to the top of the Ch 3 to join. (554 Dc)
Tie off and weave in all ends.
Tassels:
Make 4 tassels to tie onto the corners of the blanket. I used a 5.5” wide book and wrapped my yarn around it 40 times. Tie the yarn in a knot at the top, remove the tassel and tie another knot about 1.5” down from the top. Cut the yarn at the bottom and trim as necessary. Check out the video tutorial linked above if you need help making tassels.

I hope you enjoyed this pattern! Be sure to check out some of my other blanket patterns too!


