The Preston Blanket- Free Crochet Pattern
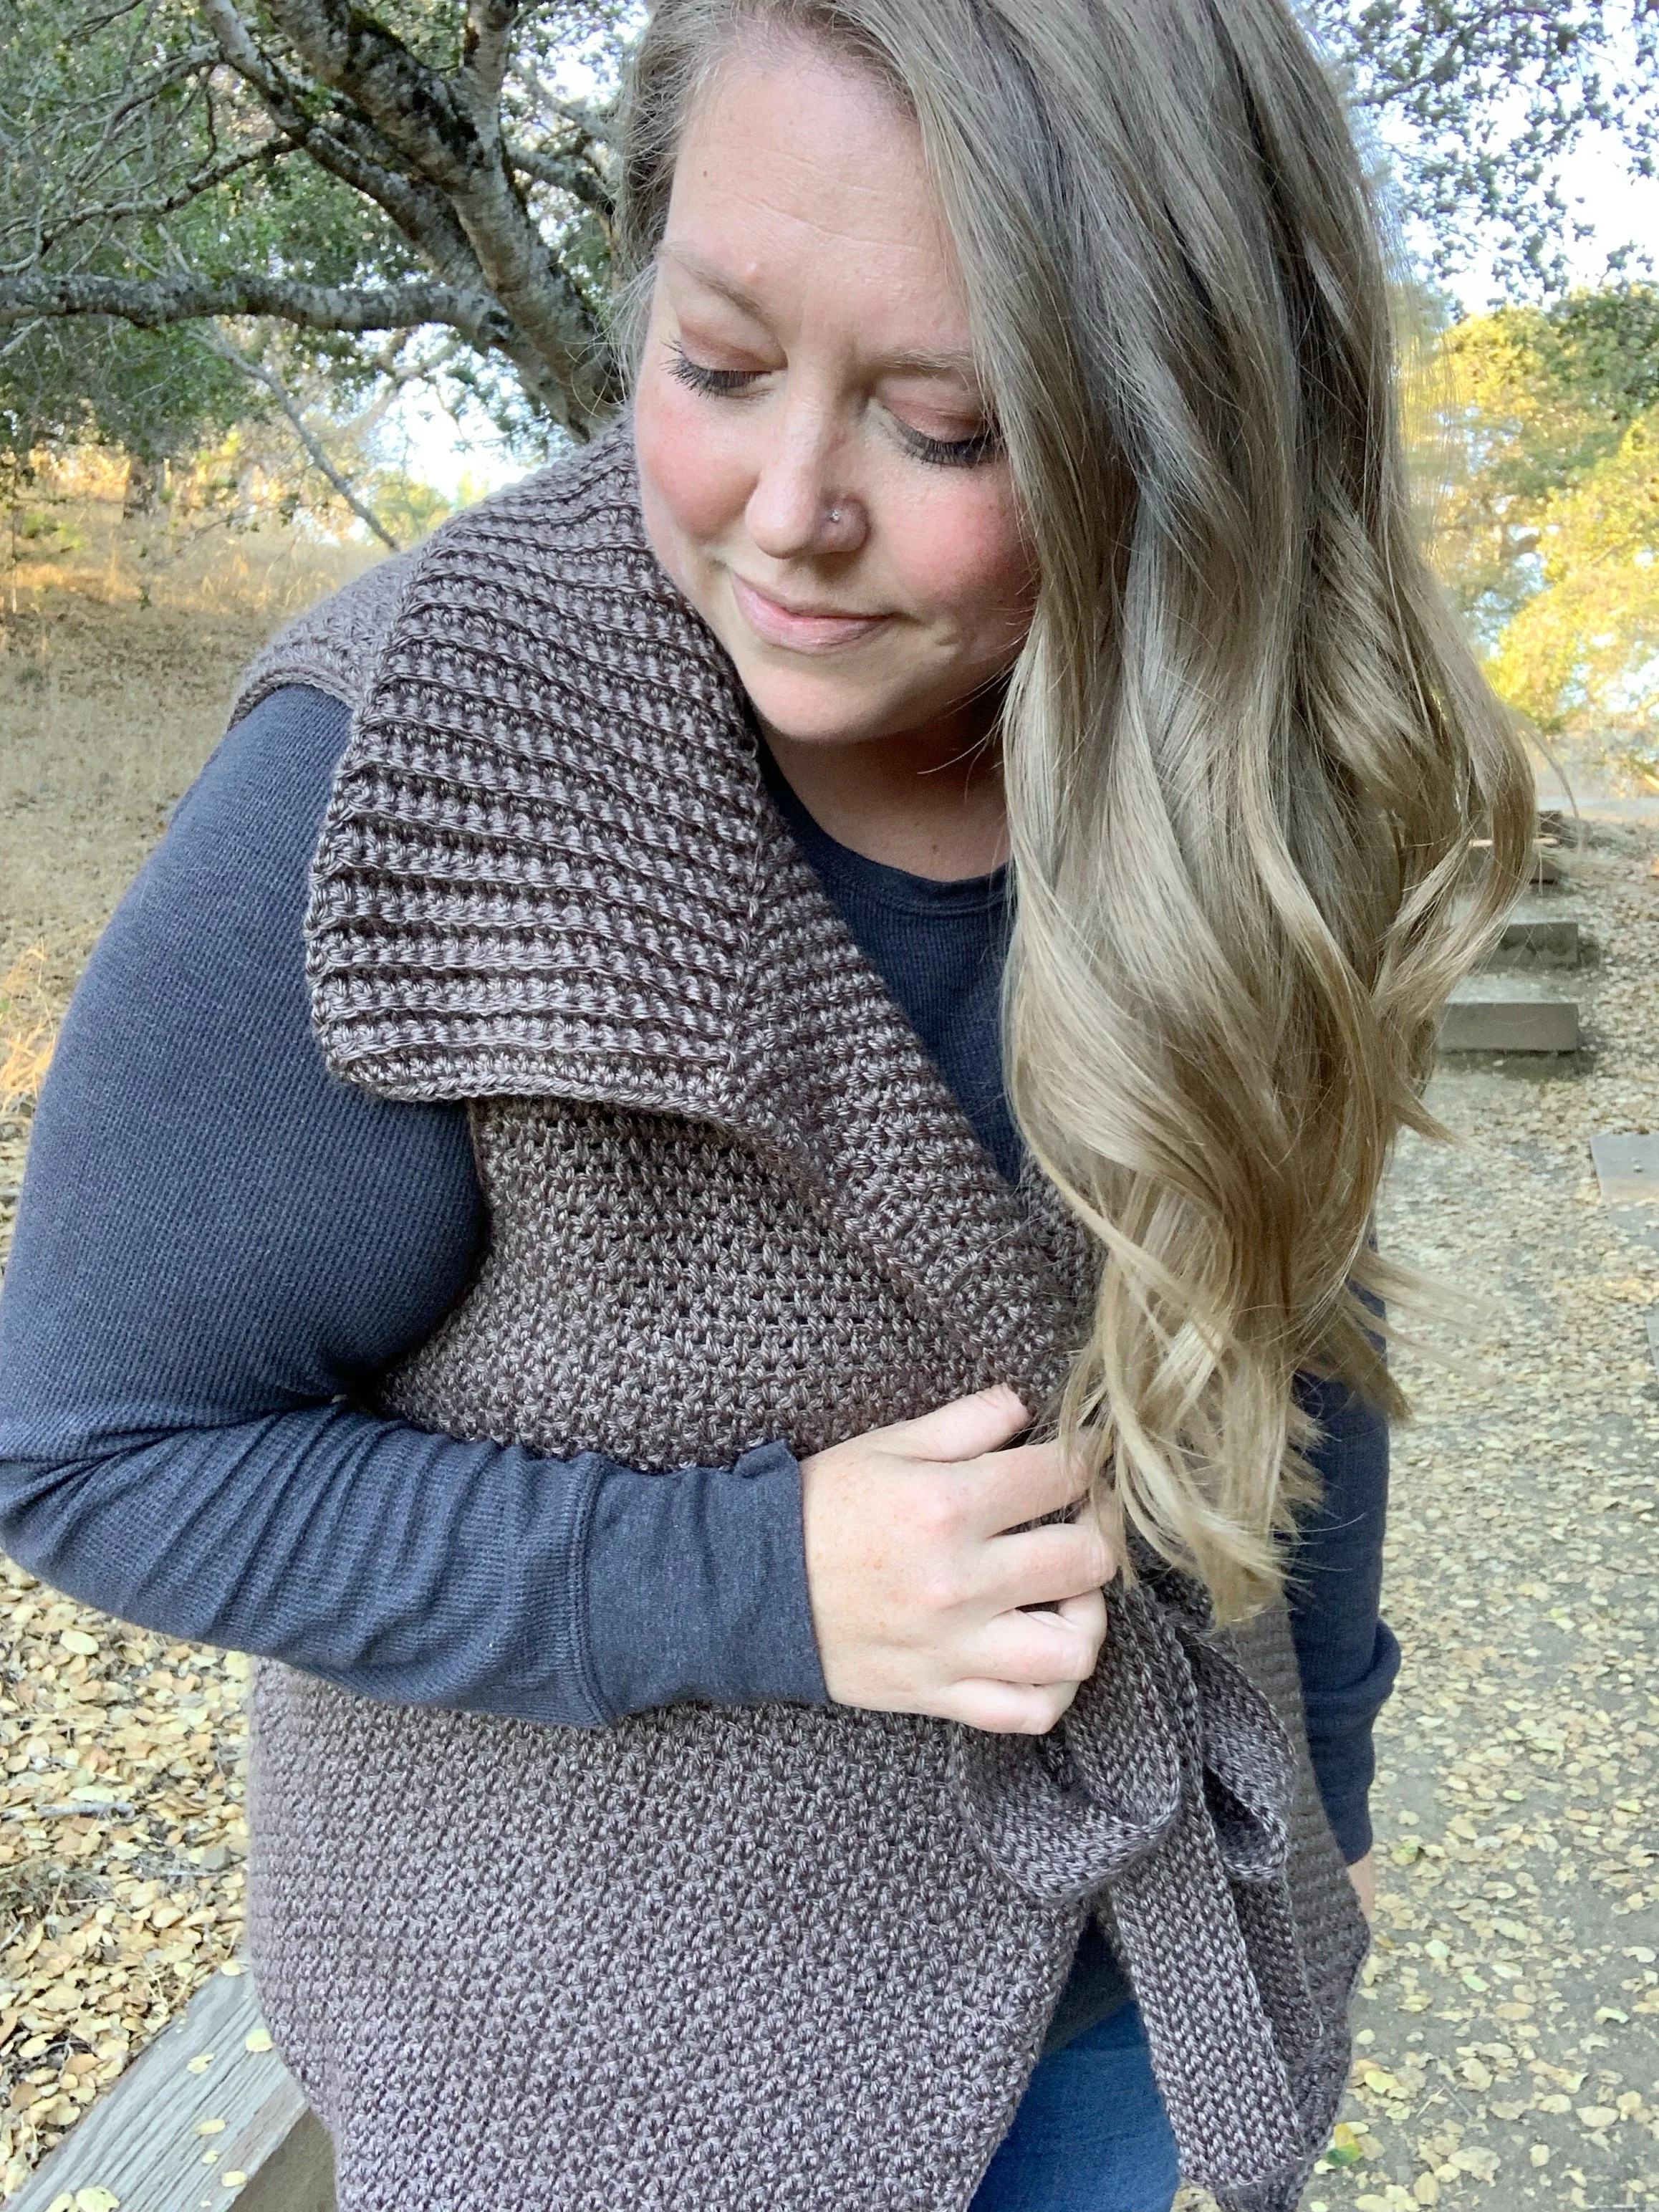
Wrap yourself in comfort with The Preston Blanket. This ultra cozy blanket is perfect for those cold winter nights. The combination of simple stitches and unique construction make this blanket perfect for beginners to intermediate crocheters. Scroll down for the free pattern or grab a digital PDF version in my shop.
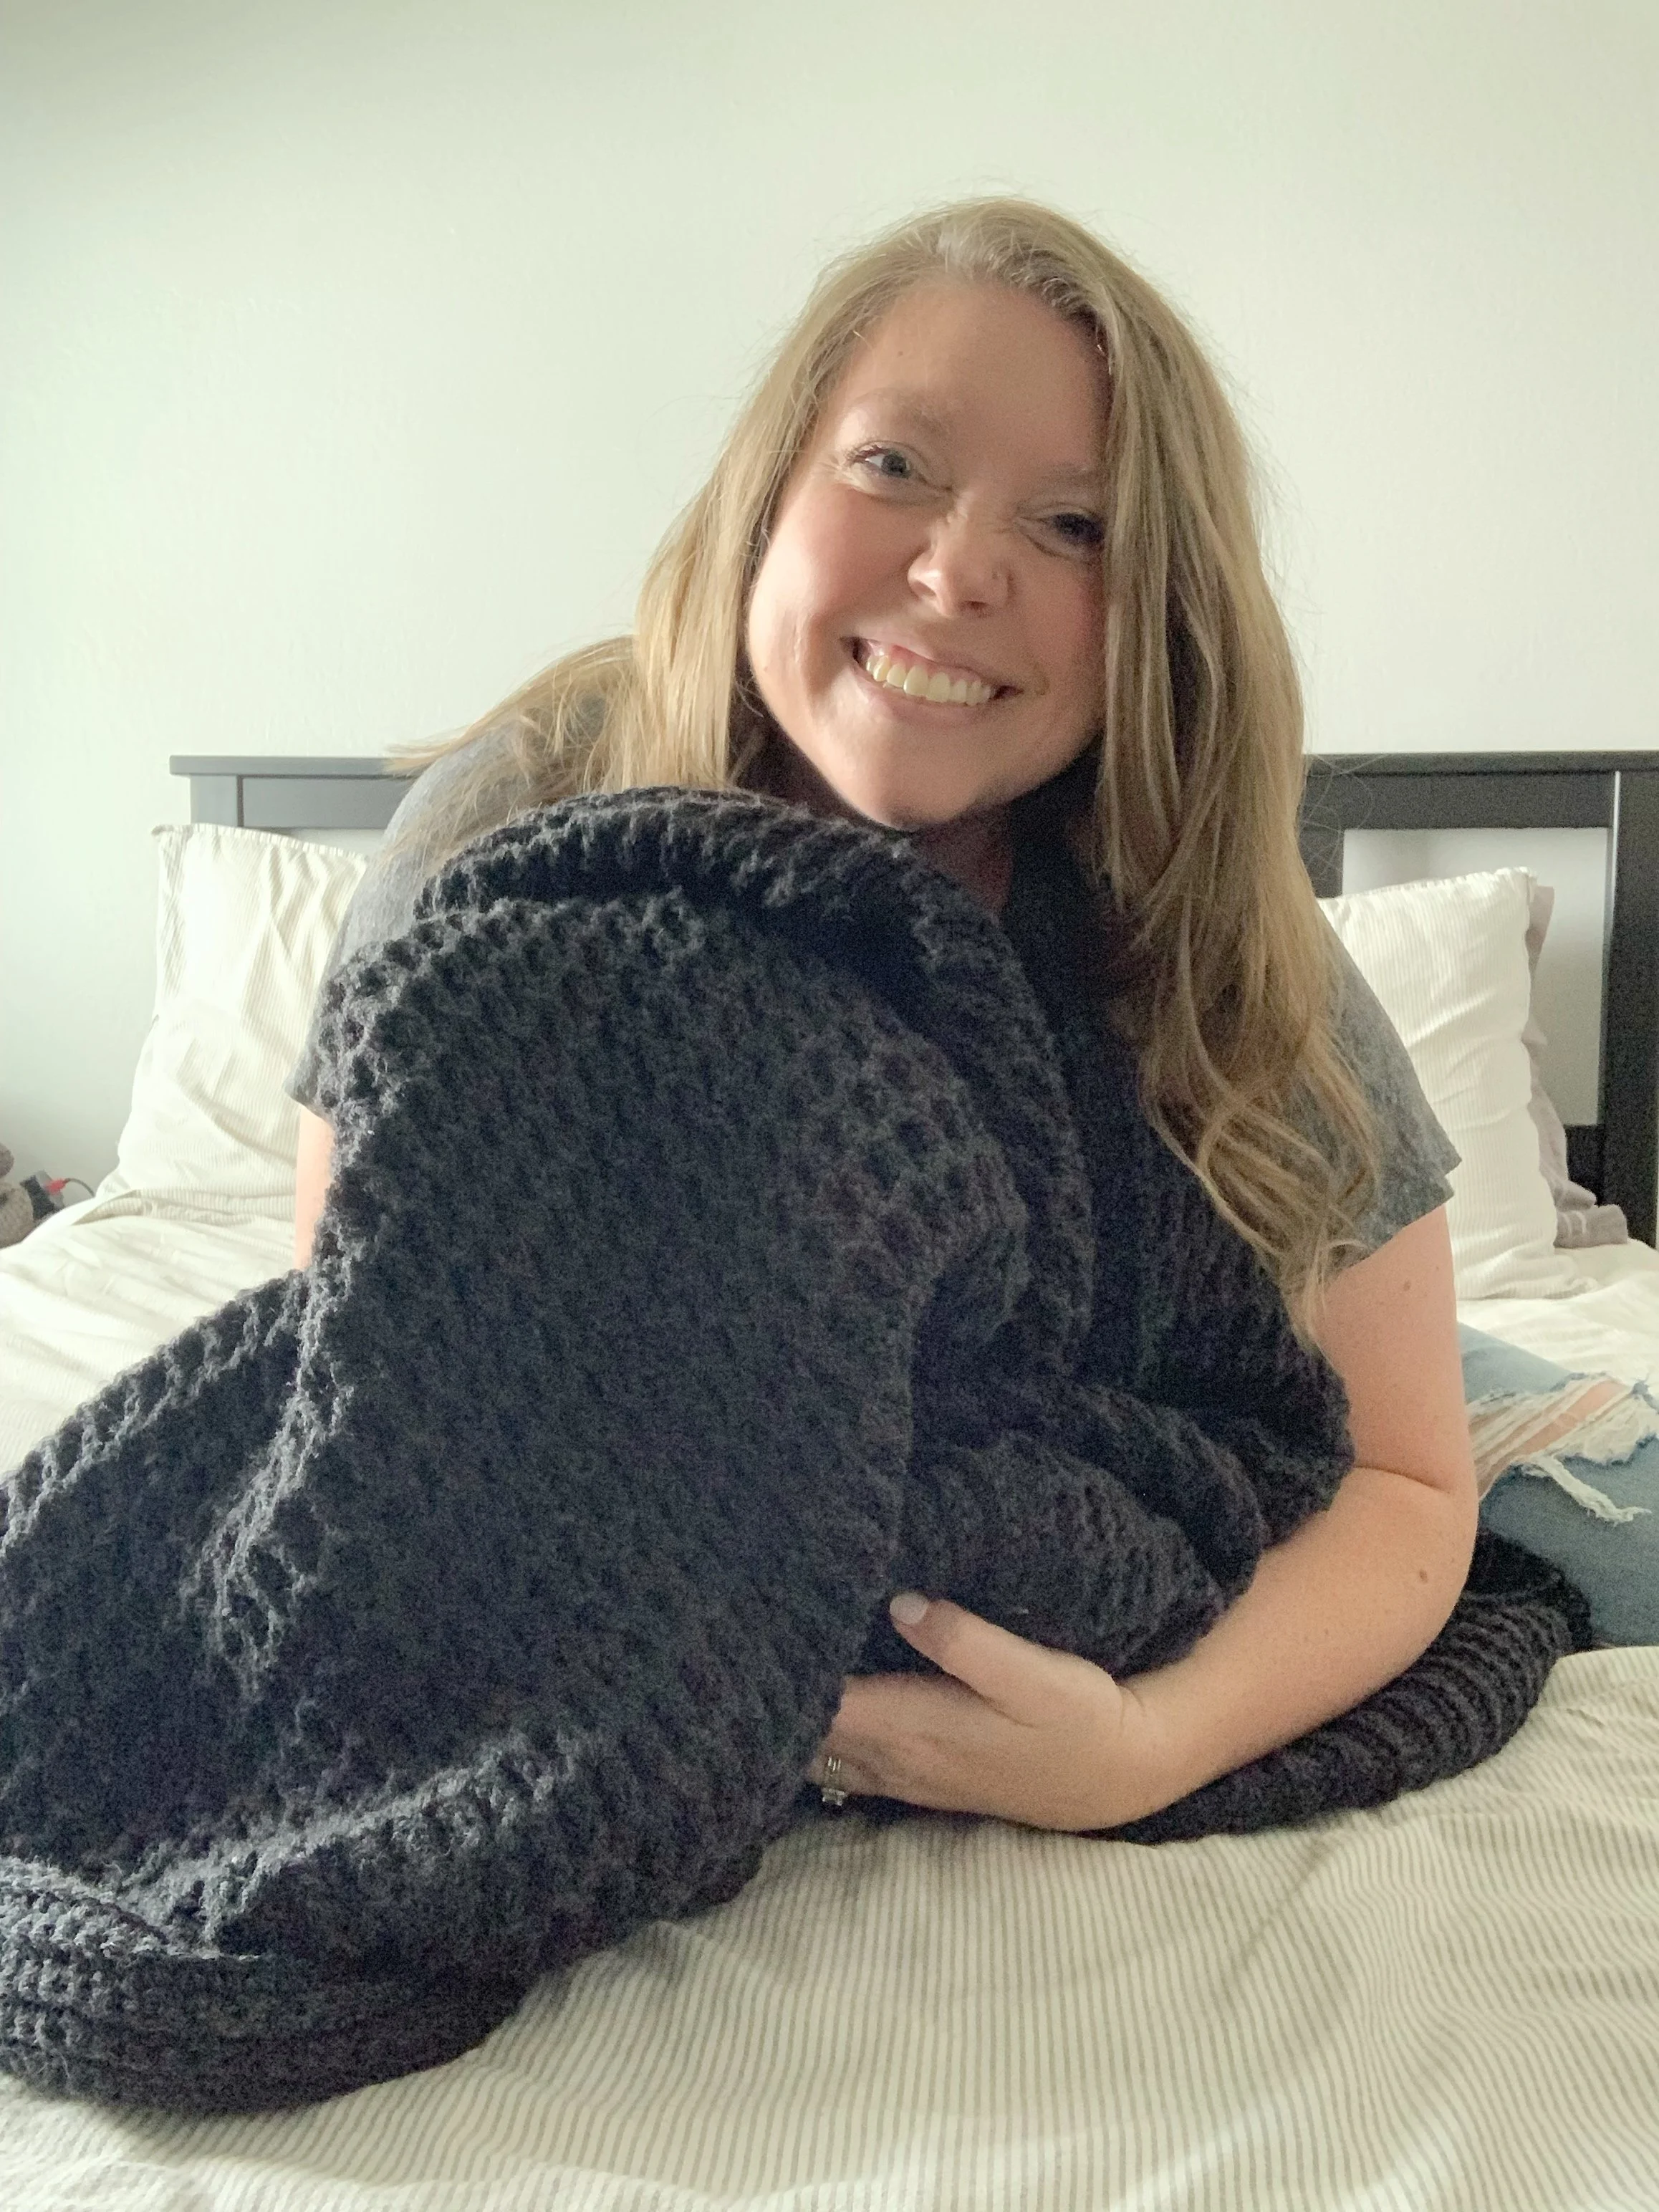
Ask and you shall receive…about seven months later. Ever since I released the knit Parker Throw, I’ve gotten so many requests for a crochet version. It immediately went on my list to design. Now several months later she’s finally here! The Preston Blanket is the little sister to The Parker since she’s just a tad bit smaller, but just as cozy, if not more.
I originally was going to use the color Barley in my favorite blanket making yarn, Pound of Love. I even ordered some to use earlier this summer, but when I finally got around to bringing the Preston to life, the Barley was discontinued! Luckily Lion Brand is amazing and sent me some new Pound of Love in Charcoal so I could bring it to you as a kit. In all seriousness though the Preston would look great in any color.
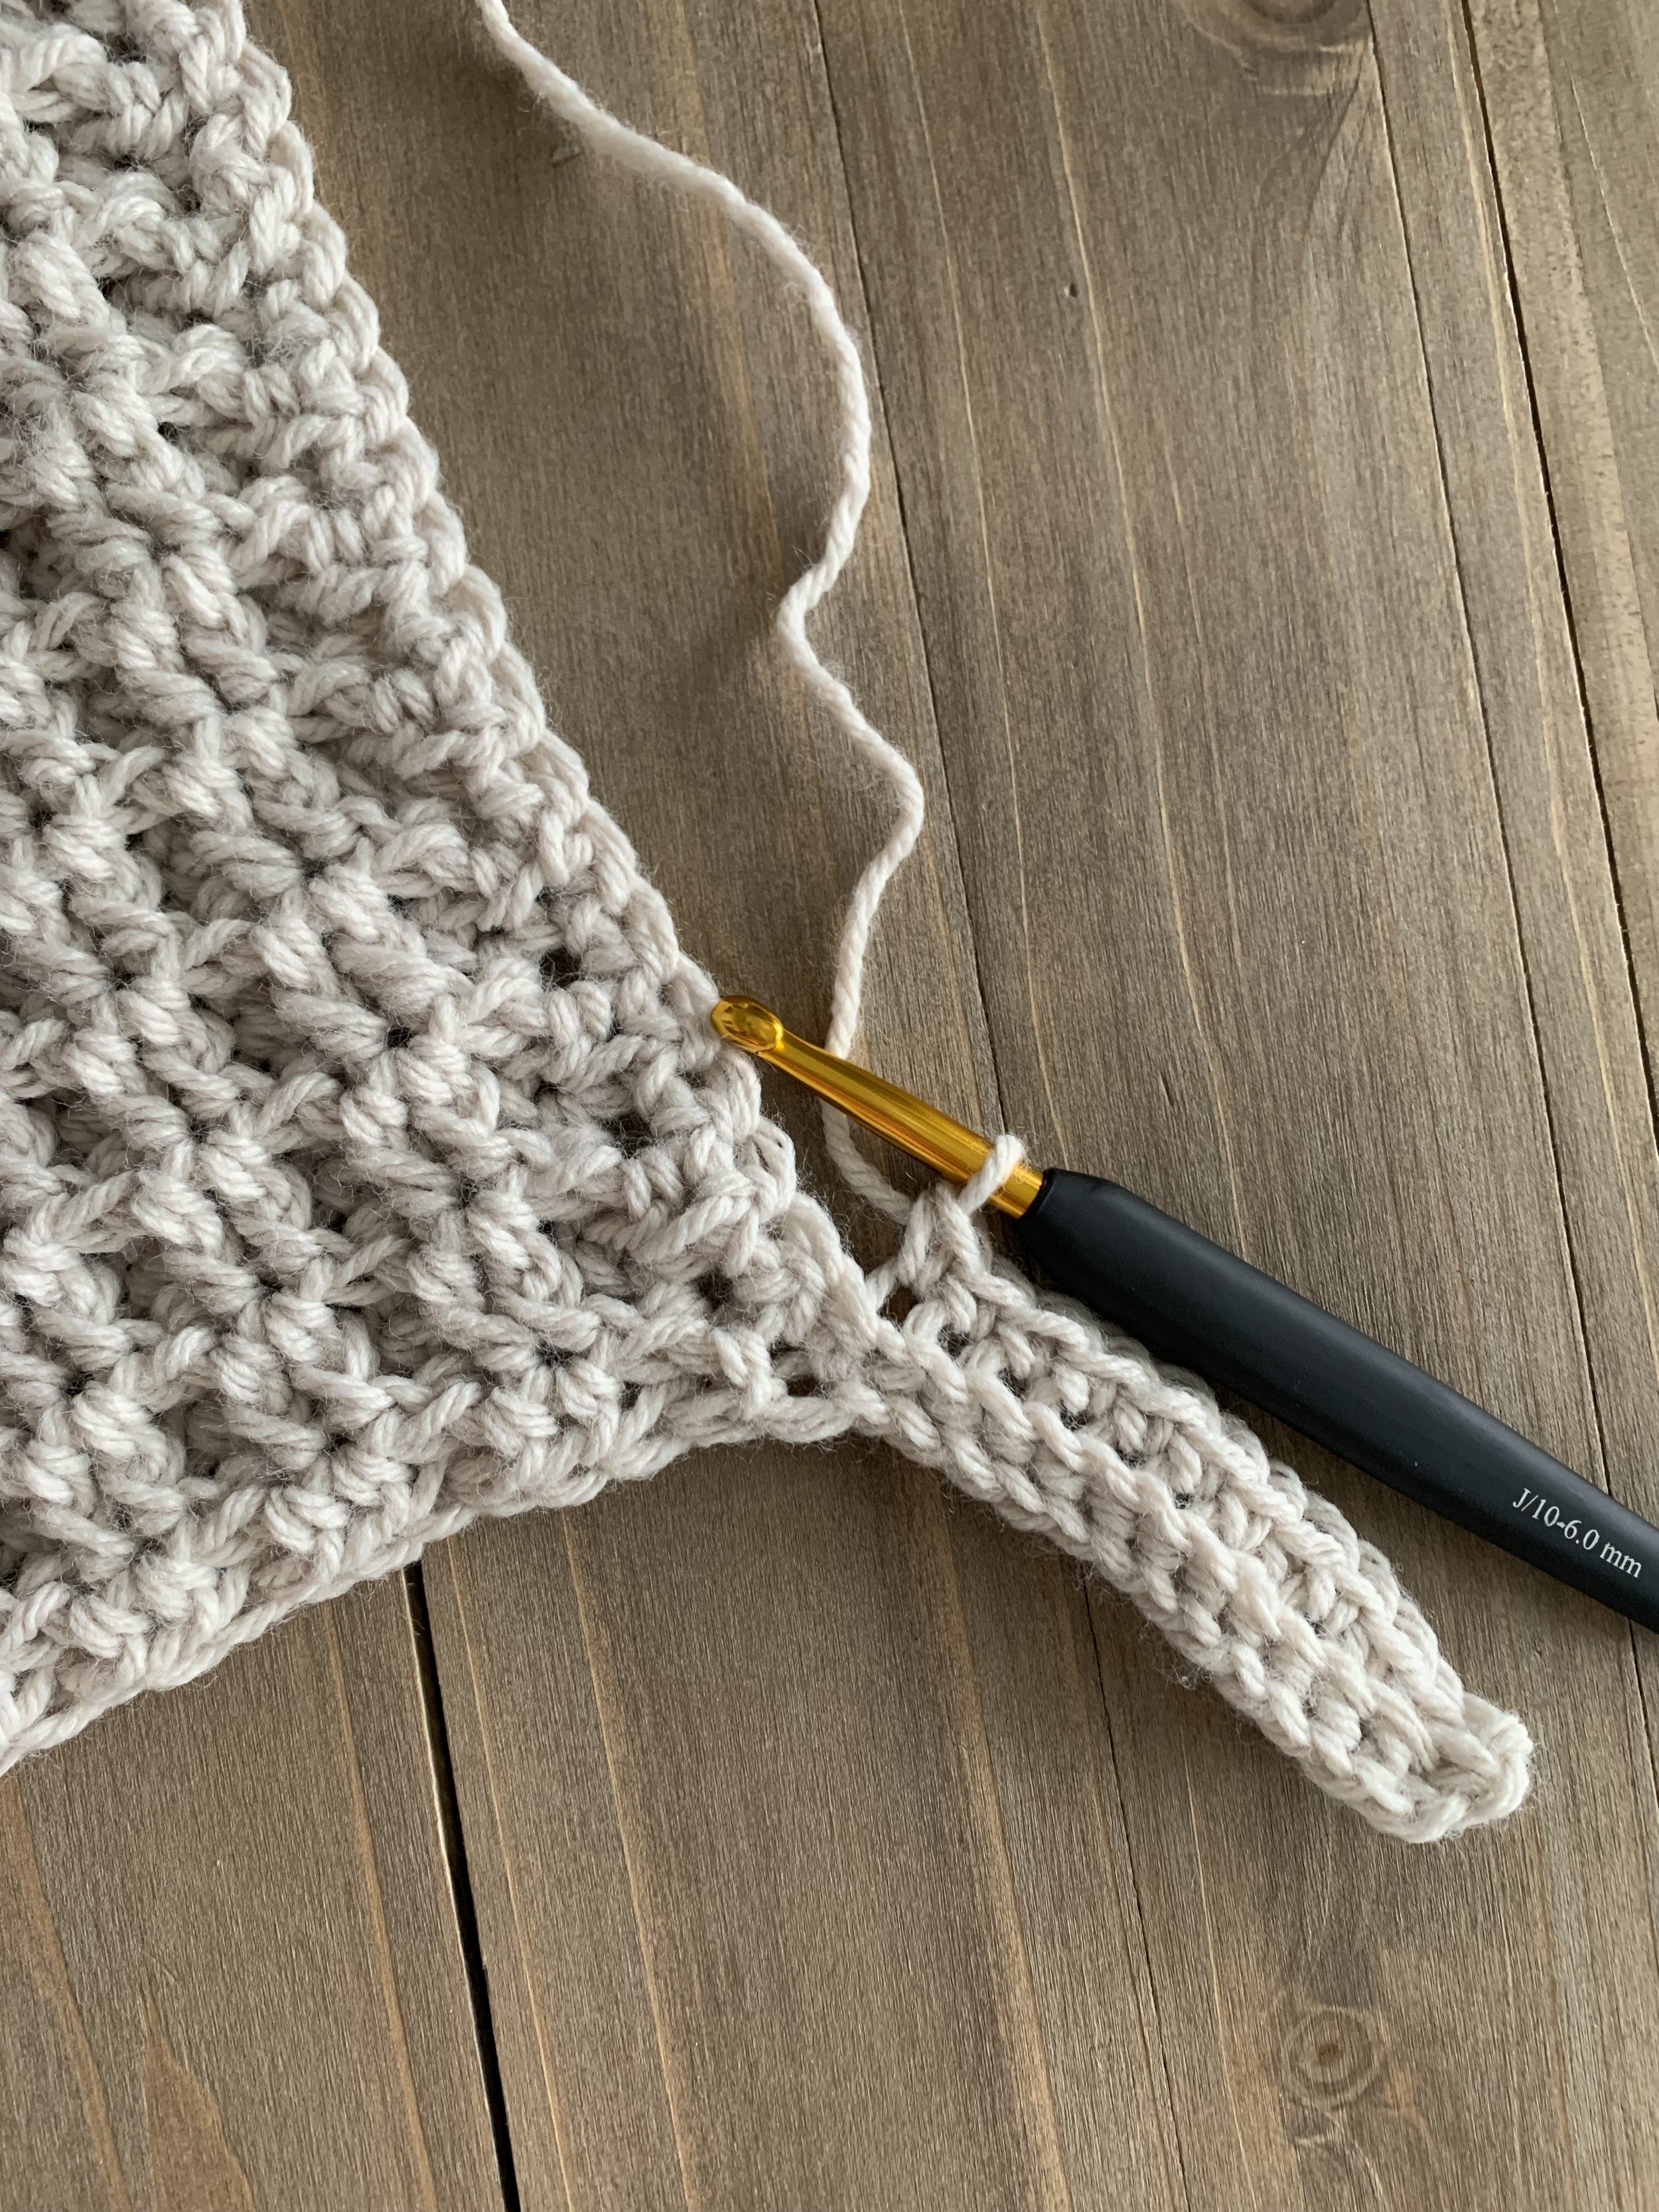
The pattern is construction by making the main panel in mini waffle stitch which uses half double crochets. then the ribbing is added after attaching to the sides as you go. Then it is finished off with the top and bottom ribbing worked off of each end. The result is stunning! It makes this project perfect for advanced beginners to intermediate crocheters. Plus I’ve included a full video tutorial to help you with each step along the way.
Get ready to make the coziest blanket you’ll use this winter.

The Preston Blanket Crochet Pattern
Materials:
Approx. 4,782 yards of Lion Brand Yarn Pound of Love in Charcoal
Tapestry needle
Scissors
Abbreviations:
ch- chain
st(s)- stitch(es)
sc- single crochet
hdc- half double crochet
fphdc- front post half double crochet
BLO- back loop only
Notes:
1.Blanket is worked in mini waffle stitch using half double crochets.
2.Ch 1s at beginning of rows do not count as a stitch.
3.The main panel is made first and the ribbed border is added at the end.
4.Main panel pattern is a multiple of 3. To change the size of the blanket add or subtract beginning chs by 3.
Size:
Finished size is approx. 57” X 72”
Gauge:
15sts X 10rows = 4” square in mini waffle stitch
Video Tutorial:
Pattern:
Main Panel
Ch 187
Row 1(WS): hdc in 2nd ch from hook and in each ch across, ch 1, turn. (186)
Row 2(RS): hdc in 1st st, *fphdc, hdc 2, repeat from * across until 2 sts remain, fphdc, hdc, ch 1, turn. (186)
Row 3: hdc 2, *fphdc 2, hdc , repeat from * across until 1 st remains, hdc in last st, ch 1, turn. (186)
Rows 4-185: Repeat Rows 2 & 3.
Row 186: Repeat Row 2.
Do not fasten off. Ch 1 and turn work 90 degrees.

Sc evenly along the left side of the blanket working one sc into each row end. Approx. 186 sts.
Then turn work 90 degrees and sc along the bottom of the blanket working one sc into each ch st. 186 sts.
Turn work 90 degrees again and sc evenly along the right side of the blanket working one sc into each row end. Approx. 186 sts.
Border
Do not fasten off.
The border is made of sc BLO ribbing which is attached along the edge as you go. To start the ribbing insert hook into the first st of the top of the blanket and draw up a loop.
Row 1: fsc 12, ch 1, turn. (12)

Row 2: sc BLO 12, sl st into next 2 sts along edge of blanket, turn. (12)
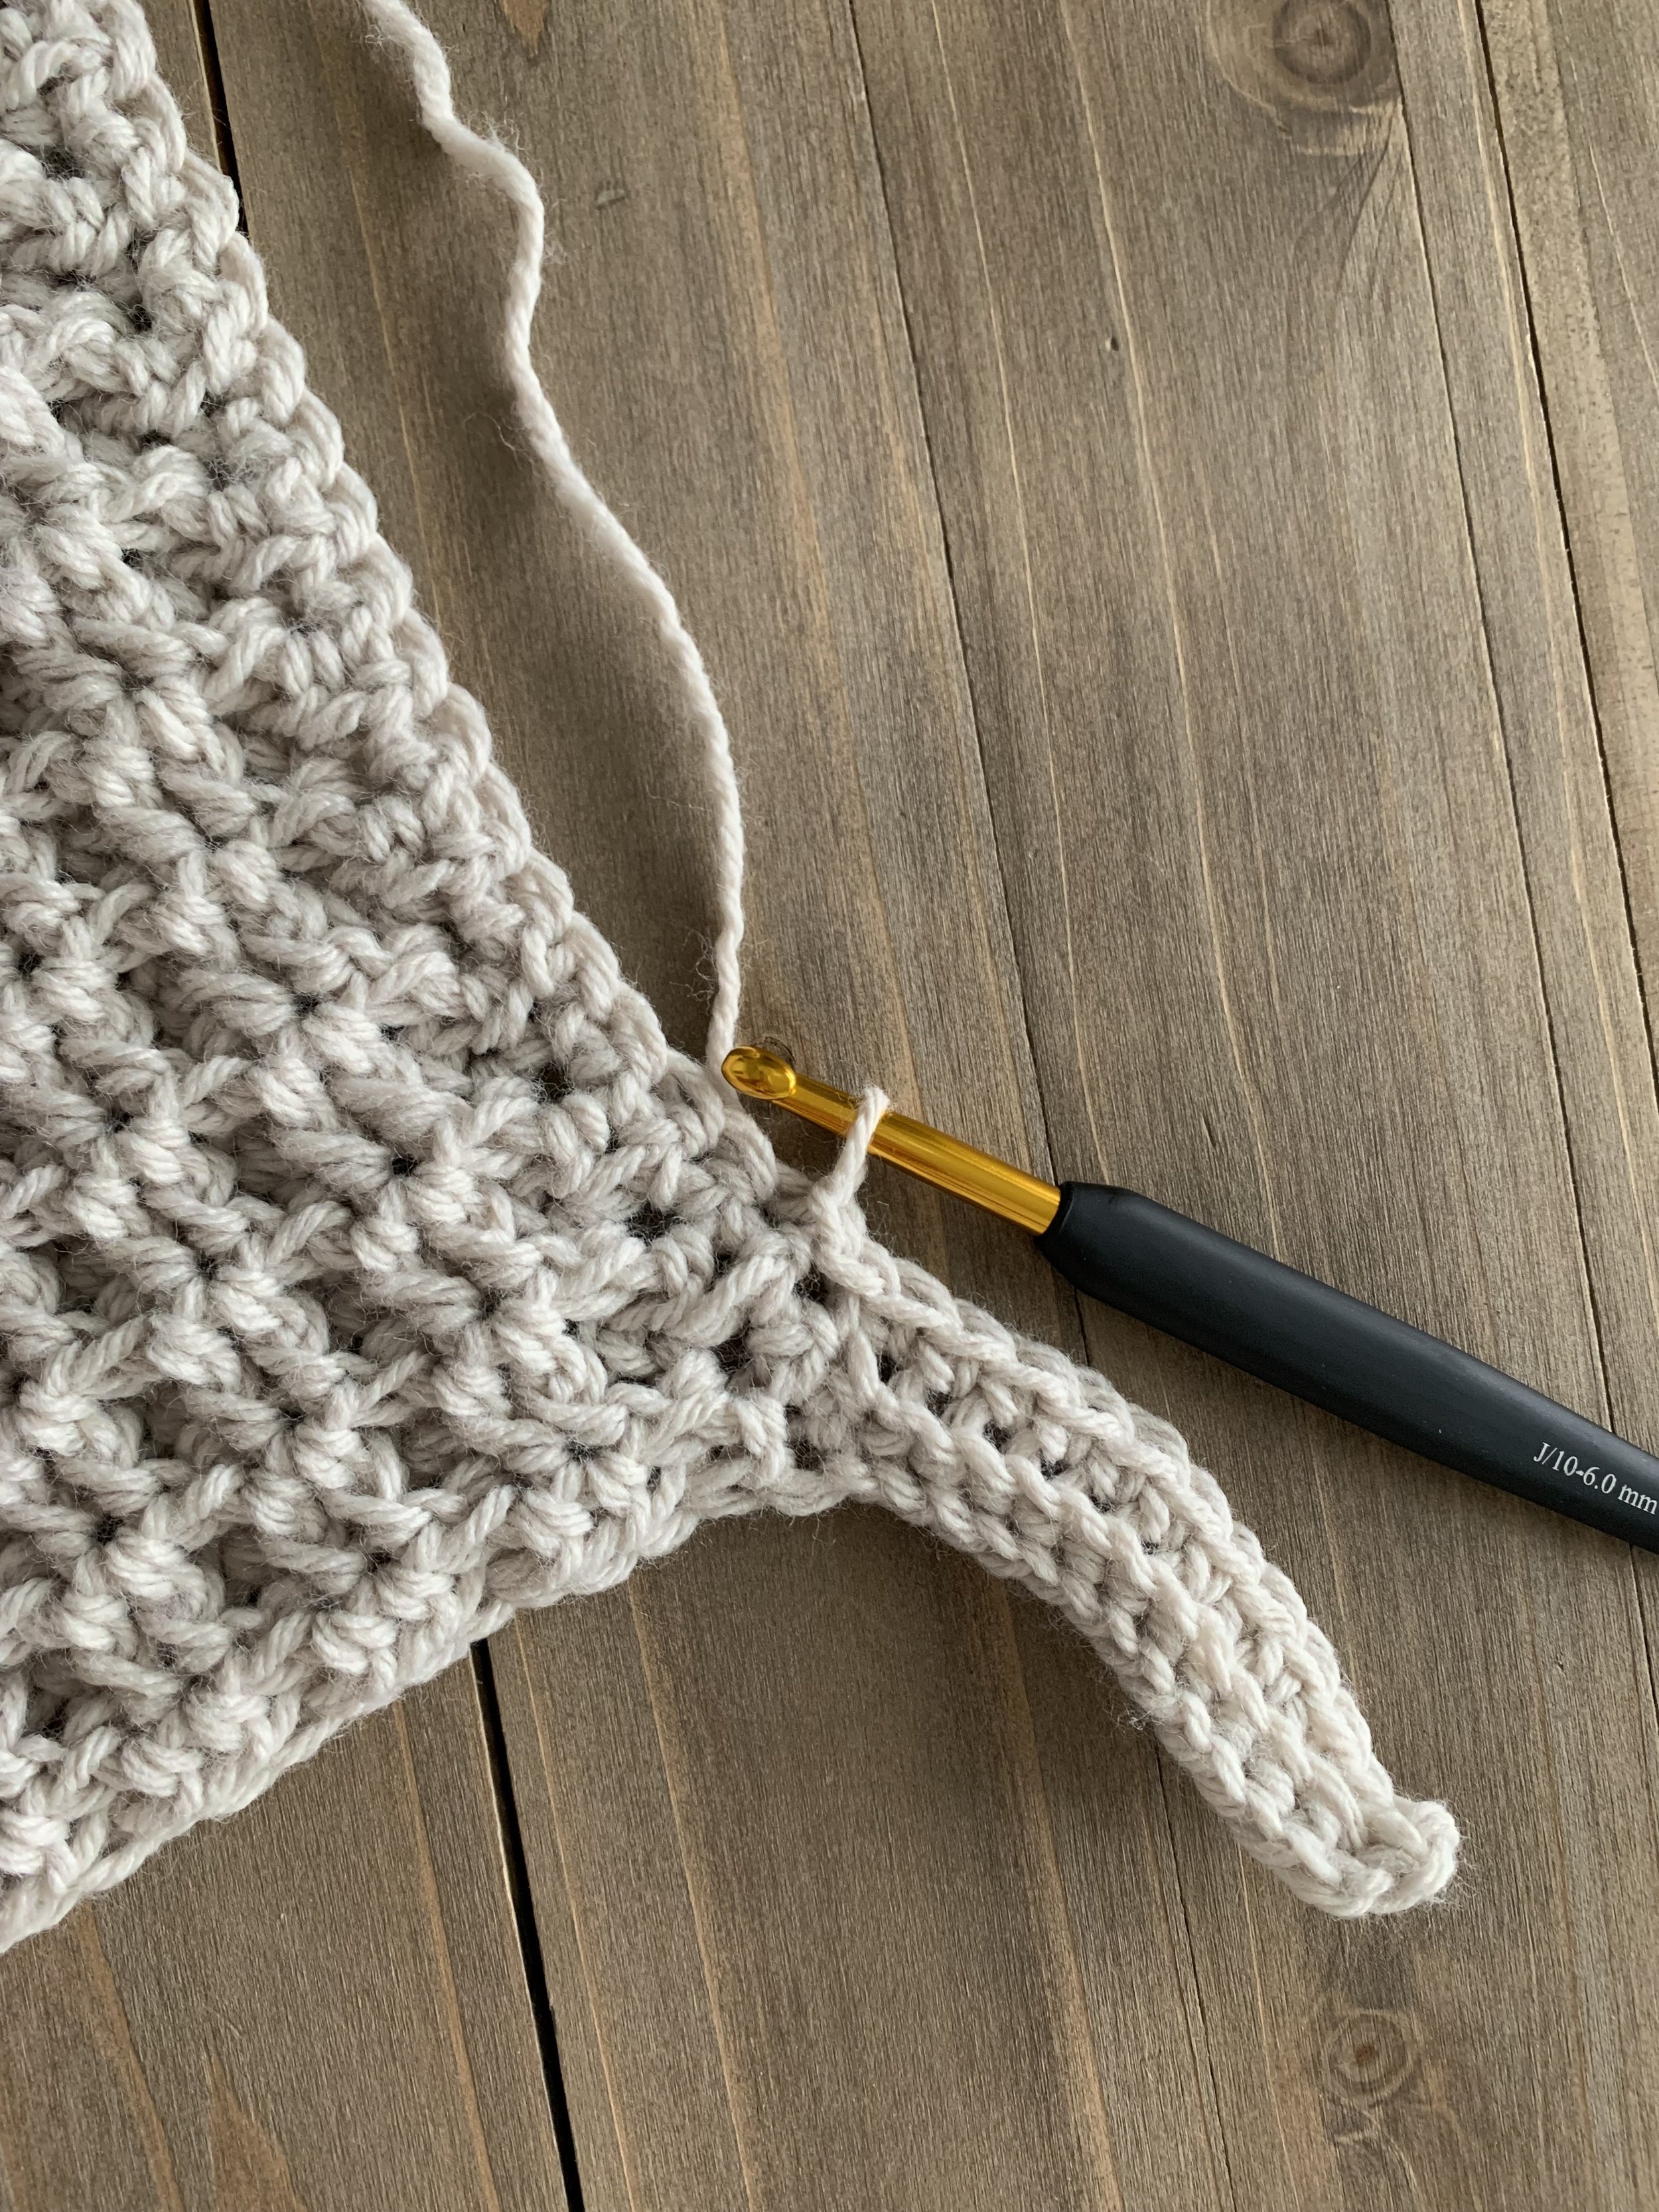
Row 3: sk sl sts, sc BLO across, ch 1, turn. (12)
Rows 4-188: Repeat Rows 2 & 3 until you have reached the bottom edge of the blanket make sure end on a Row 3 repeat.
Do not fasten off. Continue to sc BLO along the bottom edge of the blanket (186 sts)

Double check and make sure that each side has 188 rows of ribbing. Then fasten off.

We will now be adding ribbing along the top edge of the blanket.
With RS facing you attach yarn into 1st st of the ribbing, ch 1.
Row 1: sc BLO 12, sc 186 along top of main panel of blanket, sc BLO 12, ch 1, turn. (210)
Row 2-14: sc BLO in each st across, ch 1, turn. (210)
Fasten off.
We will now be adding ribbing along the bottom edge of the blanket.
With RS Facing you attach yarn to 1st st of ribbing, ch 1.
Row 1-12: sc BLO in each st across, ch 1, turn. (210)
Fasten off and weave in all ends.

Now you’re ready to snuggle up and relax with a bowl of popcorn and your favorite movie under your new Preston Blanket!
If you make a Preston, I’d love to see it. Make sure to tag me @meghanmakesdo and use #theprestonblanket on social media.
As always you can find a printable PDF version of this pattern in my shop, Etsy and Ravelry. Or treat yourself to a complete kit from Lion Brand Yarn.
Happy Crocheting,
Meghan