
The Alluvium Poncho – free crochet pattern is copyrighted by I Need It Crochet. You may not copy, share, change, or sell the pattern itself. Also, you may not claim this pattern as your own. All pictures contained in this pattern fall under the copyright and may not be used.
Finished items made from The Alluvium Poncho – free crochet pattern belong to you and you may do what you wish with them. If you choose to sell them on Etsy I would very much appreciate it if you credited me as the pattern designer.


Or… Just scroll down to see it for free!
In the process of writing the pattern for The Alluvium Top, a few of my testers mentioned how much they loved the stitch pattern and that they thought it would make a beautiful blanket. This gave me the idea to make it into a poncho. And what perfect timing, because I happen to be going to an outdoor wedding this month.
During the month of August, the nights begin to really cool down here in Manitoba, while the days are still quite sunny and warm. This makes dressing a little complicated since the daytime temperatures are much higher than the nighttime. To combat this, we begin to layer. This is where cardigans, sweaters, and ponchos come in.
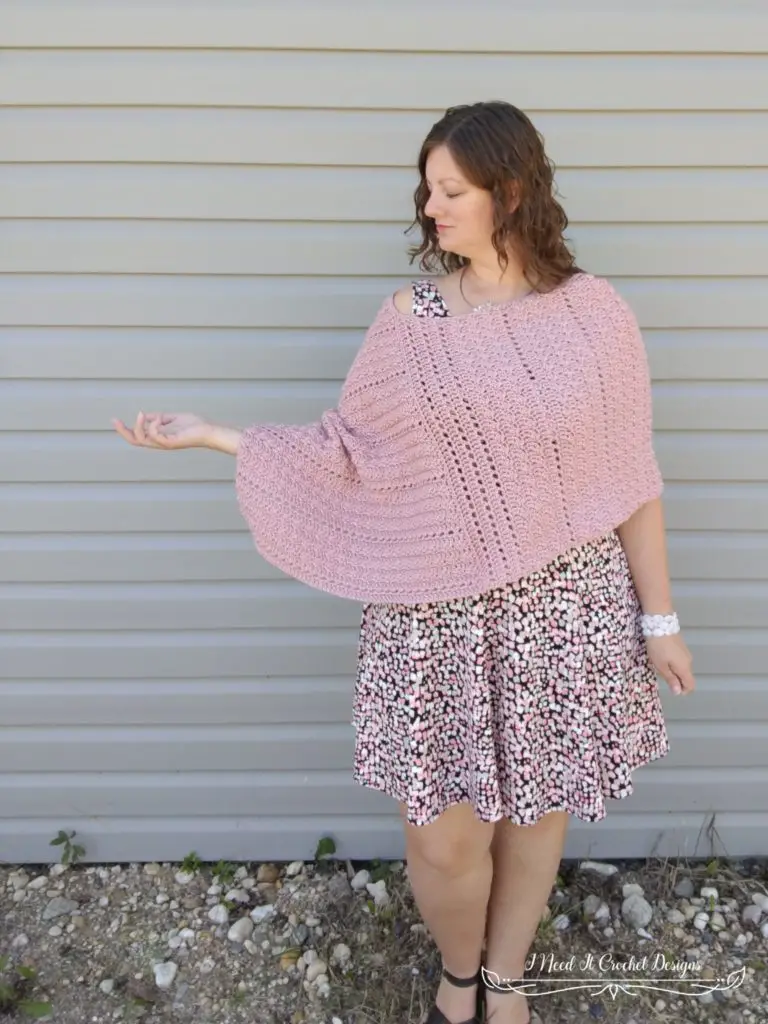
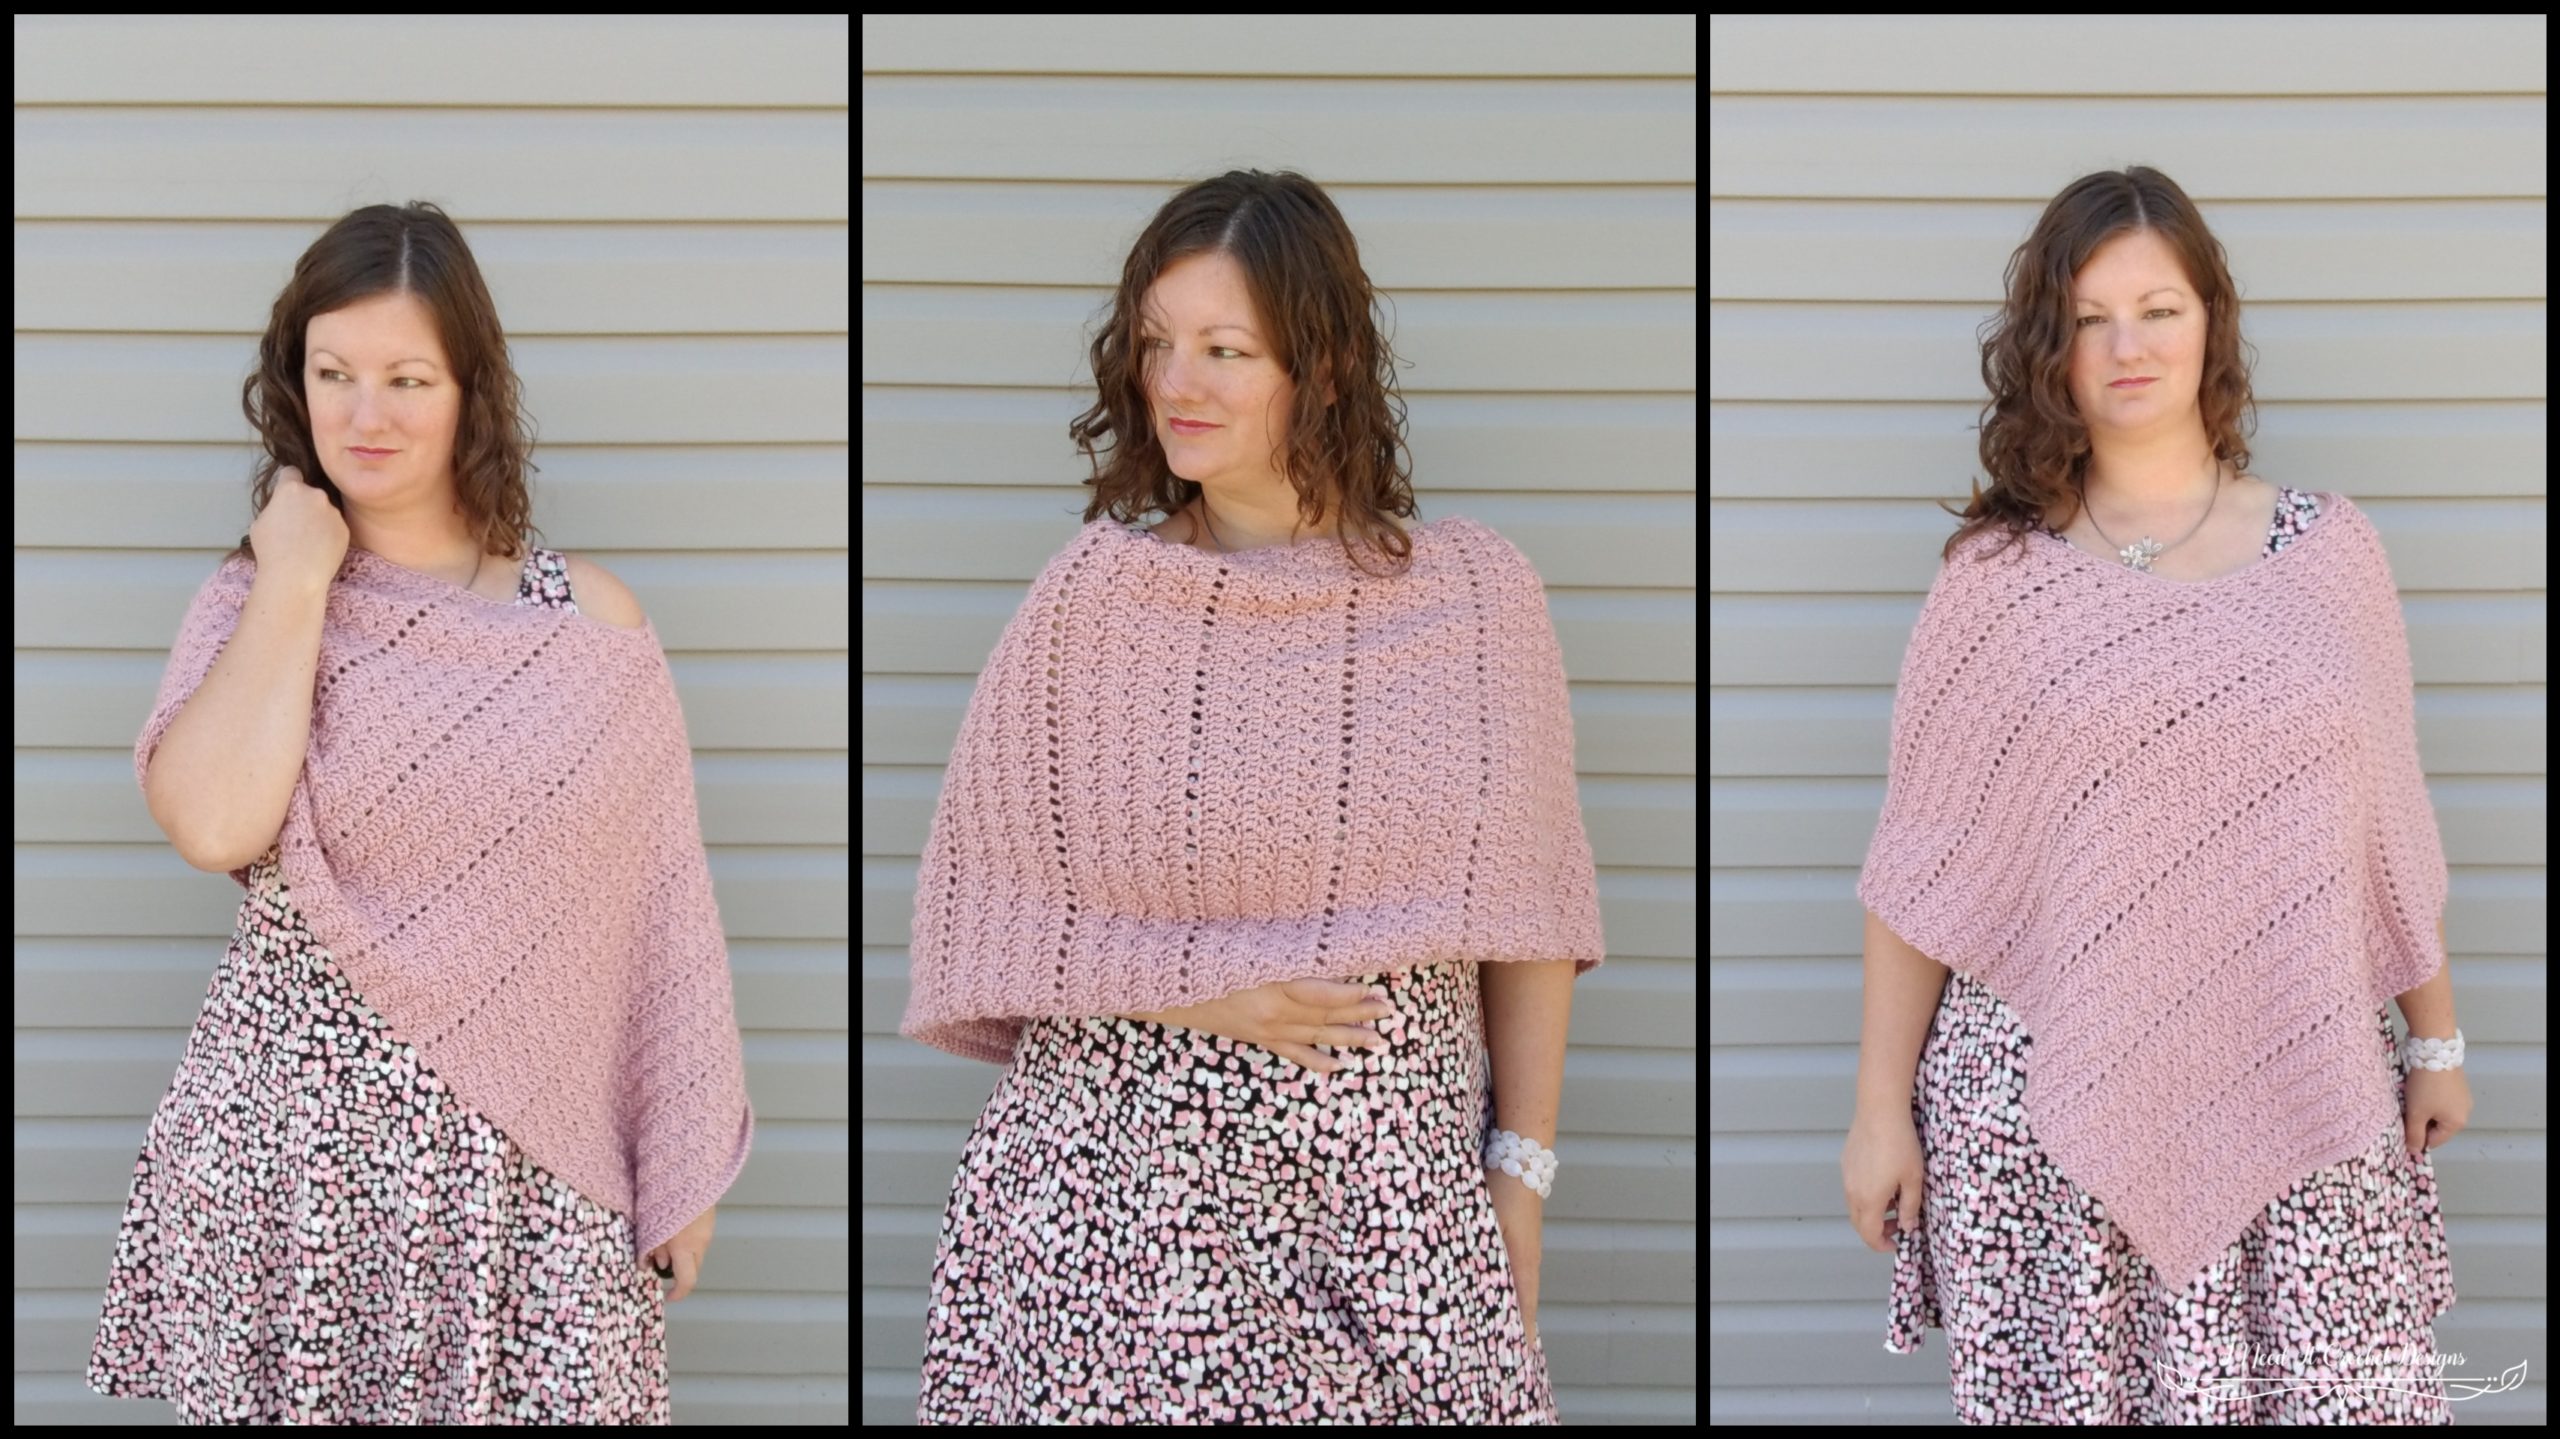
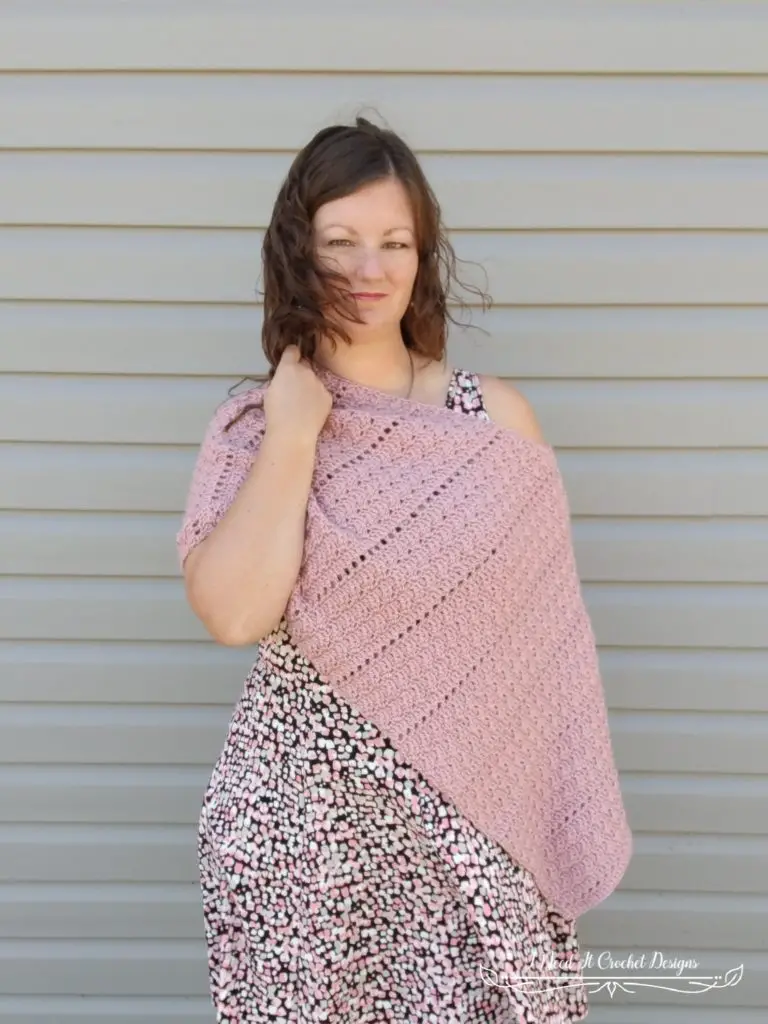
For the wedding I chose to wear a short little sun dress (because I’m not ready to give up on summer just yet), which is totally cute, but doesn’t feel very warm when the sun goes down. This poncho was the perfect addition to keep me comfortable on our long walk to the car. And since Caron Simply Soft comes in about a bajillion colours, I found the perfect shade to compliment my outfit!
Finished Sizes:
Instructions given to fit size X-small/small; changes for medium/large, X-large/2X-large, 3X-large/4X-large, and 5X-large/6X-large are in ()
XS/S (M/L, XL/2XL, 3XL/4XL, 5XL/6XL)
To fit Bust: 33”-37” (37”-42”, 42”-50”, 50”-58”, 58”-66”)
Shoulder Width: 14”-15” (15 ½”-17”, 17 ½”-18”, 18”-18 ½”, 18 ½”-19”)
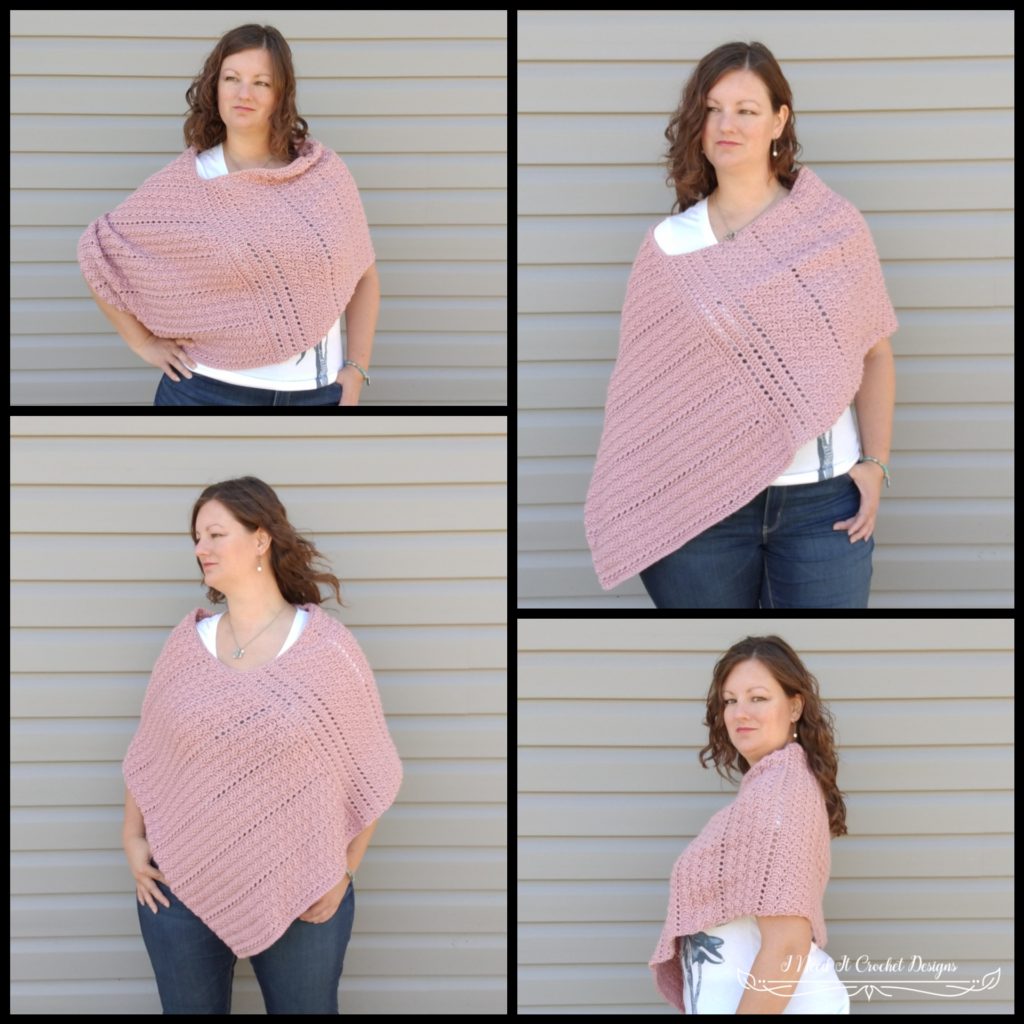
This pattern is designed so that the bottom edge sits at or just past the elbows and the peak sits at around the hip. It will be snug around the shoulders at first, but the material does relax a little over time.
Gauge:
See gauge swatch pattern below.
Always be sure to make a gauge swatch before you begin. It will save you a lot of time and heartache.
Materials:
I used Caron Simply Soft, which is 100% Acrylic, #4 Worsted weight yarn.
Any yarn of similar weight would work.
Approximately 650 (800, 900, 1050, 1400) yds.
I/5.5mm Hook
Stitch Markers
Yarn Needle
Scissors
Measuring Tape
Abbreviations:
Sk = Skip
Sp = Space
St = Stitch
Ss = Slip Stitch
Ch = Chain
Sc = Single Crochet
Hdc = Half Double Crochet
Dc= Double Crochet
Fdc = Foundation Double Crochet
Notes:
Ch1 at the beginning of a row is never considered a stitch.
Ch3 at the beginning of a row is always considered a Dc.
I have added many pictures to help you along the way.
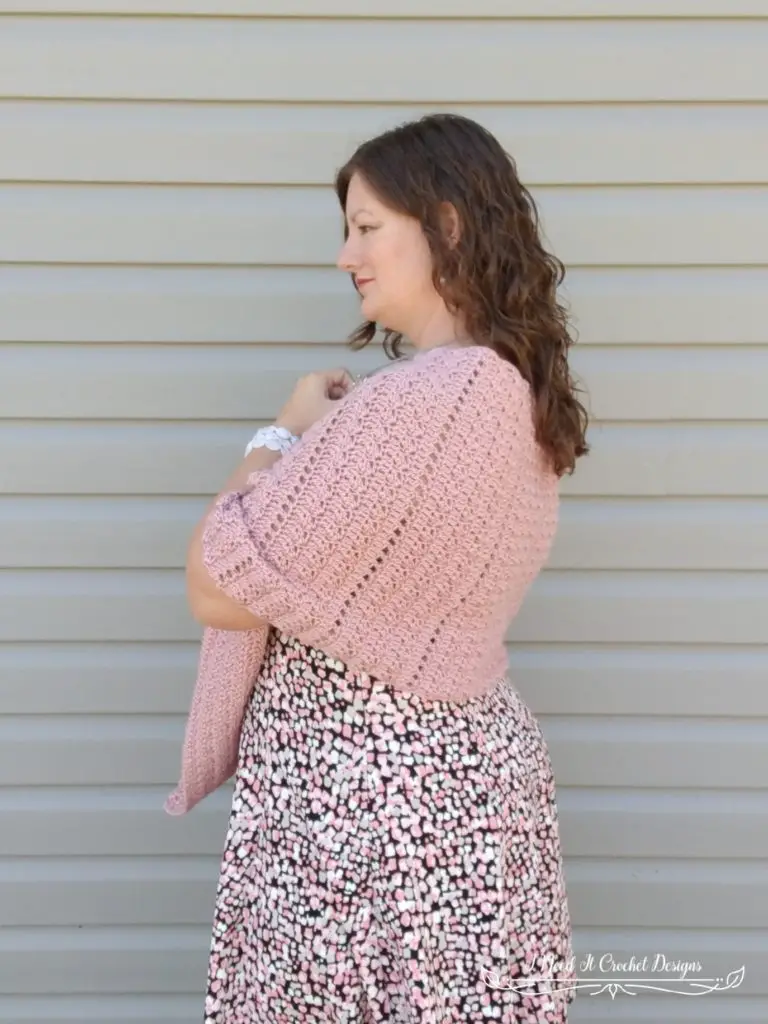
The model above has a 40” bust and is wearing a size Medium/Large.
Choose your size according to the finished measurements noted above and your preferences.
Gauge Swatch (4 ¼” x 4”)
Ch 18.
Or Fdc 16 and proceed to row 2.
1. Dc in 4th ch from hook and each ch across. Turn. – 16 dc
2. Ch 1. (Sc, 2dc) in 1st st. Sk 2 sts. *(Sc, 2dc) in next st. Sk 2 sts. ** Repeat from * to ** until there are only 3 sts left unworked. Sc in last st. Turn. – 5 (sc, 2dc) groups + 1 sc
3. Ch 3. Dc in next st and each st across. Turn. – 16 dc
Repeat rows 2 & 3 until you have 8 rows total. Your square should be 4 ¼” wide X 4” high. Adjust your hook size and swatch again if your square is not the right size.
Instructions
The Alluvium Poncho is made by creating a very long rectangle, then joining it at the ends. Please note that this stitch pattern tends to make the piece slant in one direction, so you may need to block your rectangle before joining. I made my poncho with Caron Simply Soft, which is 100% acrylic, so I just gave the piece a few tugs until it was a proper rectangle. It didn’t affect the final poncho shape.
Ch 63 (69, 75, 81, 93)
Or Fdc 61 (67, 73, 79, 91) (Right Side) and proceed to row 2.
1. (Right Side) Dc in 4th ch from hook and each ch across. Turn. – 61 (67, 73, 79, 91) dc
2. Ch 1. Hdc in 1st st. *Ch 1 , sk 1 st, hdc in next st. ** Repeat from * to ** across. Turn. – 30 (33, 36, 39, 45) hdc, ch1 groups + 1 hdc
3. Ch 3. Dc in next st and each st across. Turn. – 61 (67, 73, 79, 91) dc
4. Ch 1. (Sc, 2dc) in 1st st. Sk 2 sts. *(Sc, 2dc) in next st. Sk 2 sts. ** Repeat from * to ** until there are only 3 sts left unworked. Sc in last st. Turn. – 20 (22, 24, 26, 30) (sc, 2dc) groups + 1 sc
5. Repeat row 3.
6. Repeat Row 4.
7. Repeat Row 3.
8. Repeat Row 4.
9. Repeat row 3.
10. Repeat row 2.
It would be a good idea to measure the width of your piece at this point. It should be 16” (17”, 19”, 21”, 24”) wide. Tension can be tricky, and it is not uncommon for our tension to change when making a large project as opposed to a small gauge swatch. If your work is more than an inch off, I would suggest starting over with a different hook size.
Repeat rows 3 – 10, 11 (12, 12, 13, 14) more times. You will now have 98 (106, 106, 114, 122) rows. Now we will add a subtle mesh detail to the end.
1. Ch 3. Dc in next st and each st across. Turn. – 61 (67, 73, 79, 91) dc
2. Ch 1. Hdc in 1st st. *Ch 1 , sk 1 st, hdc in next st. ** Repeat from * to ** across. Turn. – 30 (33, 36, 39, 45) hdc, ch1 groups + 1 hdc
Repeat rows 1 & 2 until you have 107 (111, 115, 119, 127) rows total. Remember that your piece may want to slant in one direction. Just give it a few tugs back into shape. Bind off, leaving the tail long enough to sew the end together. Your rectangle should now be approximately 50” (52”, 54”, 56”, 60”) long. We will now sew the end together, but we won’t simply be sewing the short ends to each other. We have to create a peak. Don’t worry, it’s not hard. And I provided pictures to help.
First, lay out your rectangle so that the right side is facing up and the mesh pattern is on the left side. (See figure below)

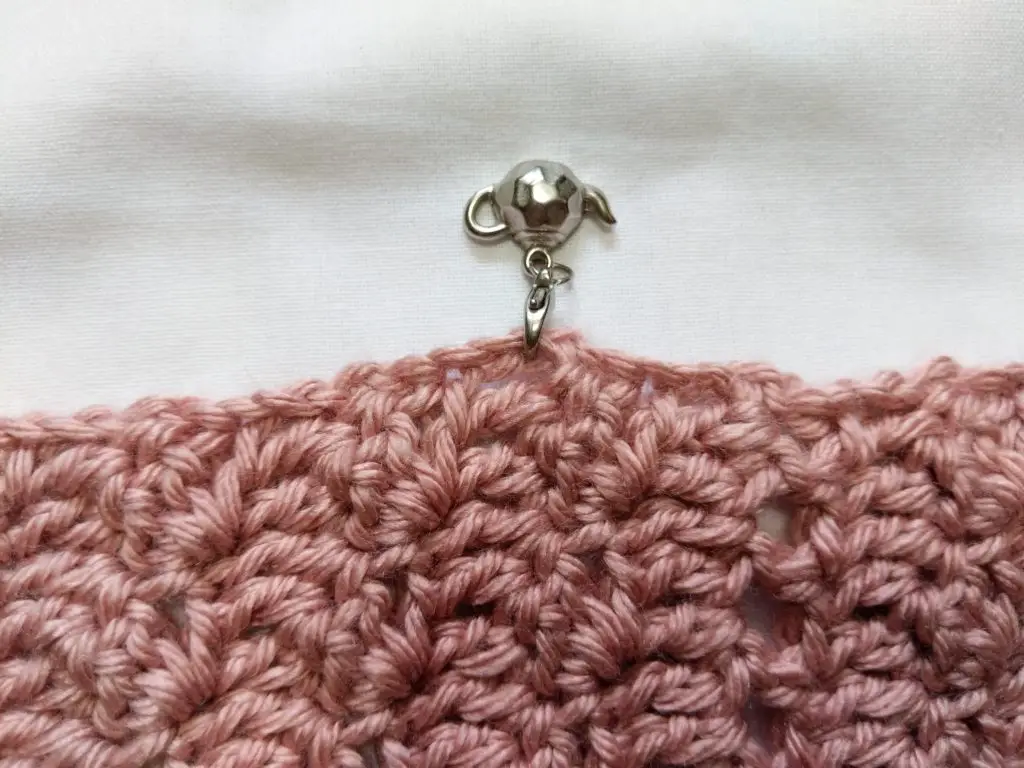
Next, go to the edge furthest from you and count the rows starting from the left side. Place a stitch marker in the 1st chain of row 67. (See right) If you look closely at the figure above you can see where I placed my stitch marker.
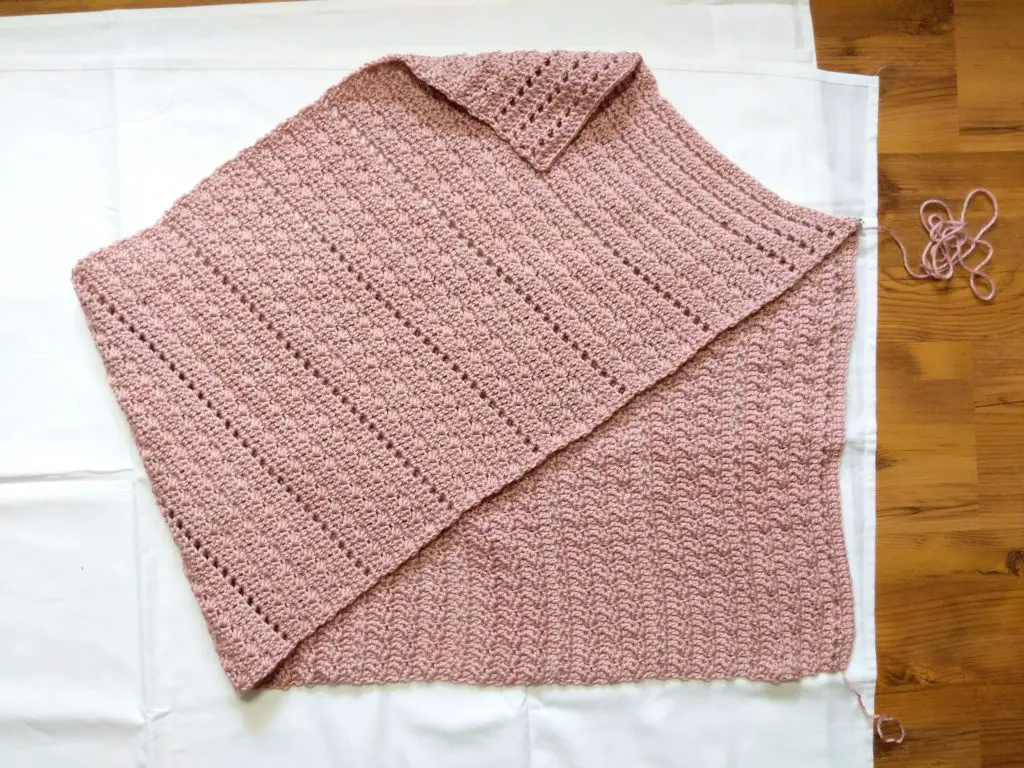
Now, fold the bottom left corner over and up to meet the top right corner. Join these corners together with a locking stitch marker. (See right)
Then, fold the corner sticking out the top (what was the top left corner) down to the first stitch marker you placed. Use this stitch marker to hold the corner in place. (See right)
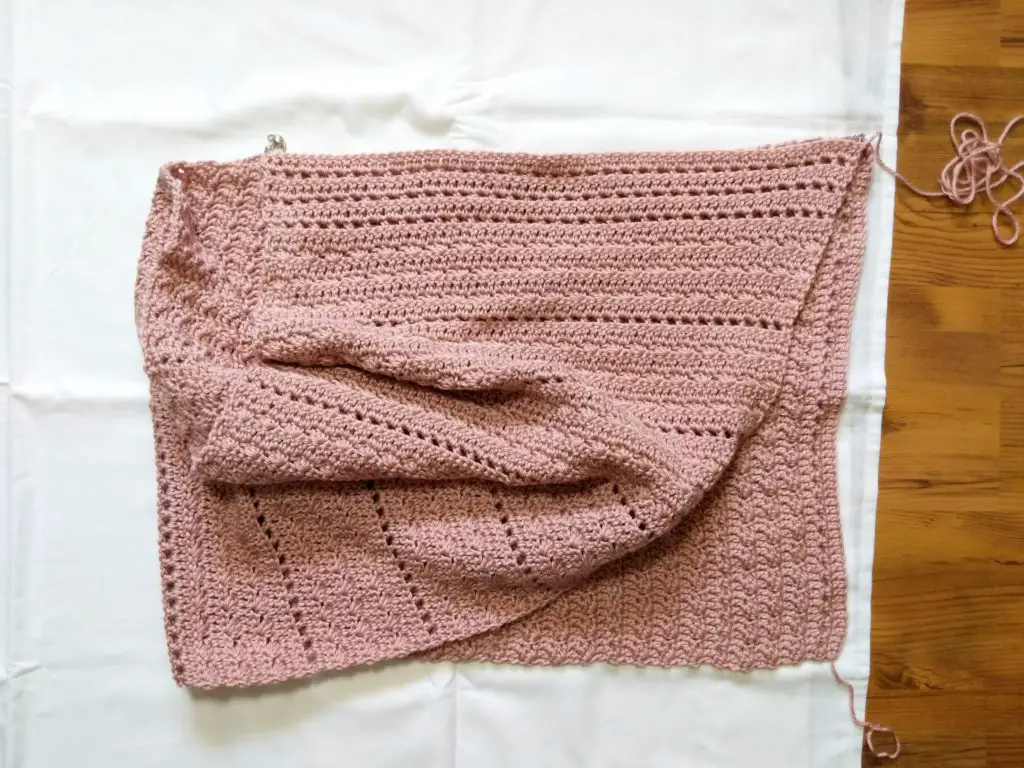
Whip stitch your piece together between the stitch markers. Your layers should line up so that you will throw 2 whip stitches into each dc row, 1 whip stitch into each sc, 2dc row, and 1 whip stitch into each hdc, ch1 row.

Now we will finish off the edge of the neckline. Turn your work right side out. Join your yarn in the last stitch where you just finished sewing your poncho together.
Ch 1. Sc around the neckline as follows:
– Place 2 sc in the end of each dc row.
– Place 1 sc in the end of each sc, 2dc (Silt Stitch) row.
– Place 1 sc in the end of each hdc, ch1 row.
If you follow this pattern, you should end up with 100 sc around the neckline for all sizes. Ss to the first sc and bind off.
Weave in all of your ends and you’re done!
I hope you enjoyed making your Alluvium Poncho. It is the perfect thing to throw over any outfit this fall. And since it works up in a fairly short time, you can make a few in different colours to compliment everything in your wardrobe!
I look forward to seeing all your beautiful pictures on Ravelry!
If you’d like to know when I post new patterns and tutorials, head on over to my Facebook and Instagram and give me a like and a follow!
If you enjoyed this free pattern for The Alluvium Poncho, you may want to check out my other designs!