


Sweet Baby Field Mouse Hat - Free Pattern
For Halloween this year, my kids want to be woodland creatures. Well, my daughter wants to be a deer. Since her brothers are too young to care, they get to be a fox and a mouse. Of course, we will see if we even get to go Trick-or-Treating this year, since one or both big kids have had croup on October 31 for the last three years!
If you like it, Pin it!
And don’t forget to follow me there for more crochet inspiration and free patterns.

Free crochet pattern! Beginner-intermediate level.
This post contains affiliate links. I receive a small commission from your purchases through these links at no additional cost to you. See my Terms of Use for more details.
The Inspiration
I love making their costumes and just knew baby Judah would be an adorable field mouse. I bought the Peaches and Cream cotton even though it is very course. I wanted the ears to have a thick structure to them and not flop around all over the place. However, the one ball of Peaches and Cream wasn’t enough for both ears and a full hat – also, the yarn is not at all soft or warm for a baby’s head. I pulled out some ancient blue mohair from my stash (you know, the kind someone gives you because their grandma gave them all her yarn and they heard you crochet, so would you like grandma’s stash?). I think it might have been Lion Brand, but it is so old, I know they don’t make it anymore. Just use something soft in the color you like to accent the gray. I love the way it looks with the ribbed brim. Having the soft lining also makes this a much more practical hat for when the weather cools off. Here in the South, Halloween isn’t always very cold, but the hat is so cute, I wanted it to last through the winter!
The Yarn
I used a couple yarns from my stash including Lily’s Sugars n’ Cream cotton in gray for the outside and an old, tagless mohair-style yarn for the lining. Of course, any worsted/4 weight cotton would work, like Lion Brand 24/7 cotton and any softer style yarn, like Lion Brand New Basic, to make this hat. Any arrangement of colors is possible, like an adorabel pink and gray version, or a white and yellow - use your imagination!


Sweet Baby Field Mouse Hat
Size 9-12 months
Add or reduce the number of increasing rounds to change the size to fit the recipient
Stitches used:
Sc - single crochet
Sc decrease - single crochet descreas
Fphdc – front post half double crochet
Bphdc – back post half double crochet
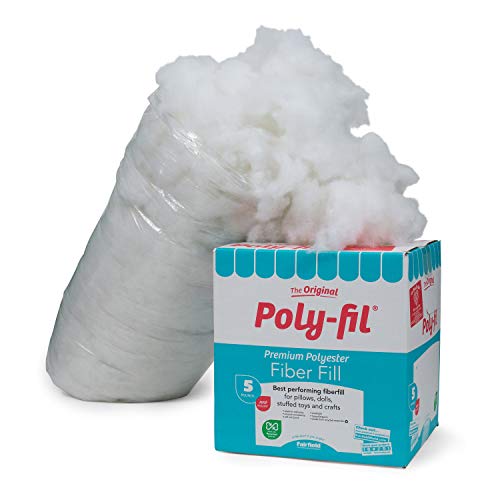
Materials:
Color A: Worsted weight cotton (I used Peaches and Cream in dark gray)
Color B: Worsted weight (I used a soft mohair from my stash)
Hook: G/6 – 4.25mm
Tapestry needle for joining
Fiber fill
Each round is worked continuous without joining, unless otherwise stated. Mark the first stitch of each round to insure even sizing.
*-* indicates repeat
Outer Hat (in Color A)
Rnd 1: sc 7 in magic circle
Alt Rnd 1: Ch 2, sc 7 in 2nd ch from hook
Rnd2: 2 sc in ea
Rnd 3: *sc 1 in next stitch, 2 sc in next stitch* repeat around
Rnd 4: *sc 1 in next 2 stitches, 2 sc in next stitch* repeat around
Rnd 4: *sc 1 in next 3 stitches, 2 sc in next stitch* repeat around
Rnd 5: *sc 1 in next 4 stitches, 2 sc in next stitch* repeat around
Rnd 6: *sc 1 in next 5 stitches, 2 sc in next stitch* repeat around
Rnd 7: *sc 1 in next 6 stitches, 2 sc in next stitch* repeat around
Rnd 8: *sc 1 in next 7 stitches, 2 sc in next stitch* repeat around
Rnd 9: *sc 1 in next 8 stitches, 2 sc in next stitch* repeat around
Rnd 10: *sc 1 in next 9 stitches, 2 sc in next stitch* repeat around
Rnd: 11-21: 1 sc in each stitch
Finish off
Inner Hat (in Color B)
Complete Rnds 1-20 of outer hat
Finish off
Outer Ear (in Color A) Make 2
Rnd 1: sc 6 in magic circle
Alt Rnd 1: Ch2, sc 6 in 2nd ch from hook
Rnd 2: 2 sc in ea
Rnd 3: *1 sc in next stitch, 2 sc in next stitch* repeat around
Rnd 4: *1 sc in next 2 stitches, 2 sc in next stitch* repeat around
Rnd 5: *1 sc in next 3 stitches, 2 sc in next stitch* repeat around
Rnd 6: *1 sc in next 4 stitches, 2 sc in next stitch* repeat around
Rnd 7: *1 sc in next 5 stitches, 2 sc in next stitch* repeat around
Rnd 8: *1 sc in next 6 stitches, 2 sc in next stitch* repeat around
Rnd 9: *1 sc in next 7 stitches, 2 sc in next stitch* repeat around
Rnd 10: 1 sc in each stitch around
Rnd 11: *1 sc in next 7 stitches, sc decrease across next 2 stitches* repeat around
Rnd 12: *1sc in next 6 stitches, sc decrease across next 2 stitches* repeat around
Rnd 13: *1 sc in next 5 stitches, sc decrease across next 2 stitches* repeat around
Finish off, leaving a long tail
Inner Ear (in Color B) Make 2
Complete Rnds 1-6 of outer hat, finish off.

You should have two Outer Ears and one Outer Hat in Color A; two Inner Ears, and one Inner Hat in Color B.
Assemble the ears:
1. Using the long tail of the Outer Ear, stitch around joining the front and back together, stuffing with fiber fill as you go.

Stitch around, stuffing as you go, to create the 3D effect of the ears.
2. Using Color B, stitch the Inner Ear to the Outer Ear along the stuffed portion. You will cover the seam made in the last step.
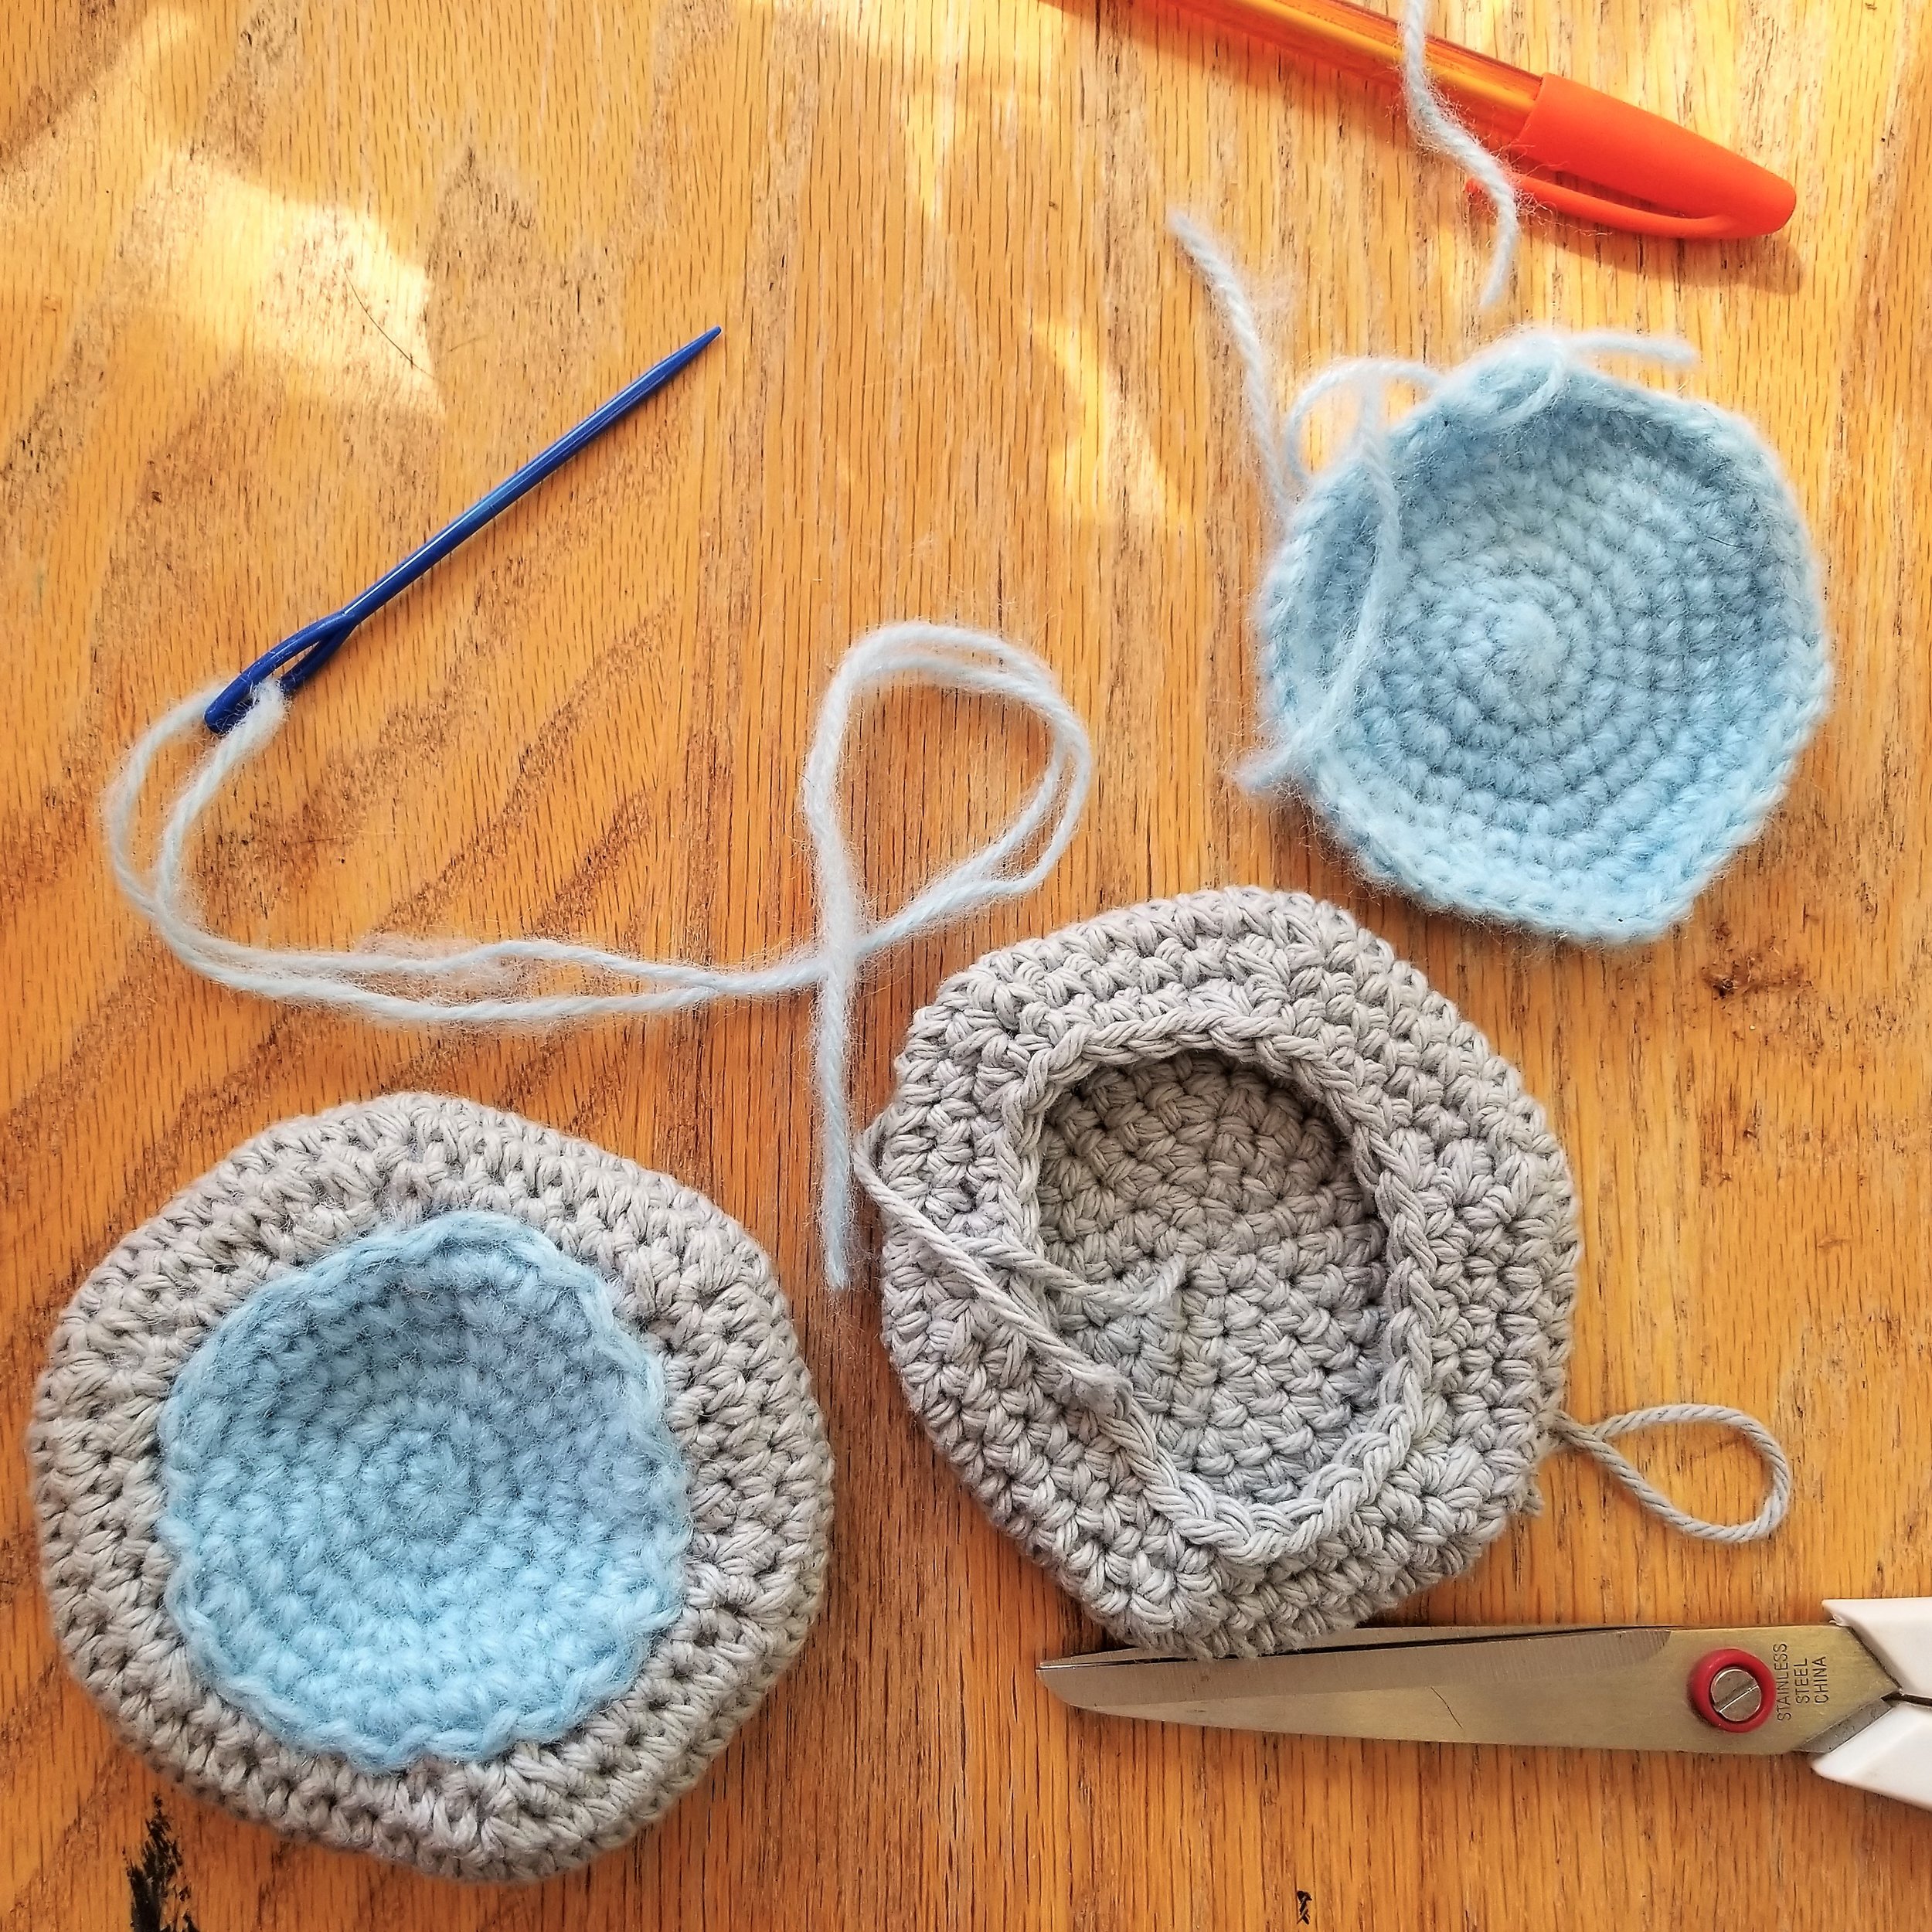
Stitch the inner ear to cover the seam made in the previous step.
3. Attach the ears to Rnd 3 – Rnd 9 of the Outer Hat. You will need a seam on either side of Rnd 10 of the ear for it to stand up.
4. Tuck the Inner Hat into the Outer Hat and attach with the brim:

Tuck the Inner Hat into the Outer Hat and attach with the brim in Color B.
Working through both thicknesses of the Outer and Inner Hat, add the brim as follows:
Rnd 1 (in Color B): sc in each stitch around, join to first stitch of this round
Rnd 2: ch1 (does not count as starting stitch) *fphdc 2, bphdc 2* around, join
Rnd 3: Ch1, *bphdc 2, fphdc 2) around, join
Rnd 4-8: repeat rounds 2 and 3.
Finish off, weave in ends.
This pattern is written by Rebekah Haas. I hold the copyright to this pattern. It should not be published, shared, or sold without direct permission of the designer. You are, of course, welcome to sell any items you make using this pattern. If you post pictures of your item on Instagram or Facebook, please credit me with the design by linking to my Instagram account or website. Thank you for choosing to make my pattern! I hope it inspires you!

Free Crochet Pattern!


