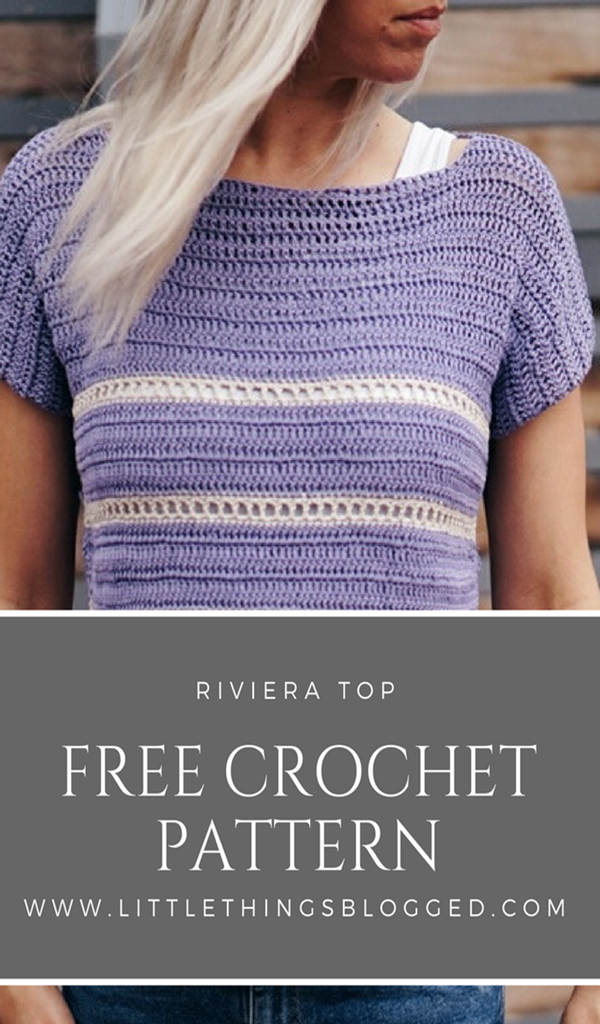
Crochet Riviera Top Pattern
Hello friends!
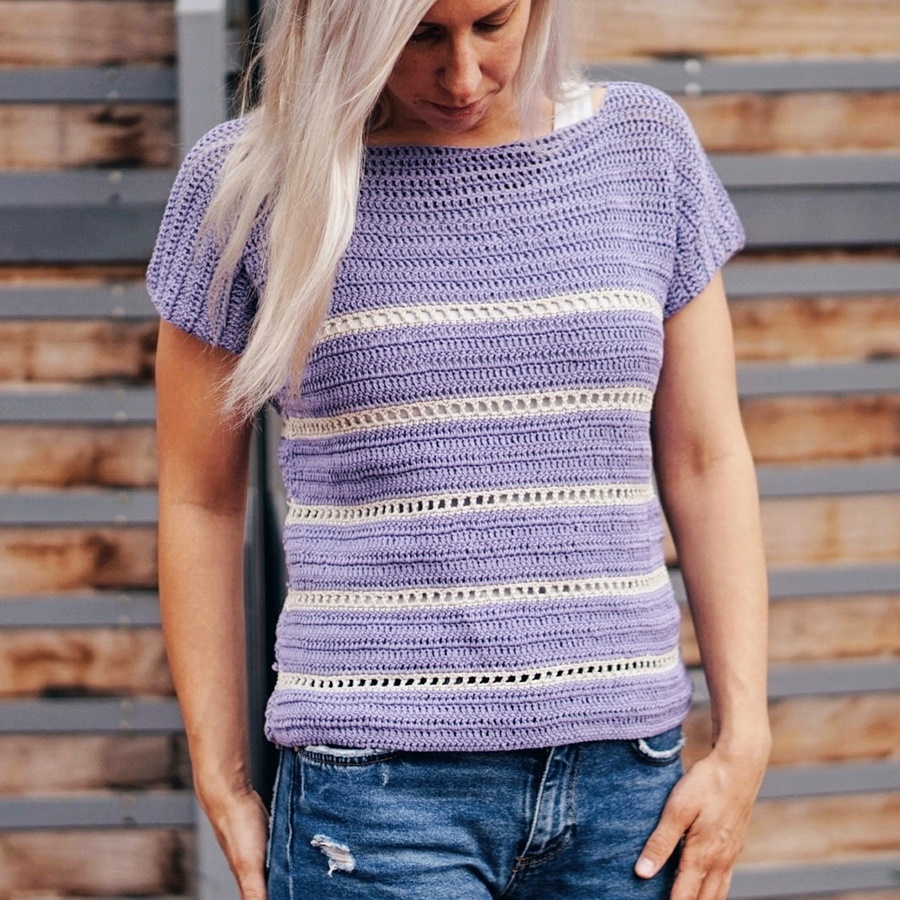
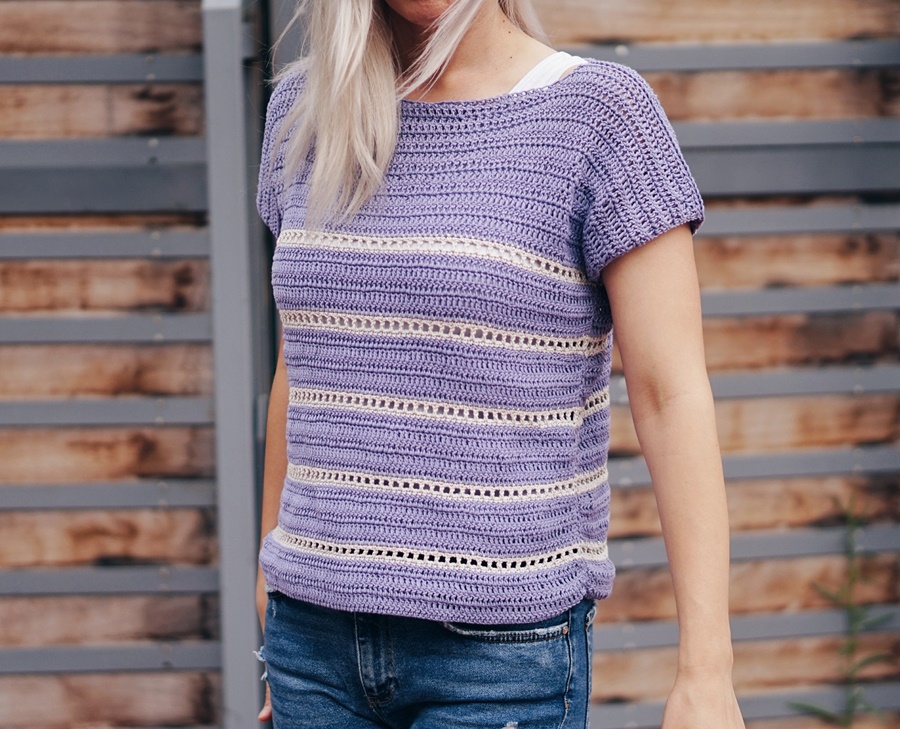
Summer is here and lightweight crochet projects are on my hook! I am SO excited to show you guys the perfect summer top– the Riviera Top!
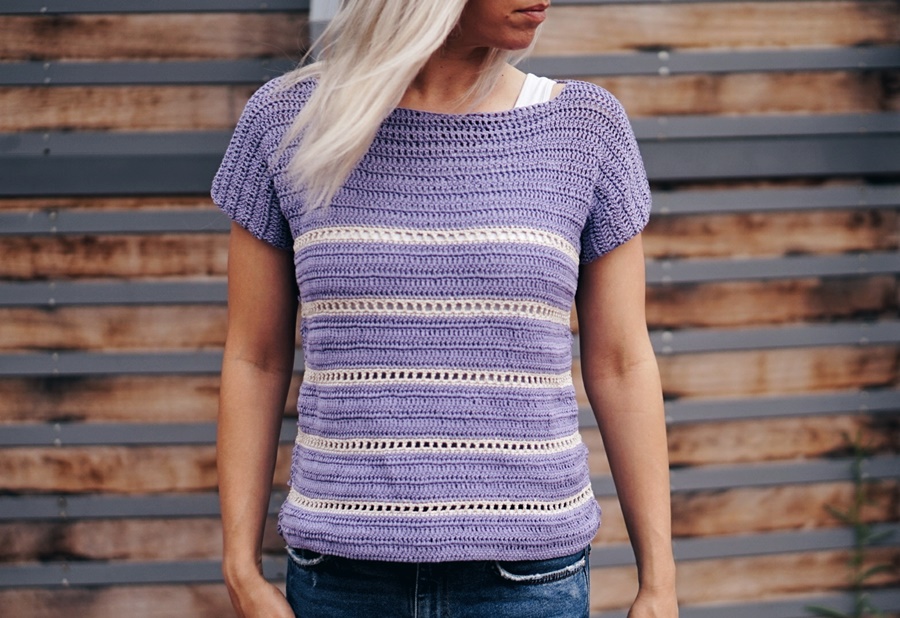
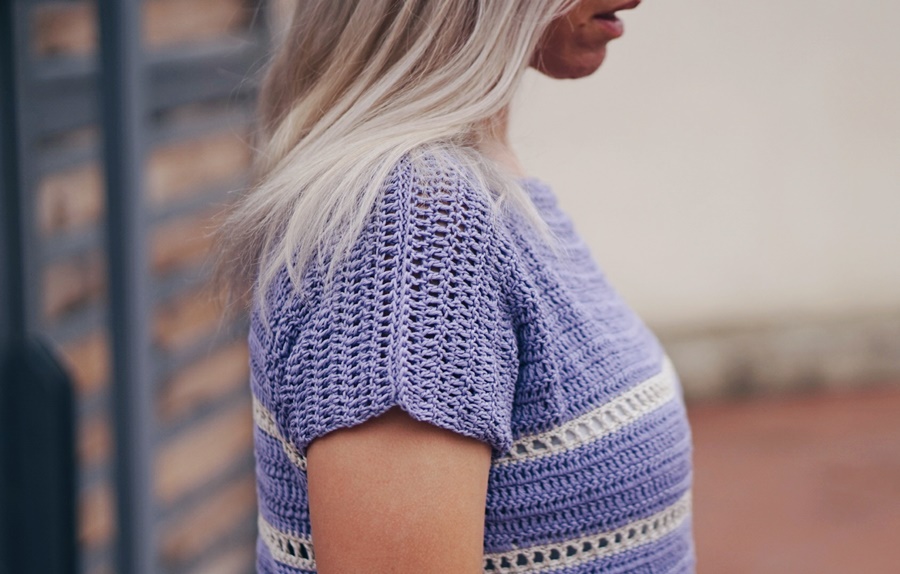
I wanted to design a fun summer garment and when I spotted this gorgeous shade of purple from DMC Natura Just Cotton, I knew it had to be this little summer top. It’s a cap sleeve top that’s soft, cool, and so easy to wear. The Riviera Top is basically 2 rectangles seamed at the shoulders and up the sides making it perfect even for a beginner.
Abbreviations
RS: Right Side of work
WS: Wrong Side of work
Ch: chain
Sl st: slip stitch
Sc: single crochet
Dc: double crochet
Dc2tog: double crochet 2 stitches together (decrease)
Sk: skip
Pat: pattern
St; sts: stitch; stitches
Materials
Size 3.00 mm (D/3) crochet hook or hook needed to obtain gauge
Tapestry needle
Yarn
Dmc Natura Just Cotton (100% Cotton-50gr)
Shown in colors: Cycline (Color A) and Sand (Color B)
Yarn weight: Fingering #1
Any fingering weight yarn may be used for this pattern.
Yarn Requirements
Size S: 4 balls of Color A and 1 ball of Color B
Finished Measurements
Bust: S (34″) M (38″) L (42″) (XL) 46″
Length: S (20.5″) M (20.5″) L (22″) XL ( 22″)
Armhole: S (6.5″) M (6.5″) L (7″) XL (7″)
This design is made with approximately 4” positive ease.
Model shown in size M with 4” positive ease.
Notes
-Gauge
21 sts in dc =4' (10 cm)
BE SURE TO CHECK YOUR GAUGE.
-Pattern written for: S (M, L, XL) – only size S shown below
The pattern is written in US crochet terms.
-Adjusting the length
If you want your top to be longer, continue working the pattern rows (1-8) until you reach about 0.5-1 “less than your desired total length then continue to the sleeve section.
PATTERN-THE RIVIERA TOP
To begin you are going to work the back panel of the top, starting at the bottom and working up towards the neckline.
Body
With Color A
Ch 95
Set up Row: Dc in 4th ch from hook and in each ch across, turn 93sts
Row 1 (RS): Ch 3 (counts as dc here and throughout), dc across the row, turn 93 sts
Row 2 (WS): Ch 3 (counts as dc here and throughout), dc across the row, turn 93 sts
Row 3-5: Ch 3 (counts as dc here and throughout), dc across the row, turn 93 sts
Change to Color B
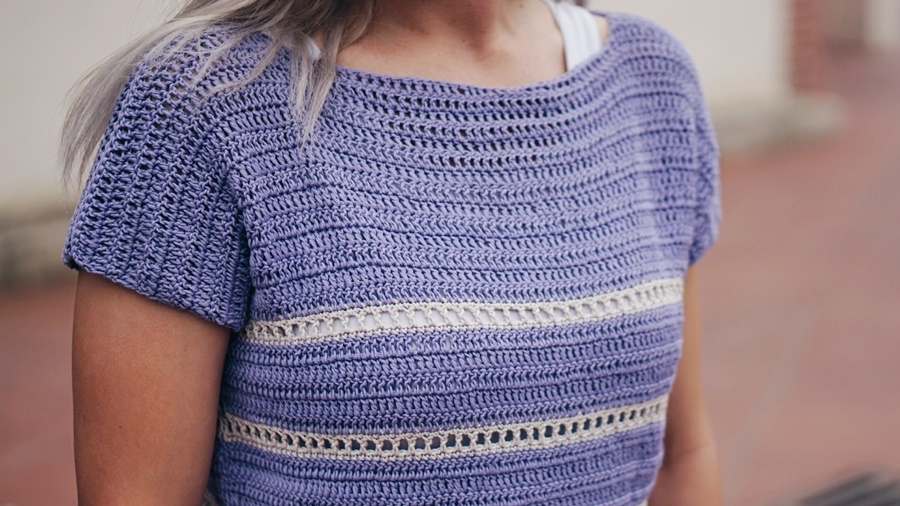
Row 6: Ch 1 (does not count as sc here and throughout), sc across the row, turn 93 sts
Row 7: Ch 4 (counts as dc & ch 1), dc in next st, *sk next st, ch 1, dc in next st, rep from * across the row, turn (93 (99, 109, 119) sts
Row 8: Ch 1 (does not count as sc here and throughout), sc across the row, turn 93 sts
Repeat Rows 1-8 until piece measures 14”
Sleeves
With Color A
Row 1: at the end of last row of body, ch 7, dc in 4th ch from hook, dc in each of the next 3 ch, dc across, dc in top of beginning ch. Take hook off loop, but don’t fasten off. Attach a separate ball of Color A to the top of the dc that is directly below the last dc just made, ch 7, fasten off. Place hook back in the loop where it was left off at the end of last row, dc in 4th ch from hook, dc in each of the next 3 ch, dc across, dc in top of beginning ch. just made, turn. 103 sts.
Row 2: Ch 3 (counts as dc here and throughout), dc across the row, turn, 103 sts.
Repeat Row 2 until piece measures 20.5″
Neckline
Next Row: ch 3, dc in each of next 30 dc, dc2tog, fasten off.
To make it symmetrical on the other side, count in the same amount of sts from the end of the row toward the center, attach MC to the next stitch. ch 2, dc (ch 2 and dc are worked together and counts as dc2tog), dc across, fasten off.
Front
To work the front, you’ll follow all the same instructions as for the back. Once you have two identical panels, weave into your ends. I recommend weaving them into the WS of our work so that they are hidden once your top is finished.
ASSEMBLY
Seaming
You will seam the shoulders first, then seam the body section and lastly seam the underarm section.
Lay Front and back pieces together so that the WS is is facing you.
1. Place stitch markers, connecting both panels.
2. Using Color A, attach yarn to corner st, and start seaming through both panels.
3. Use mattress stitch for best results. (find a great tutorial here)
Blocking your top is recommended.