Marina Tote: Crochet Beach Bag Pattern
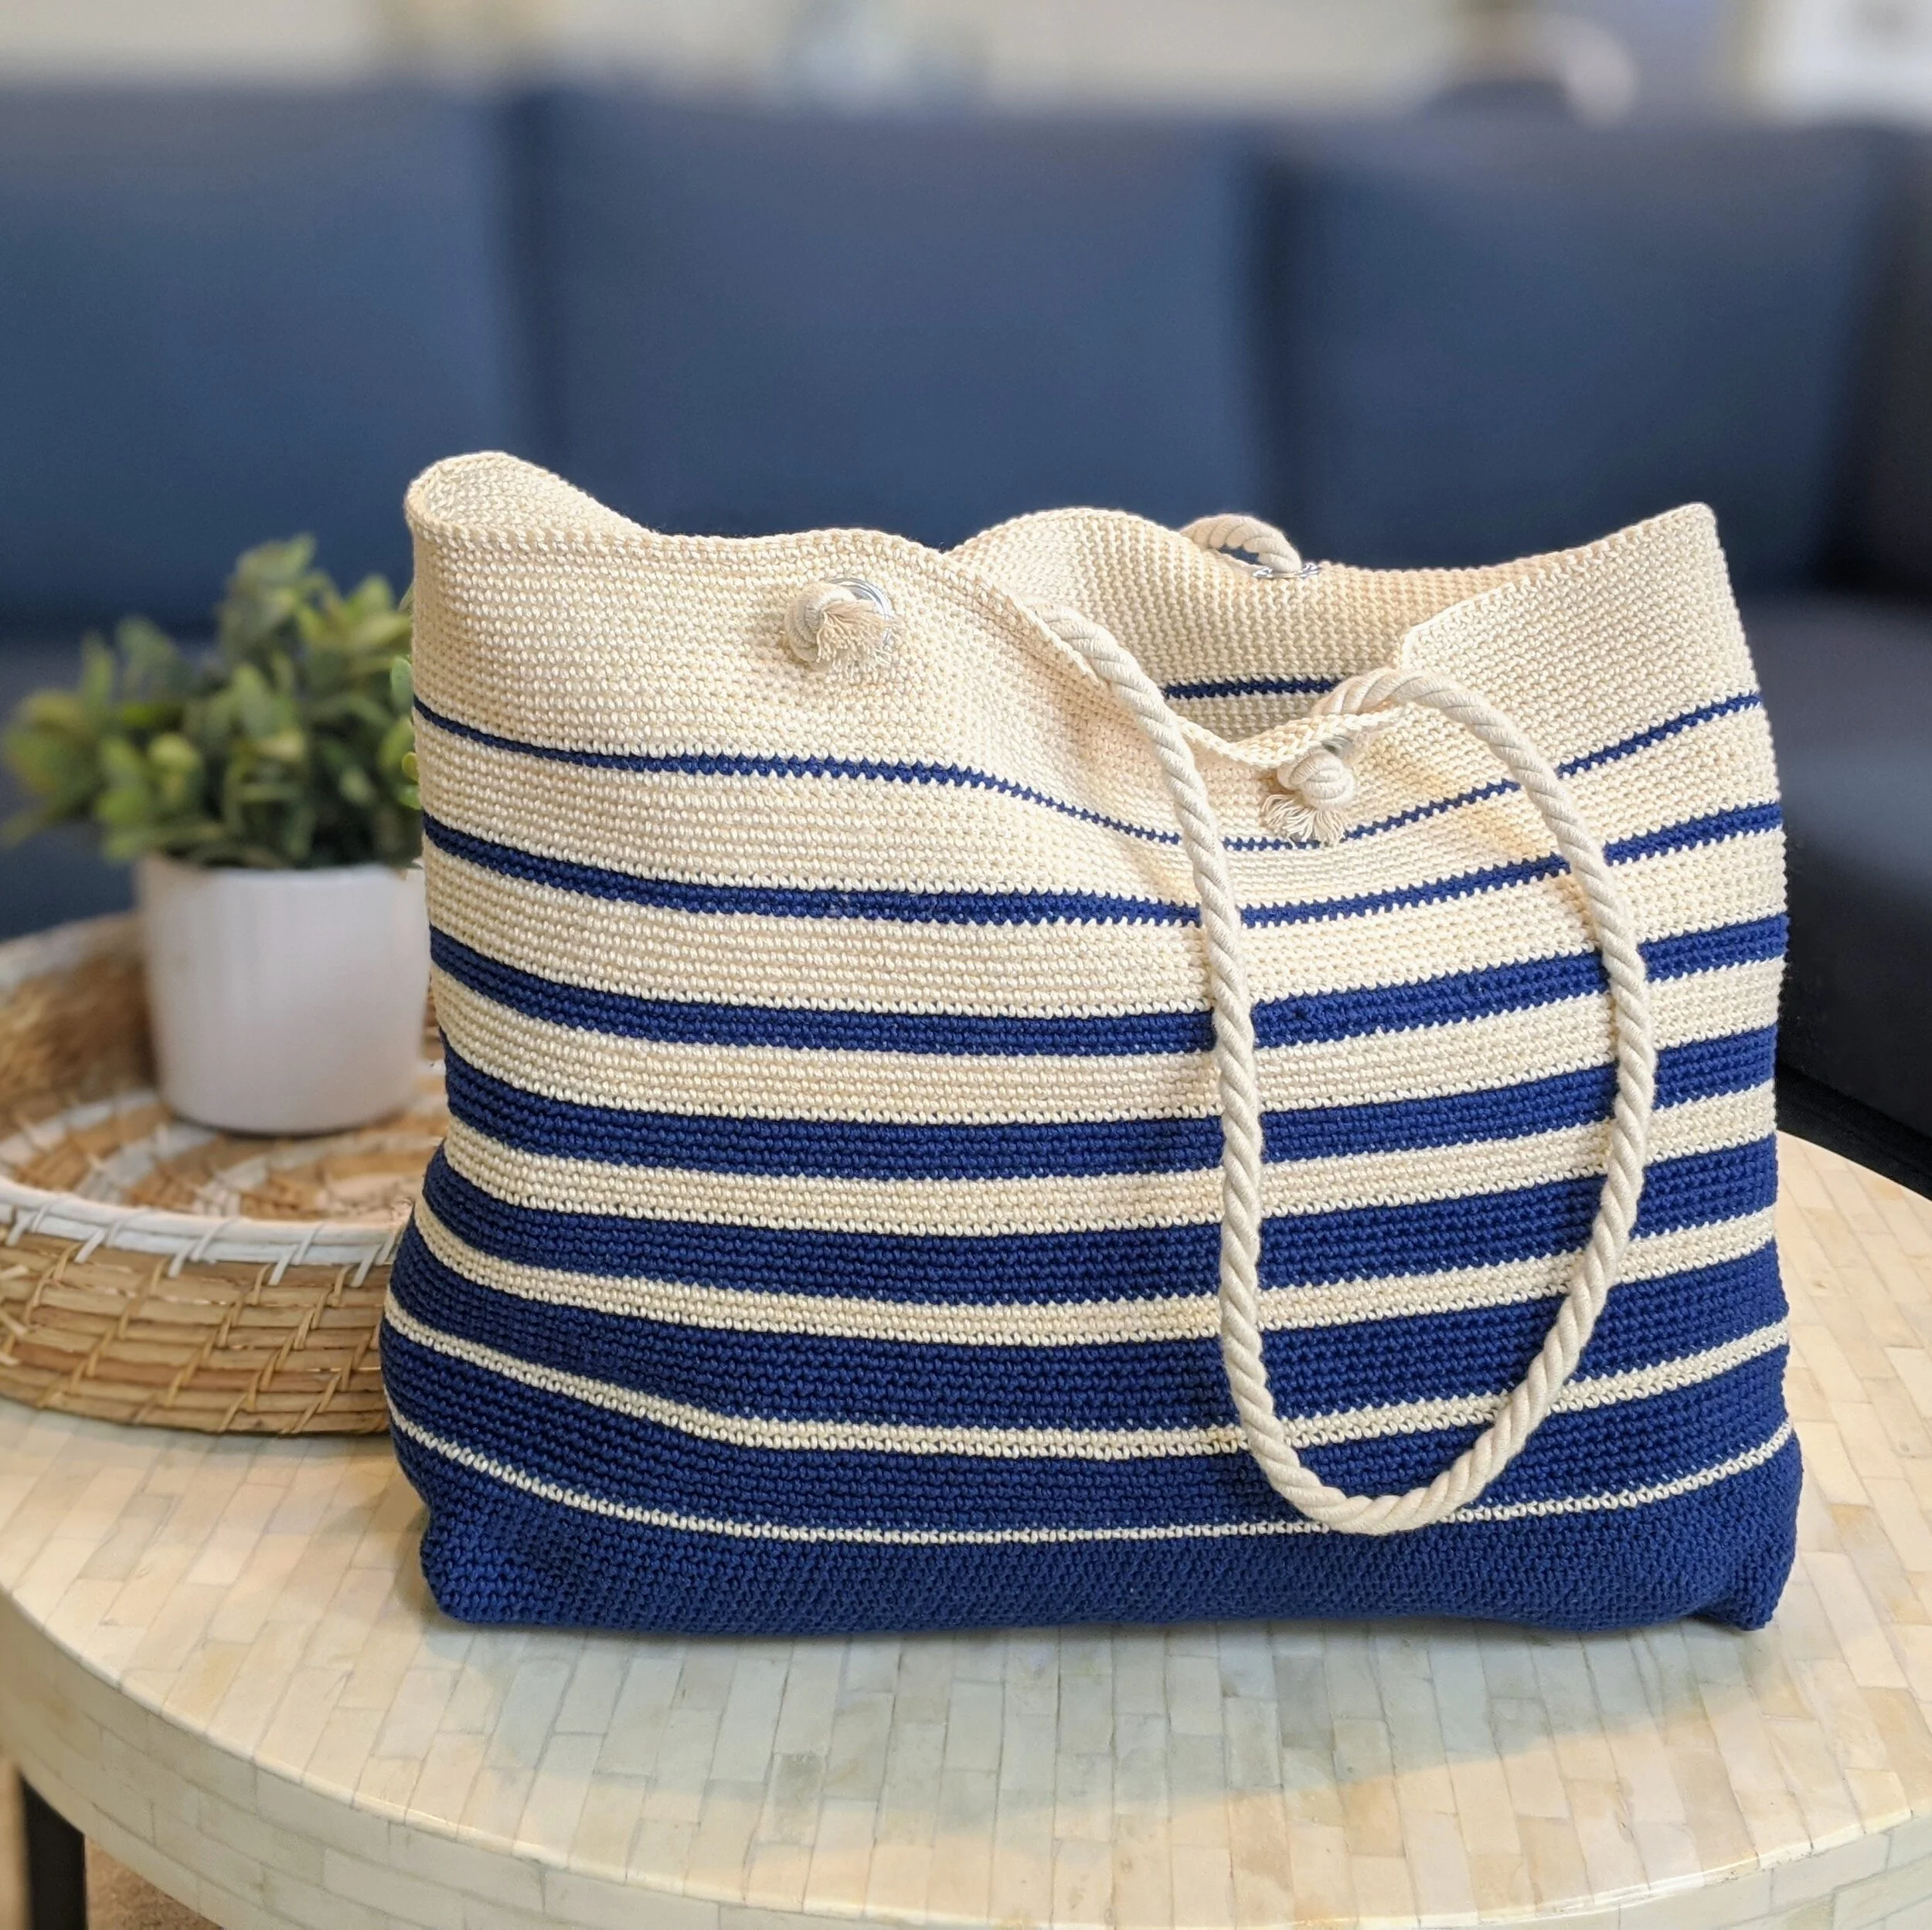
My niece turned one on Saturday, and since she lives so close to the beach, I decided to get her a beach-themed bundle of presents complete with a swimsuit, sun hat, and loads of beach toys. Of course, mom needs a stylish and practical way to carry all of this gear to the beach, so I created this lovely tote for my sister-in-law as well. I call it the Marina Tote - inspired by the nautical design and colors.
Create your own classic hand-crocheted beach bag to carry all of your beach essentials in style by following this simple pattern. While it looks complicated, the design only uses basic stitches: the chain stitch, slip stitch, and single crochet (US terminology), so it’s a good starting bag project for an advanced beginner — or even a brave true beginner!
The bag is worked from the bottom up using Lion brand 24/7 cotton yarn in navy and ecru using size E (3.5mm) crochet hook. The bottom of the bag is then stitched together to give the bag its shape. Stylish grommets (or eyelets as they are sometimes called) and rustic rope handles are added to give the bag a professional look.
Don’t be intimidated by the grommets! This was the first time I ever used them, but they are very easy to install and make the bag look extra classy. If this is the first time you are using grommets, I highly suggest that you buy a grommet kit like this one that I used, as it comes with all the pieces you need to install the grommets.
Looking for a PDF of this pattern? You can find it on Etsy here.
SPECIFICATIONS
SIZES
Finished size: ~21.5" width x 14" height x 5" depth
MATERIALS
Hook: Size E crochet hook. This is my favorite crochet hook and yarn needle set I got from WooCrafts. The set is really affordable and comes with 9 different-sized crochet hooks, 8 yarn needles, stitch markers and a cute carrying case.
Yarn: ~3 skeins each color (6 skeins total) Lion Brand 24/7 Cotton yarn in navy (A), and ecru (B).
Grommets or eyelets: need 4 grommets/eyelets for this project; I recommend buying a kit like this one, which will give you enough grommets for 2 bags plus 2 left over. Grommets should be 1/2” or 7/16” in size - slightly larger than the diameter of your rope handles (see below).
Handles: ~2 yds of 3/8” twisted cord in natural color (or color of your choosing). I got mine at Joann’s.
Hammer
Yarn or tapestry needle
Scissors
ABBREVIATIONS
Ch = chain
Sl st = slip stitch
SC = single crochet
INSTRUCTIONS
Crochet Body of the Bag
To start: Ch 200, join to the first chain to form a circle being careful not to twist.
Going forward we will crochet in the round.
Rd 1-25: CH1. SC in each ST around. Join with a SL ST to top of first SC (200)
Rd 26: Attach Color B; fasten off Color A. Ch1. SC in each ST around. Join with a SL ST to top of first SC.
Rd 27-33: Attach Color A; fasten off Color B Ch1. SC in each ST around. Join with a SL ST to top of first SC.
Rd 34-35: Attach Color B; fasten off Color A. Ch1. SC in each ST around. Join with a SL ST to top of first SC.
Rd 36-41: Attach Color A; fasten off Color B Ch1. SC in each ST around. Join with a SL ST to top of first SC.
Rd 43-45: Attach Color B; fasten off Color A. Ch1. SC in each ST around. Join with a SL ST to top of first SC.
Rd 46-49: Attach Color A; fasten off Color B Ch1. SC in each ST around. Join with a SL ST to top of first SC.
Rd 50-53: Attach Color B; fasten off Color A. Ch1. SC in each ST around. Join with a SL ST to top of first SC.
Rd 54-57: Attach Color A; fasten off Color B Ch1. SC in each ST around. Join with a SL ST to top of first SC.
Rd 58-62: Attach Color B; fasten off Color A. Ch1. SC in each ST around. Join with a SL ST to top of first SC.
Rd 63-65: Attach Color A; fasten off Color B Ch1. SC in each ST around. Join with a SL ST to top of first SC.
Rd 66-71: Attach Color B; fasten off Color A. Ch1. SC in each ST around. Join with a SL ST to top of first SC.
Rd 72-73: Attach Color A; fasten off Color B Ch1. SC in each ST around. Join with a SL ST to top of first SC.
Rd 74-80: Attach Color B; fasten off Color A. Ch1. SC in each ST around. Join with a SL ST to top of first SC.
Rd 81: Attach Color A; fasten off Color B Ch1. SC in each ST around. Join with a SL ST to top of first SC.
Rd 82-90: Attach Color B; fasten off Color A. Ch1. SC in each ST around. Join with a SL ST to top of first SC.
Rd 91: Ch1, *SC 31, Ch 3, sk 3 sts, SC 32, Ch 3, sk 3 sts, SC 31* repeat from * to *. Join with a SL ST to top of first SC
Rd 92: Ch1, *SC 31, 3 SC inside the space created by the 3 ch sts, SC 32, 3 SC inside the space created by the 3 ch sts, SC 31*. Repeat from * to *. Join with a SL ST to top of first SC.
Rd 93-95: Ch1, SC in each ST around. Join with a SL ST to top of first SC.
Rd 96: Ch1, TURN, SC in each ST around. Join with a SL ST to top of first SC. Fasten off. Weave in all ends.
Attach the Grommets
Follow the instructions on the grommet kit package to attach the grommets in the holes that you created in round 91 (4 total). Be sure to do this on a hard surface (i.e. do not use your glass coffee table!).
When I first tried installing the grommets I was worried they were the wrong size because they seemed too tall for my fabric. The problem was I was not hitting them hard enough! The edge of the grommet actually curls around to hold the grommet in place, so if you feel like yours are not installing properly - try hitting them harder!
Sew the bottom of the bag
Turn the bag inside out so the wrong side is facing out. Lay the bag flat lining up your eyelets/grommets (when the bag is lying flat, you should see 31 sts + grommet + 32 sts + grommet + 31 sts on each side).
Using yarn color A, cut a piece of yarn ~4-5 times the length of the bottom of the bag. Using your yarn needle, seam up the bottom of the bag from end to end, stitch by stitch, using the seam stitch of your choice. Fasten off and weave in ends.
With the bag still inside out, turn it upside down and position the bottom so that one end lays out in a triangular shape, with the seam centered. Use a tape measure and measure/mark a 5” line across the corner base (see photo A below). Stitch across this line being sure to go through to go through both layers of fabric. Repeat on the other side.
Turn the bag right side out. The bottom of the bag should look like Photo B below.
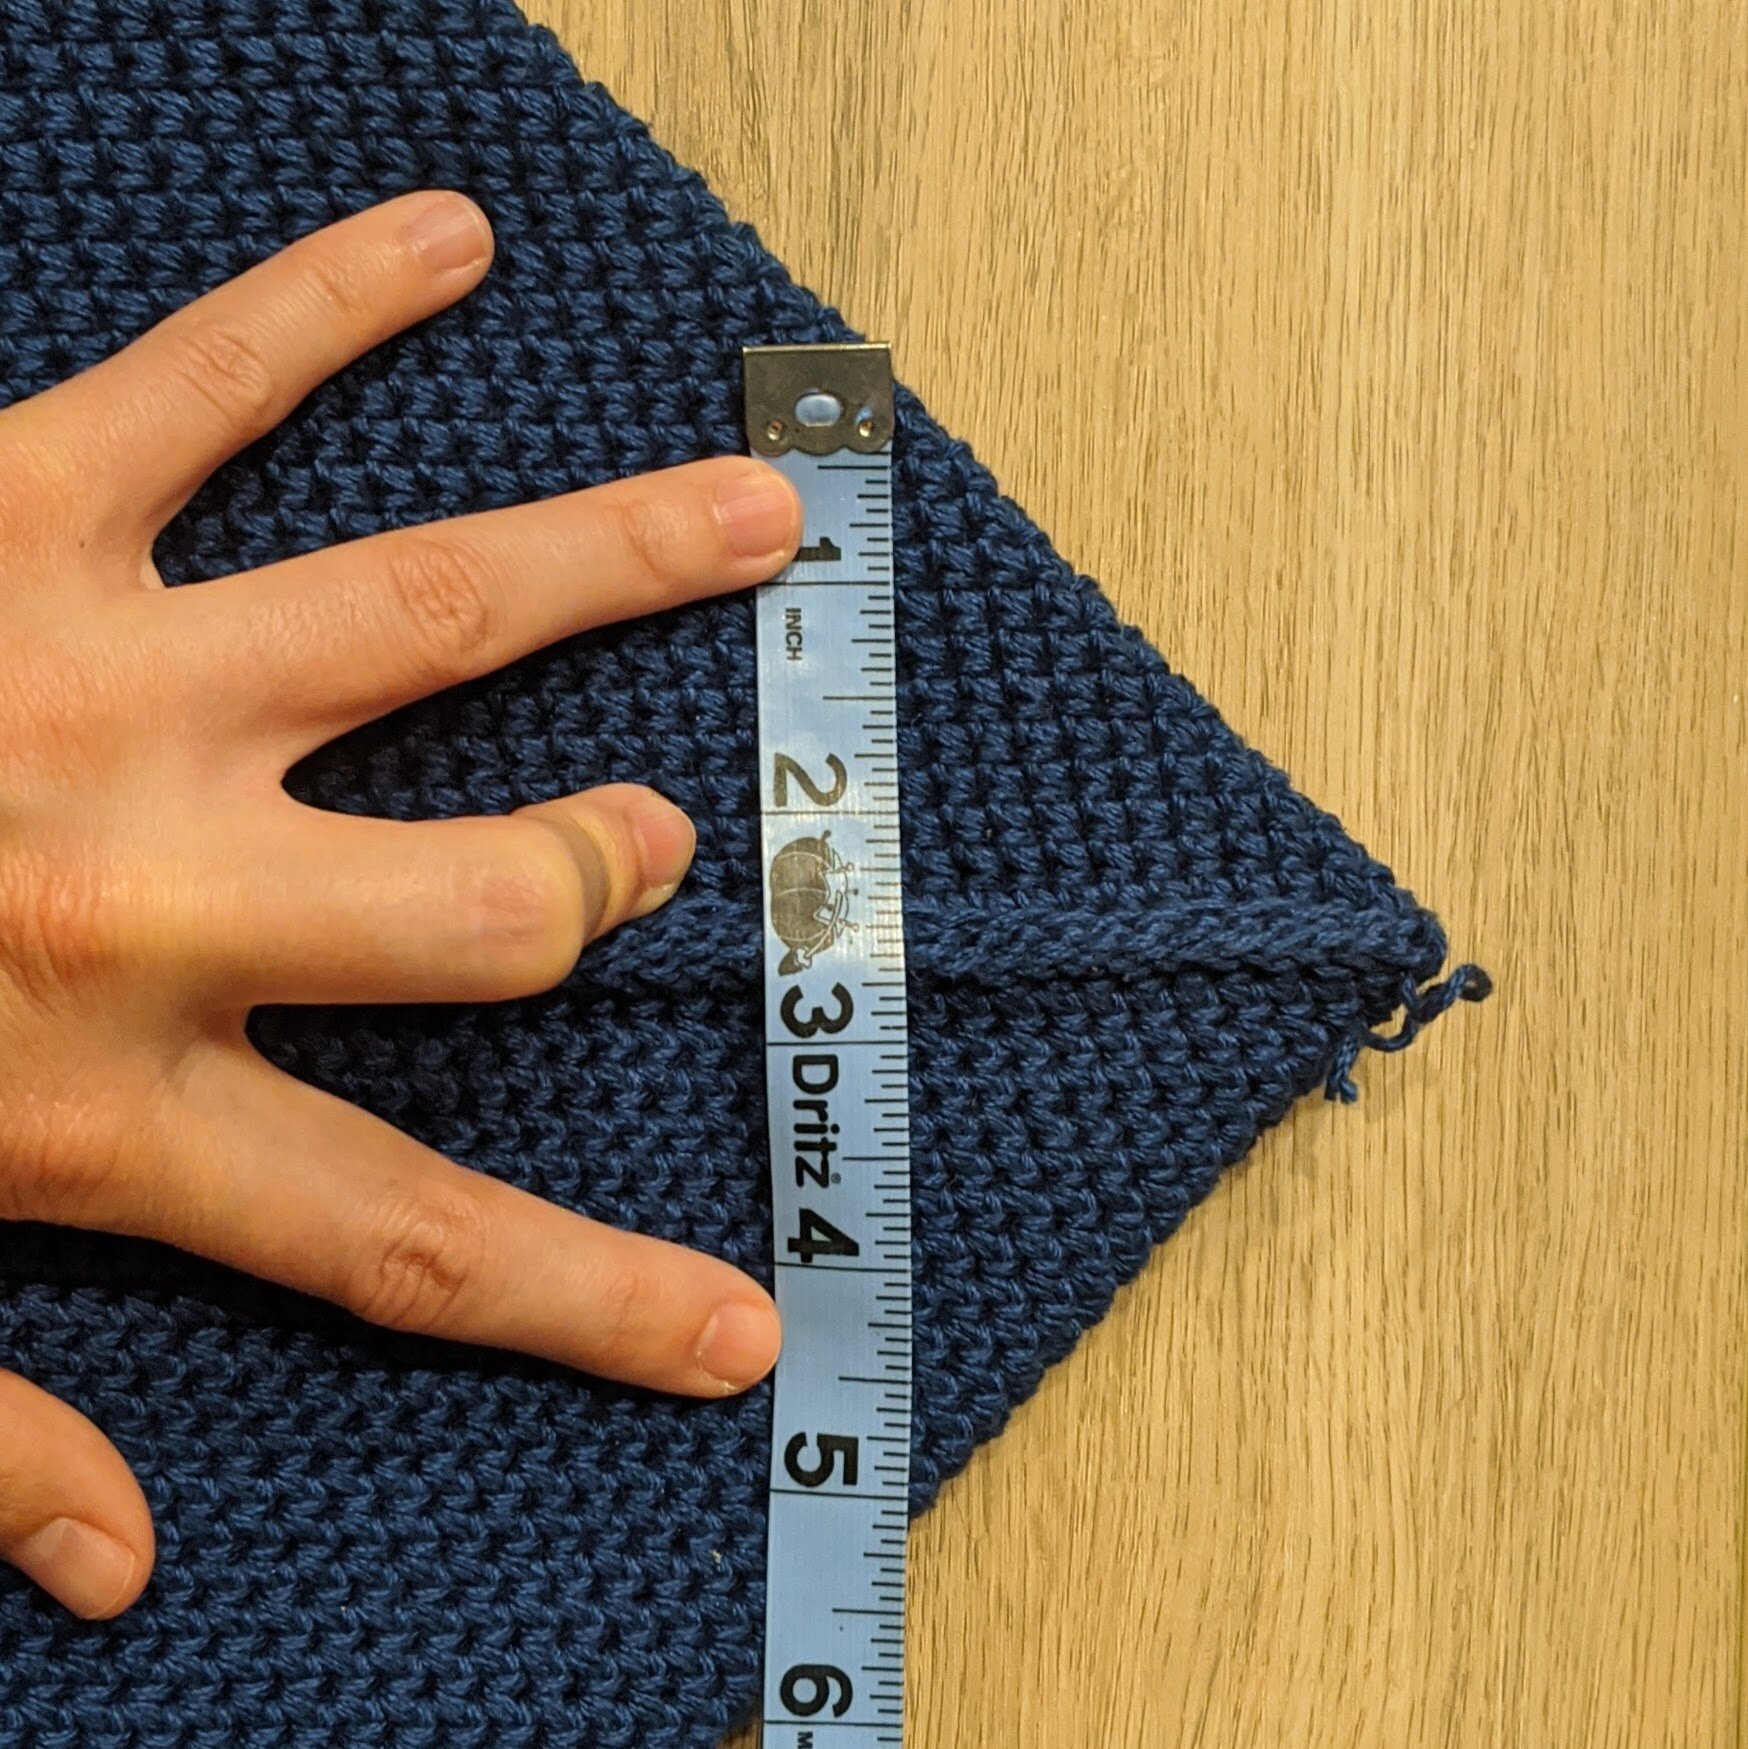
Photo A: Corner seam

Photo B: Bottom of the bag
Add the rope handles

Cut your cord in two so that you have two pieces that measure ~36” each. Tie a knot on one end of the cord so that about 3/4” of cord is sticking out of the end. Thread the other end of the cord through the grommet so that the knot is pulled tight on the right side of the bag. Then thread the cord through the other grommet on the same side to create the handle loop. Adjust the length of the strap to your liking, then tie a knot on the other end of the cord. Then, use good scissors to cut the excess rope about 3/4" below the knot.
If your rope is like mine, it will have some threads wrapped around the cord. Unwind these threads and cut them off, then spread out the exposed strands to give them that rustic, frayed look.
Repeat this process with the other handle, ensuring that the two handles are the same length.
Congratulations, you’ve completed your Marina Tote beach bag — now grab a swimsuit and hit the beach!

***You may make and sell products from my patterns but if you do I ask that you link back to my post. Please do not copy and post this pattern and claim it as your own, or attempt to sell this pattern. Please do not re-publish photos as your own.