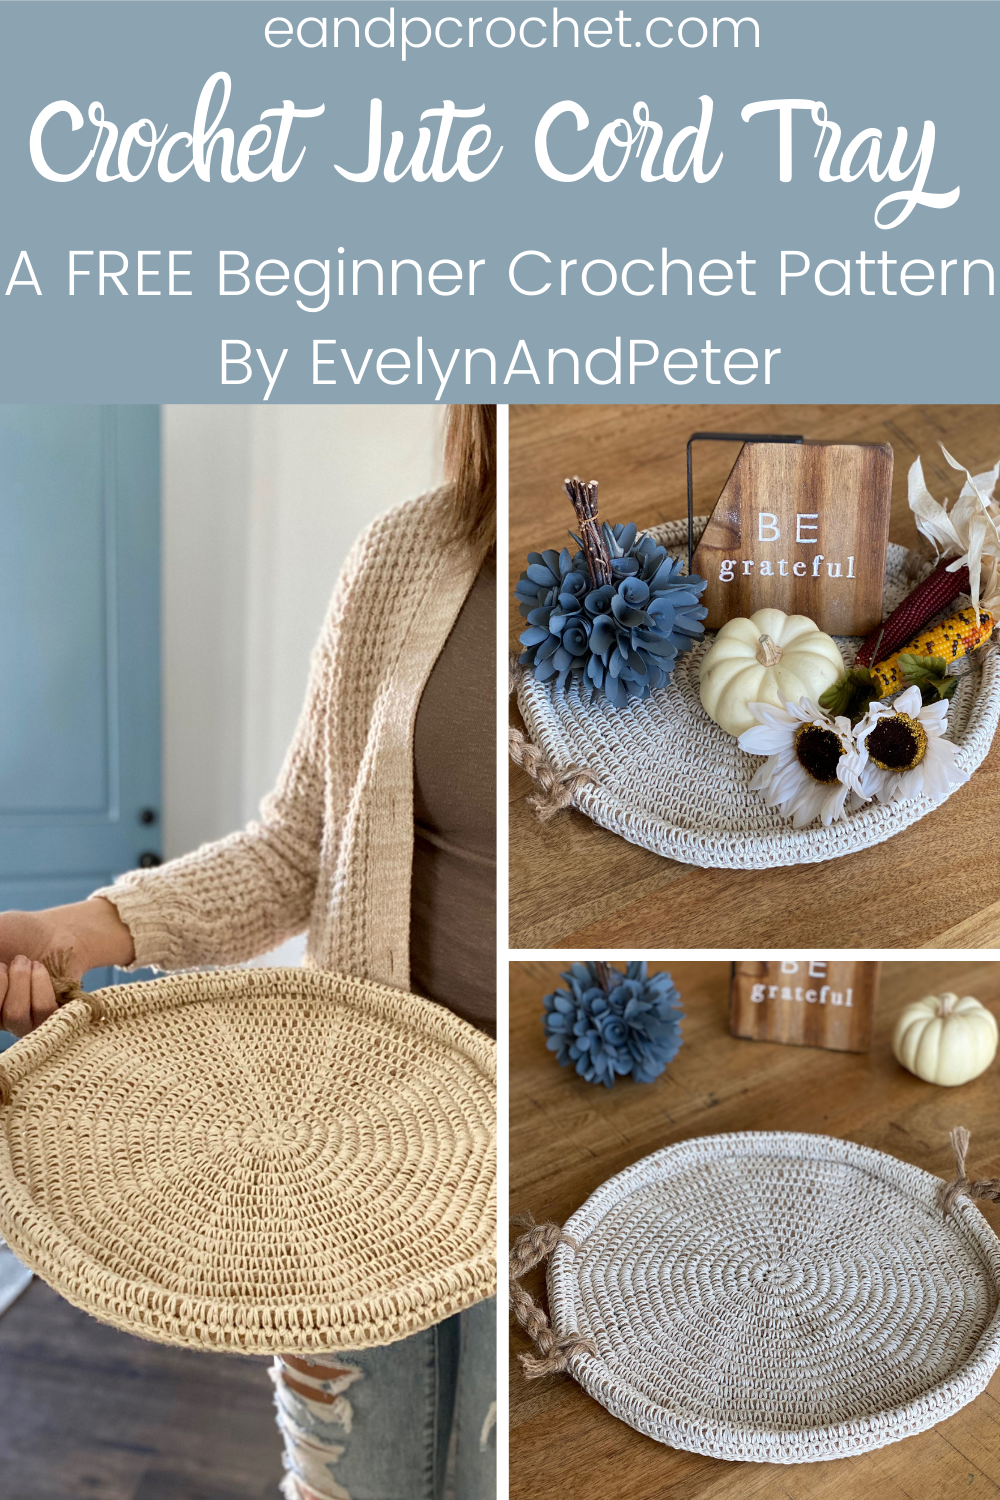
Crochet Jute Cord Tray
How is it already November?! This year has flown by and also moved in slow motion at the same time, haha! With the holidays coming up I wanted something fun to display on my dining room table. This crochet jute cord tray is perfect for exactly that!
Not only can you use it for a fun “Friendsgiving” display but you can easily change out the decor with every season! I think this crochet jute cord tray would be adorable with Christmas decorations on it too!
For this tray we will be crocheting around the actual rope. This is a bit different then holding double stranded and might be a new concept to you! It’s a lot of fun and I know you will love it!
If you love this project and want to make more home decor, be sure to check out my t-shirt rug pattern too!
LINKS:
-
Grab the low cost ad-free printable PDF from my Etsy shop!
-
Save the pattern to Ravelry or purchase the low cost ad-free printable PDF!
-
Check out the full video tutorial on my YouTube Channel!
Materials:
-
Worsted Weight (4) cotton yarn, pattern uses 2 skeins of Lion Brand Re-Up in “Ecru” OR 175 yards.
-
1 skein of “4ply Jute Cord, pattern uses “Park Lane” brand.
-
5.00mm Crochet Hook
-
9.00mm Crochet Hook (for handles only)
-
Yarn needle
Notes:
-
You will be working in continuous rounds. There will be no joining and chaining in between rounds. Instead, use a SM to keep your place and move it up with each round.
-
Starting in round 2 you will be working around your jute cord. Be sure to view the video link below for a full tutorial.
-
If you want your tray to be more firm/stiff you can spray it with fabric stiffener.
Gauge:
14 Sc by 10 rounds= 4X4” (gauge is not crucial to pattern)
Finished Size:
14″
Stitches and Abbreviations:
ML- Magic Loop
Ch- Chain
Sc- Single Crochet
SM- Stitch Marker
Inc- Increase (work 2 Sc in the same St)
St- Stitch
FLO- Front Loop Only
Video Tutorial:
Click here for a full video tutorial!
Pattern:
Begin with your worsted weight yarn only and 5.00mm hook-
Make a ML
Round 1: Ch 1, work 10 Sc into the ML, pull tail of yarn tight to close. (10 Sc)
Note- place Sm and move it up with each round.
Take your jute cord and line it up with the start of your new round, begin round 2 by working your Sc Sts around the jute cord. Your first Sc should be a couple of inches from the end of the jute cord. Each round will now be working around the cord.
Round 2: 2 Sc in each St around. (20 Sc)
Round 3: *1 Sc, Inc* repeat around. (30 Sc)
Round 4: *2 Sc, Inc* repeat around. (40 Sc)
Round 5: *3 Sc, Inc* repeat around. (50 Sc)
Round 6: *4 Sc, Inc* repeat around. (60 Sc)
Round 7: *5 Sc, Inc* repeat around. (70 Sc)
Round 8: *6 Sc, Inc* repeat around. (80 Sc)
Round 9: *7 Sc, Inc* repeat around. (90 Sc)
Round 10: *8 Sc, Inc* repeat around. (100 Sc)
Round 11: *9 Sc, Inc* repeat around. (110 Sc)
Round 12: *10 Sc, Inc* repeat around. (120 Sc)
Round 13: *11 Sc, Inc* repeat around. (130 Sc)
Round 14: *12 Sc, Inc* repeat around. (140 Sc)
Round 15: *13 Sc, Inc* repeat around. (150 Sc)
Round 16: *14 Sc, Inc* repeat around. (160 Sc)
Round 17: 1 Sc in each St around. (160 Sc)
Round 18: 1 Sc (FLO) in each St around. (160 Sc)
Rounds 19-21: 1 Sc in each St around. (160 Sc)
Fold the rim of your tray over. You should see a line/ridge of the back loop that was not worked into on row 18. This is where you will be inserting your hook for the next round. You will no longer be crocheting around your jute cord. Instead, you will tuck it under the rim of your tray that you just folded and crochet over/on top of it, hiding it inside of the edging. You will be working your hook into the first St of the round plus the first back loop St of round 18, 2nd St with the 2nd back loop, 3rd St with the 3rd back loop. Essentially you will be seaming together to create the tray edge.
Round 22: 1 Sl St in each each St and back loop of round 18 around. When you get towards the end of the round, the last few stitches are a bit tricky to reach. Cut the rope and tuck it under the rim. Finish the last few slip stitches to close. (160 Sl St)
Tie off and weave in cotton yarn.
Handles:
Using a 9.00mm crochet hook and jute cord-
Join cord with a Sl St to any stitch along the basket under round 18 on the outside of the tray. Ch 10, skip about a 3-4 inch space and join cord again in any stitch under round 18 with a Sl St. Tie off leaving about a 1” tail and tug both ends of the rope tight to secure. Repeat on the other side being sure to space your handles out evenly.

After making my try I decided to spray a little bit of this fabric stiffener on it to help firm it up a bit! You can find some here.
After that I had to figure out my decor to display on it! I found some super cute things at JOANN stores to display. I also saw all of their Christmas stuff out when I went shopping and am so excited to decorate with it next month! Here is how it looks currently.

I hope you guys enjoyed this crochet jute cord tray tutorial! I had so much fun making it and can’t wait to see all of your finished trays! Be sure to tag me on social media so I can share! 🙂


