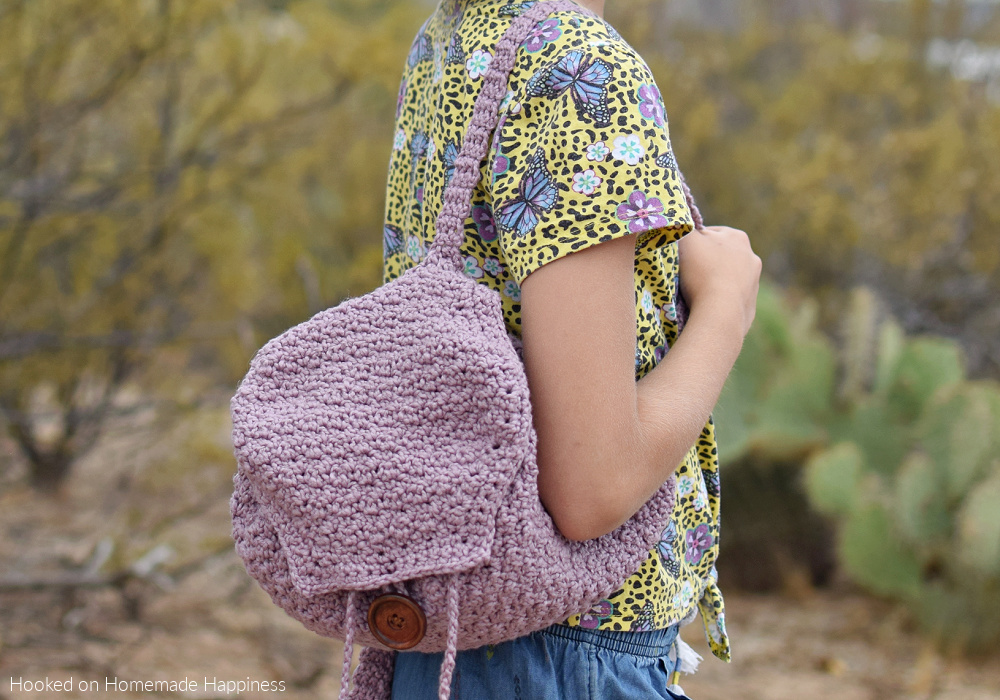
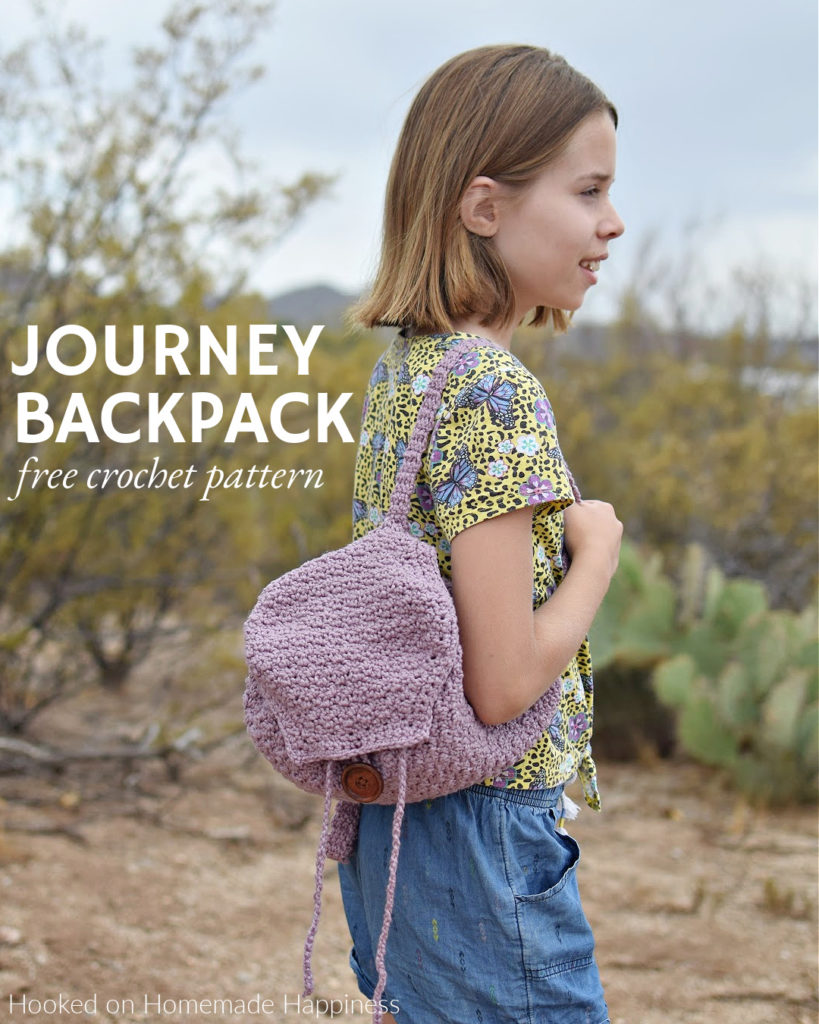
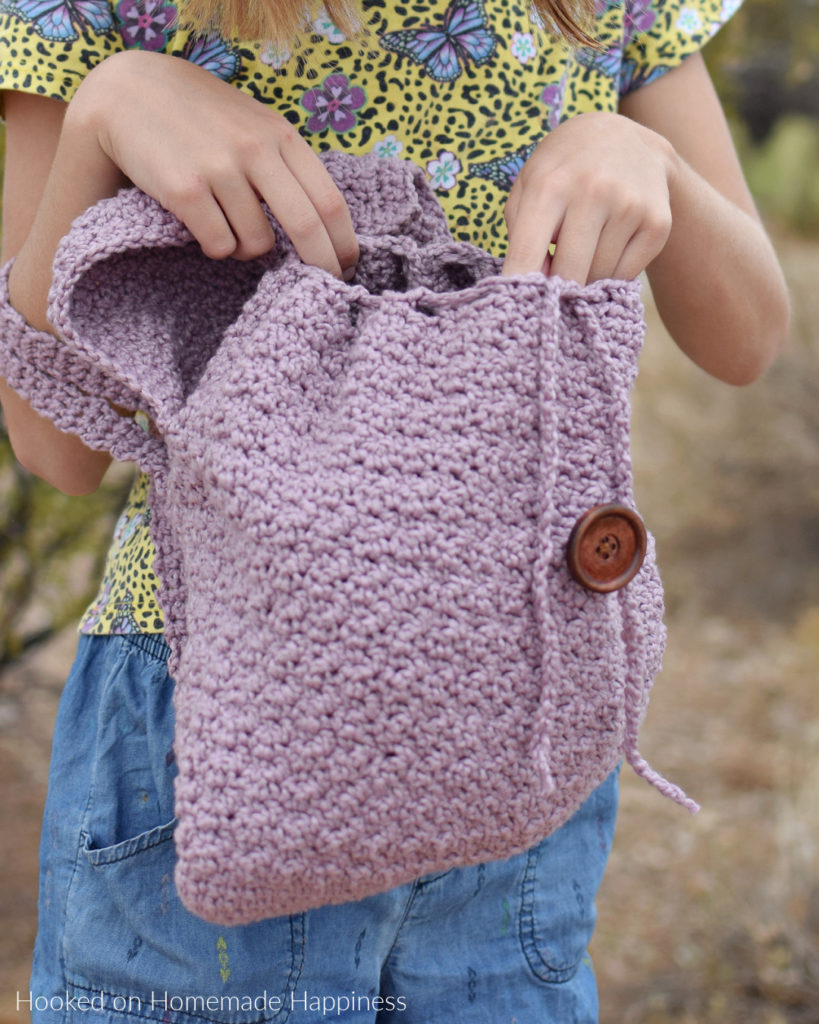
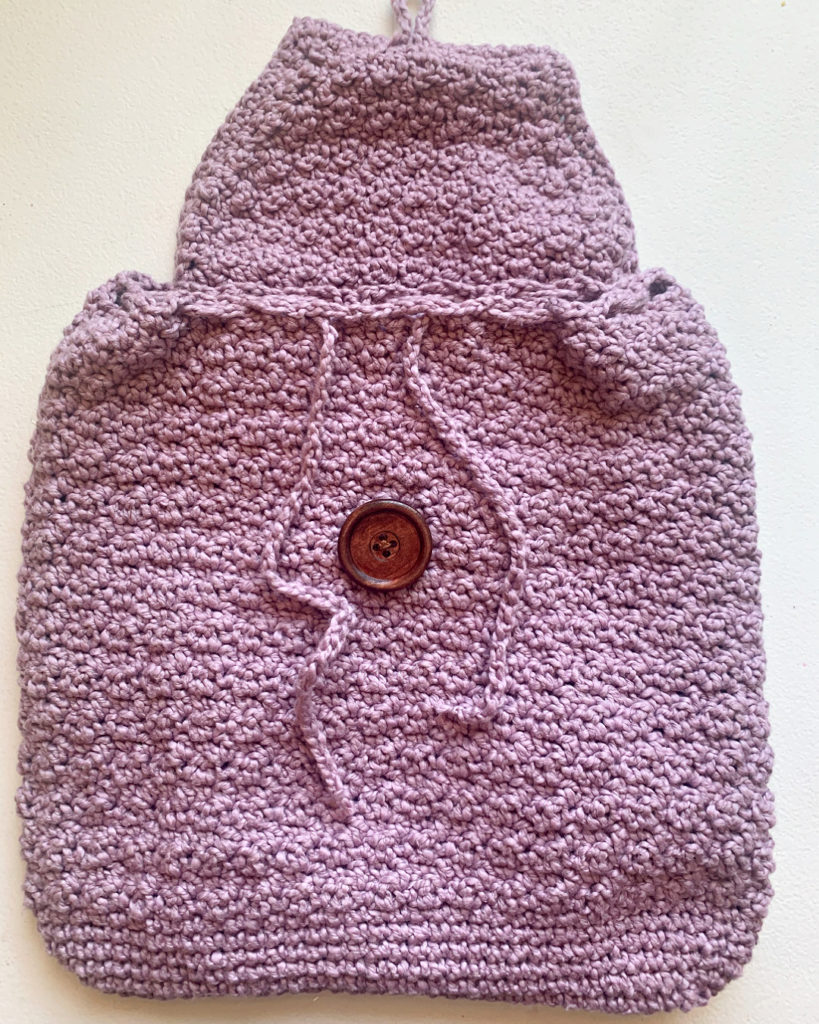
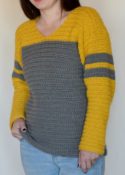
The Journey Backpack Crochet Pattern is such a fun, little bag! This cute backpack features a cinch top with a drawstring and button closure.
The yarn I used is Caron Cotton Funnel Cakes. Unfortunately, this yarn was limited edition and isn’t available anymore. But the regular Caron Cotton Cakes would still work perfectly! Or any cotton worsted weight yarn.
More Homemade Happiness:


Daytrip Cinch Backpack // Sand Dollar Circle Bag // Hippie Sling Bag
click here to pin for later >>>
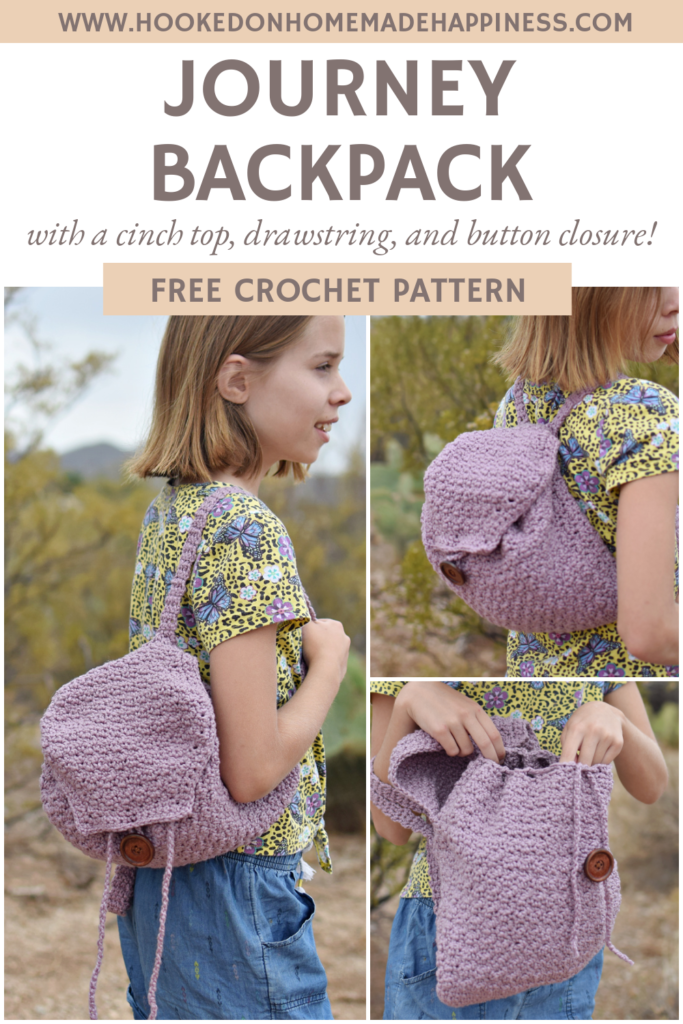
Journey Backpack Crochet Pattern
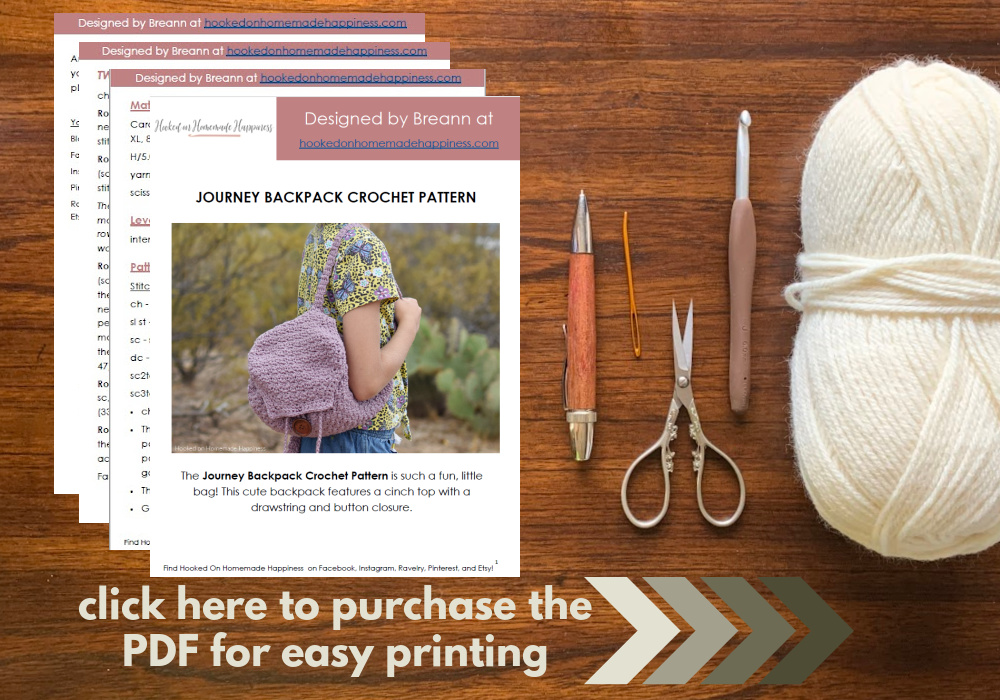
Get the pattern below or purchase the ad-free, printable PDF in my Etsy Shop or Ravelry Shop
PIN for later HERE
Add to your Ravelry Queue HERE
Materials
200g worsted weight cotton yarn (the yarn used in sample (Caron Funnel Cakes) has been discontinued)
5.0 mm hook
yarn needle
scissors
2 stitch markers
Level
intermediate
Pattern notes & Stitches to Know
ch – chain
sc – single crochet
sm – stitch marker
dc – double crochet
sc3tog – single crochet 3 together
dc3tog – double crochet 3 together
· Written in US terms
· ch 2 does not count as dc
· ch 1 does not count as sc
Approx. Finished Size (not including strap) 11.5” x 10.5”
JOURNEY BACKPACK CROCHET PATTERN
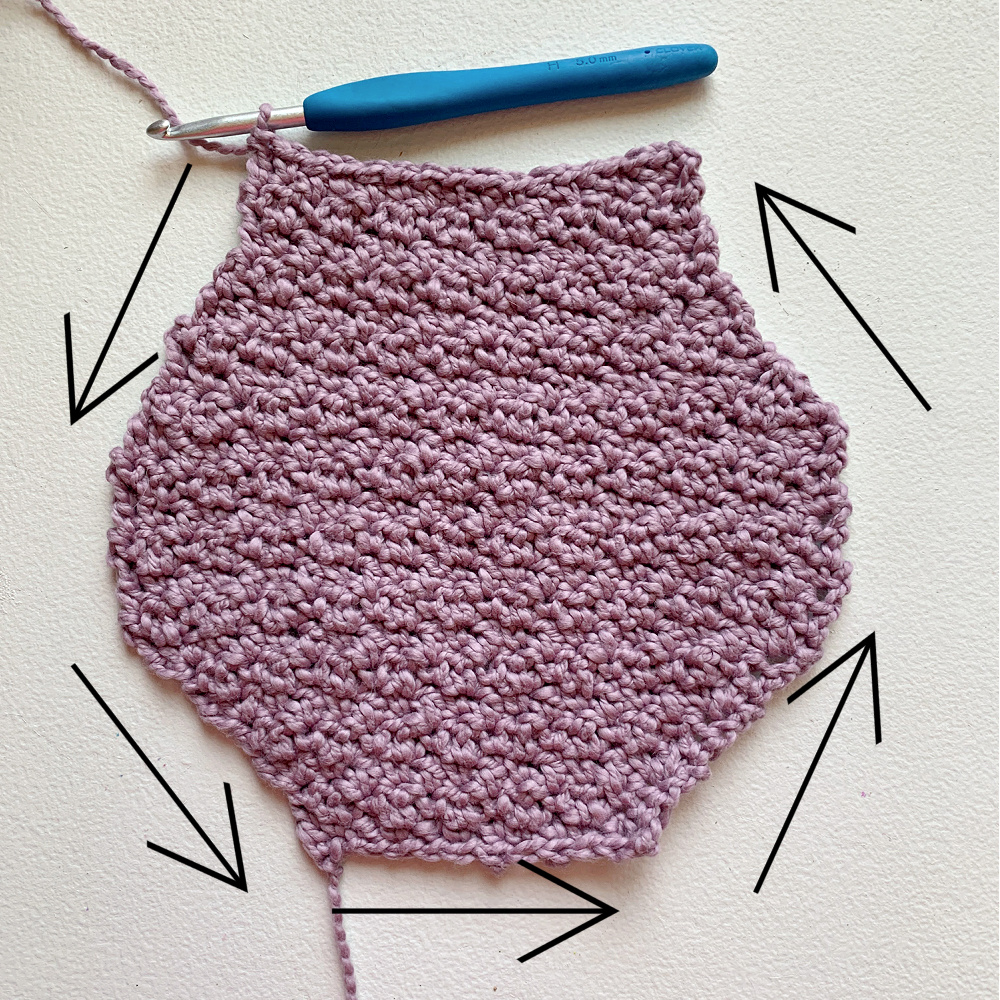
MAIN SECTION OF BACKPACK
ch 33
Round 1: starting in the 2nd ch from the hook, sc in each ch across to the last, 3 sc in the last ch, place a stitch marker in the middle of these 3 stitches, working on the other side of the chain, sc in each ch across to last, 2 sc in last, place a stitch marker in last stitch, join to first sc with sl st (66 sc)
Round 2: ch 1, sc in each stitch to first sm, 3 sc, place sm in middle of these 3 stitches, sc across to next sm, 3 sc, place sm in middle of these 3 stitches, join to first sc with sl st (70 sc)
Round 3: ch 1, sc in each stitch to first sm, 3 sc, place sm in middle of these 3 stitches, sc across to next sm, 3 sc, place sm in middle of these 3 stitches, sc in last stitch, join to first sc with sl st (74 sc)
Round 4 – 6: ch 1, sc in each stitch around, join to first sc with sl st (74 sc)
The remainder of the bag is made in turned rounds
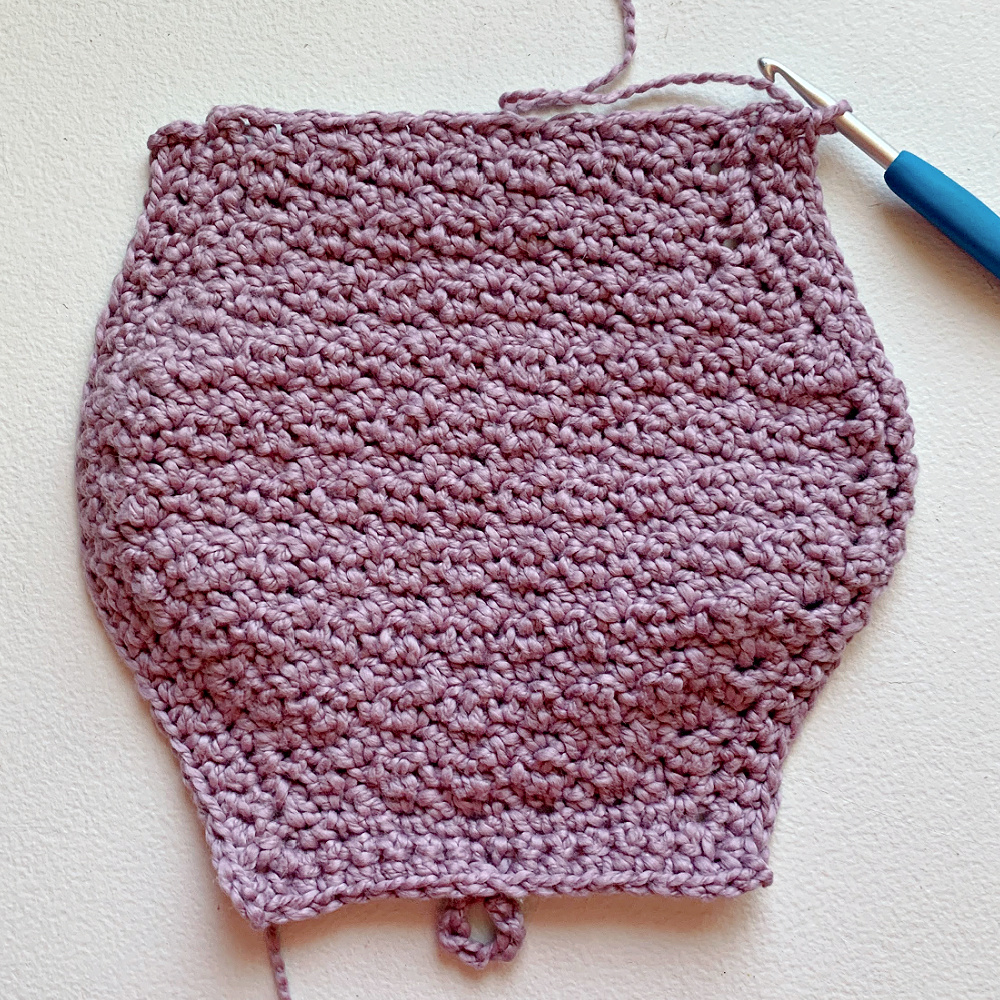
Round 7 – 34: ch 1, turn, sc in first stitch, dc in next, *sc in next stitch, dc in next stitch* repeat from * to * around, join to first sc with sl st (74)
The spaces for the drawstring are made in the next round
Round 35: ch 1, turn, *sc in 2 stitches, ch 2, skip 2 stitches* repeat from * to * around to last 2 stitches, sc in last 2 stitches
Fasten off. Weave in the ends.
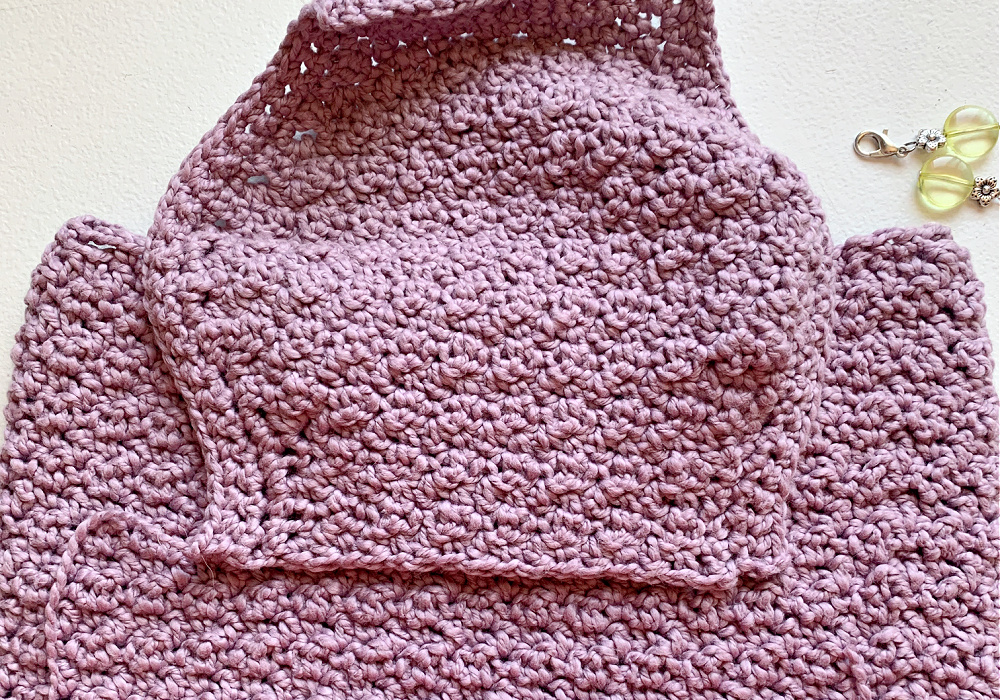
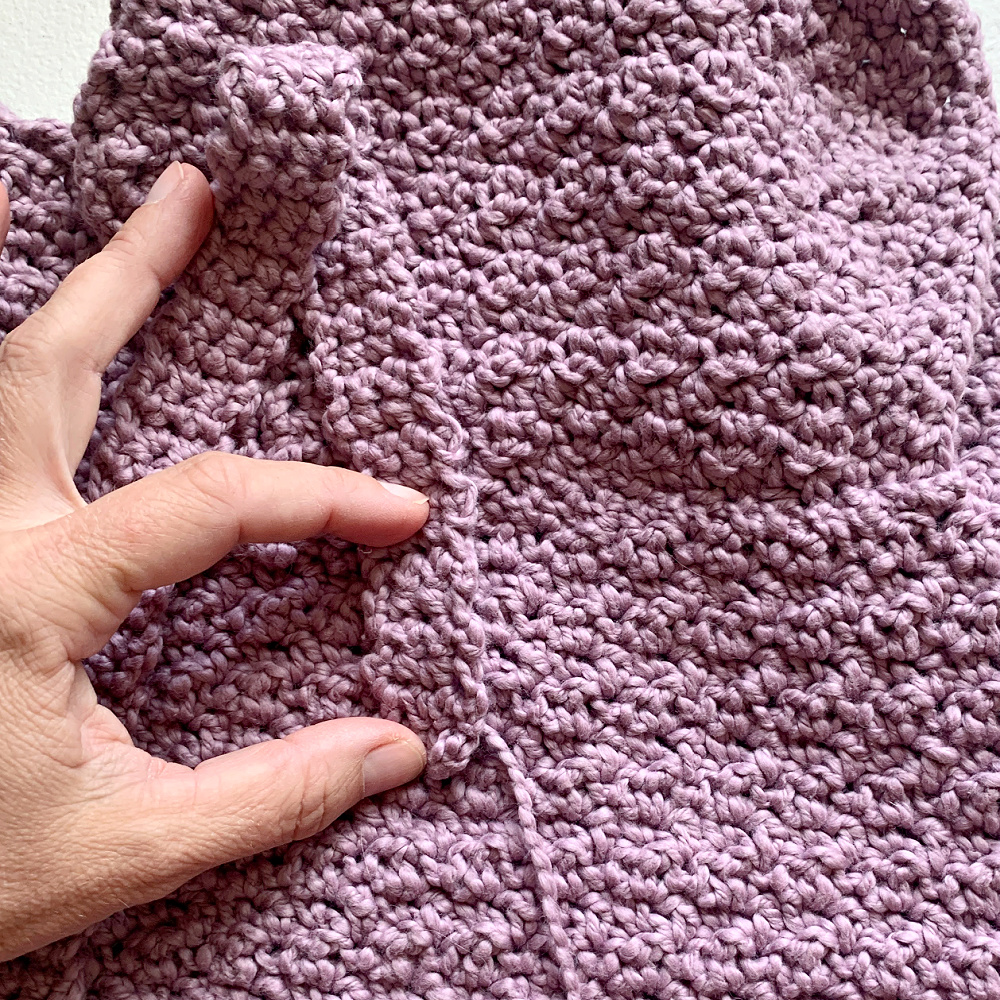
TOP FLAP
ch 13
Row 1: sc in 2nd ch from the hook, dc in next, *sc in next ch, dc in next ch* repeat from * to * across (12)
Row 2: ch 1, turn, sc in first stitch, dc in next, *sc in next stitch, dc in next* repeat from * to * across (12)
Row 3: ch 1, turn, (sc, dc, sc) all in first stitch, *dc in next stitch, sc in next* repeat from * to * across to last stitch, (dc, sc, dc) in last stitch (16)
Row 4 – 8: repeat rows 2 & 3 ending with a row 2 repeat (24)
Row 9 – 14: ch 1, turn, sc in first stitch, dc in next, *sc in next stitch, dc in next* repeat from * to * across (24)
Row 15: ch 1, turn, sc3tog, *dc in next stitch, sc in next* repeat from * to * across to last 3 stitches, dc3tog (20)
Row 16 – 17: ch 1, turn, sc in first stitch, dc in next, *sc in next stitch, dc in next* repeat from * to * across (20)
Row 18: ch 1, turn, sc3tog, *dc in next stitch, sc in next* repeat from * to * across to last 3 stitches, dc3tog (16)
Row 19 – 22: ch 1, turn, sc in first stitch, dc in next, *sc in next stitch, dc in next* repeat from * to * across (16)
Do not fasten off.
ch 1, sc along the side of the flap to the bottom corner (sc, ch 2, sc) in corner, sc along the bottom in the first 6 stitches, ch 10 (this is the button loop), sc in next 6 stitches, (sc, ch 2, sc) in corner, sc in remaining stitches along the side
ch 1, turn, sc in each stitch to ch-2 corner space, (sc, ch 2, sc) in ch-2 space, sc in each stitch across to next ch-2 corner space, (sc, ch 2, sc) in ch-2 space, sc in remaining stitches
Fasten off.
Leave a long end for sewing.
Weave in other ends.
STRAP (make 2)
ch 4 (leave a long end for sewing)
Row 1: sc in 2nd ch from the hook and in remaining chs (3 sc)
Row 2 – 69: ch 1, turn, sc in each stitch across (3 sc)
Leave a long end for sewing.
Or until desired strap length (sample is approx. 17.5”)
DRAWSTRING
ch a length of approx 32”
CONSTRUCTION
Use the long end and yarn needle to sew the back of the flap to the back of the bag. Use whip stitch to sew. Approx 4” from the top
CONSTRUCTION
Sew the button approx 4” from the top on the front

Sew one strap to the bottom of the back of the bag. Lay the strap so it’s on top of the bottom 6 rounds of the bag. I sewed on all three sides of the strap that are laying on the bag. Use the end to sew.
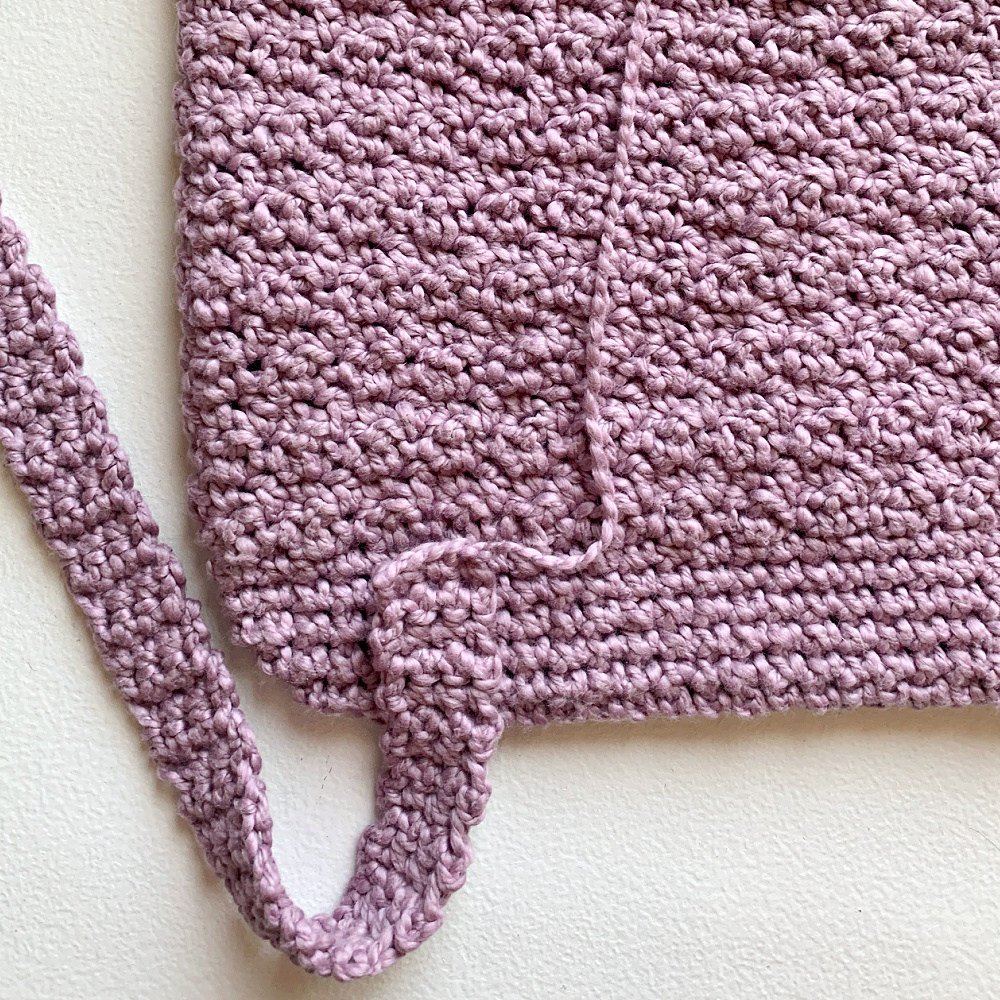
For a slouchier look, sew the stop of the strap just under where the flap is attached (this is how it is sewn on the sample). For a sturdier strap, sew to the top of the bag. Again, I sewed on all three sides that are laying on the bag. Use the end to sew.
Weave in all the ends.
Repeat for other strap.
Thread the drawstring on a yarn needle. Insert the drawstring in a ch-2 space (from round 35 ) right above the button. Weave the drawstring in and out of the ch-2 spaces around. Trim the ends of the drawstring (make sure to close each end tight with a knot)
Looking for more patterns? Follow me on Facebook, Instagram, and Pinterest! Please share a pic of your finished product with me. I’d love to see it!


Breann,
This is soooo cute!!! Your daughter looks so much like you in the shot with her head tipped to the side, I thought it was you & that you cut your hair off!! 🙂