
This post contains affiliate links. This means that when you purchase through one of these links we will receive a small commission at no additional cost to you. Thank you for supporting Rich Texture Crochet!
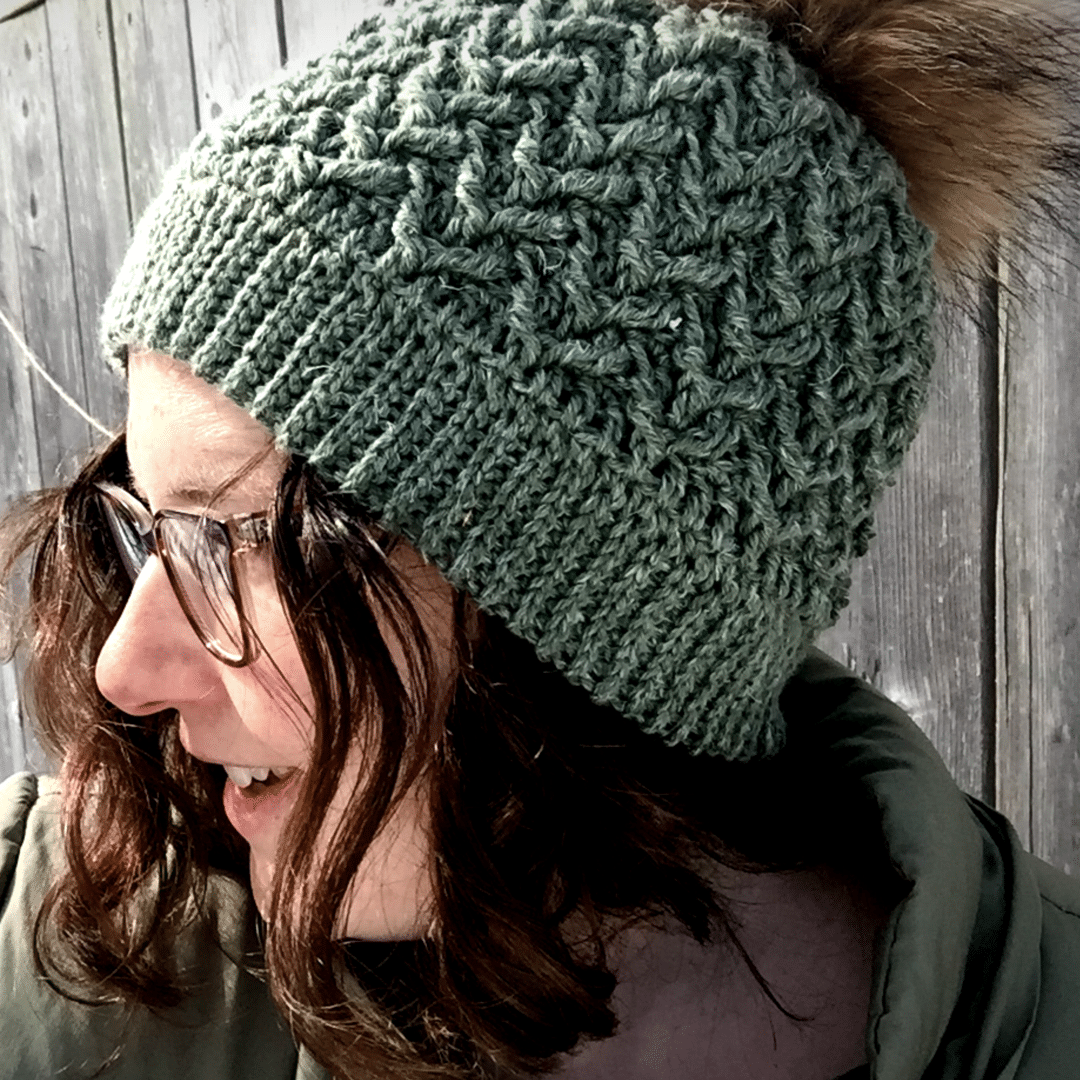
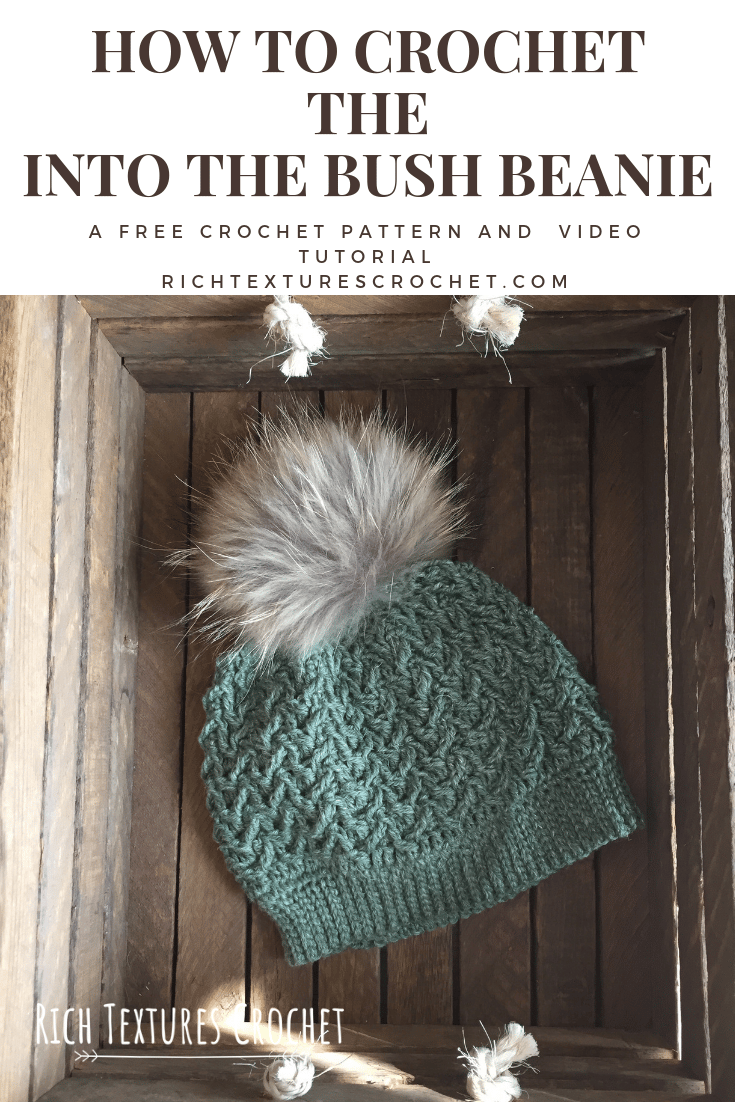
Hello and welcome to Rich Textures Crochet! Today we are going to learn how to crochet the Into the Bush Beanie hat.
This post contains affiliate links which means I will earn a small commission from every purchase made through the links below. Thank you so much!
As I am sitting down to publish this pattern we find ourselves at the beginning of Maple Syrup season here in Southwestern Ontario, Canada. And, I’m not going to lie, this is one of my favourite times of the year!
The Sugar Bush
It’s true, there is usually snow on the ground still at this time of year, but there is hope that spring is on it’s way! Our days are longer, some of the spring birds are returning, and the sap has started running which is boiled down into pure maple syrup. Such an amazing treat.
Each year my family and I love to visit a couple of the sugar shacks near our home. For those of you who are unfamiliar with our Canadian Maple Syrup is made, sap is collected from maple trees (No trees are harmed in the process!) and boiled down to make syrup. It takes about 40 litres of sap to make one litre of syrup so it’s a process that takes much patience.
The places where this syrup is processed is often called a sugar shack, and many of the smaller producers will open their doors to visitors curious about the process and eager to try some fresh.
When we visit, the trip often includes a tour of the facility, a horse draw wagon ride through the Sugar Bush (forest) and the ends at a pancake house where we are served pancakes, bacon and, of course, fresh maple syrup.
Crochet Hat:
Back to the new hat pattern – this is my hat of choice for our Sugar Bush excursion. So I have decided to call it the “Into the Bush Beanie.”
Sugar Bush Yarns:
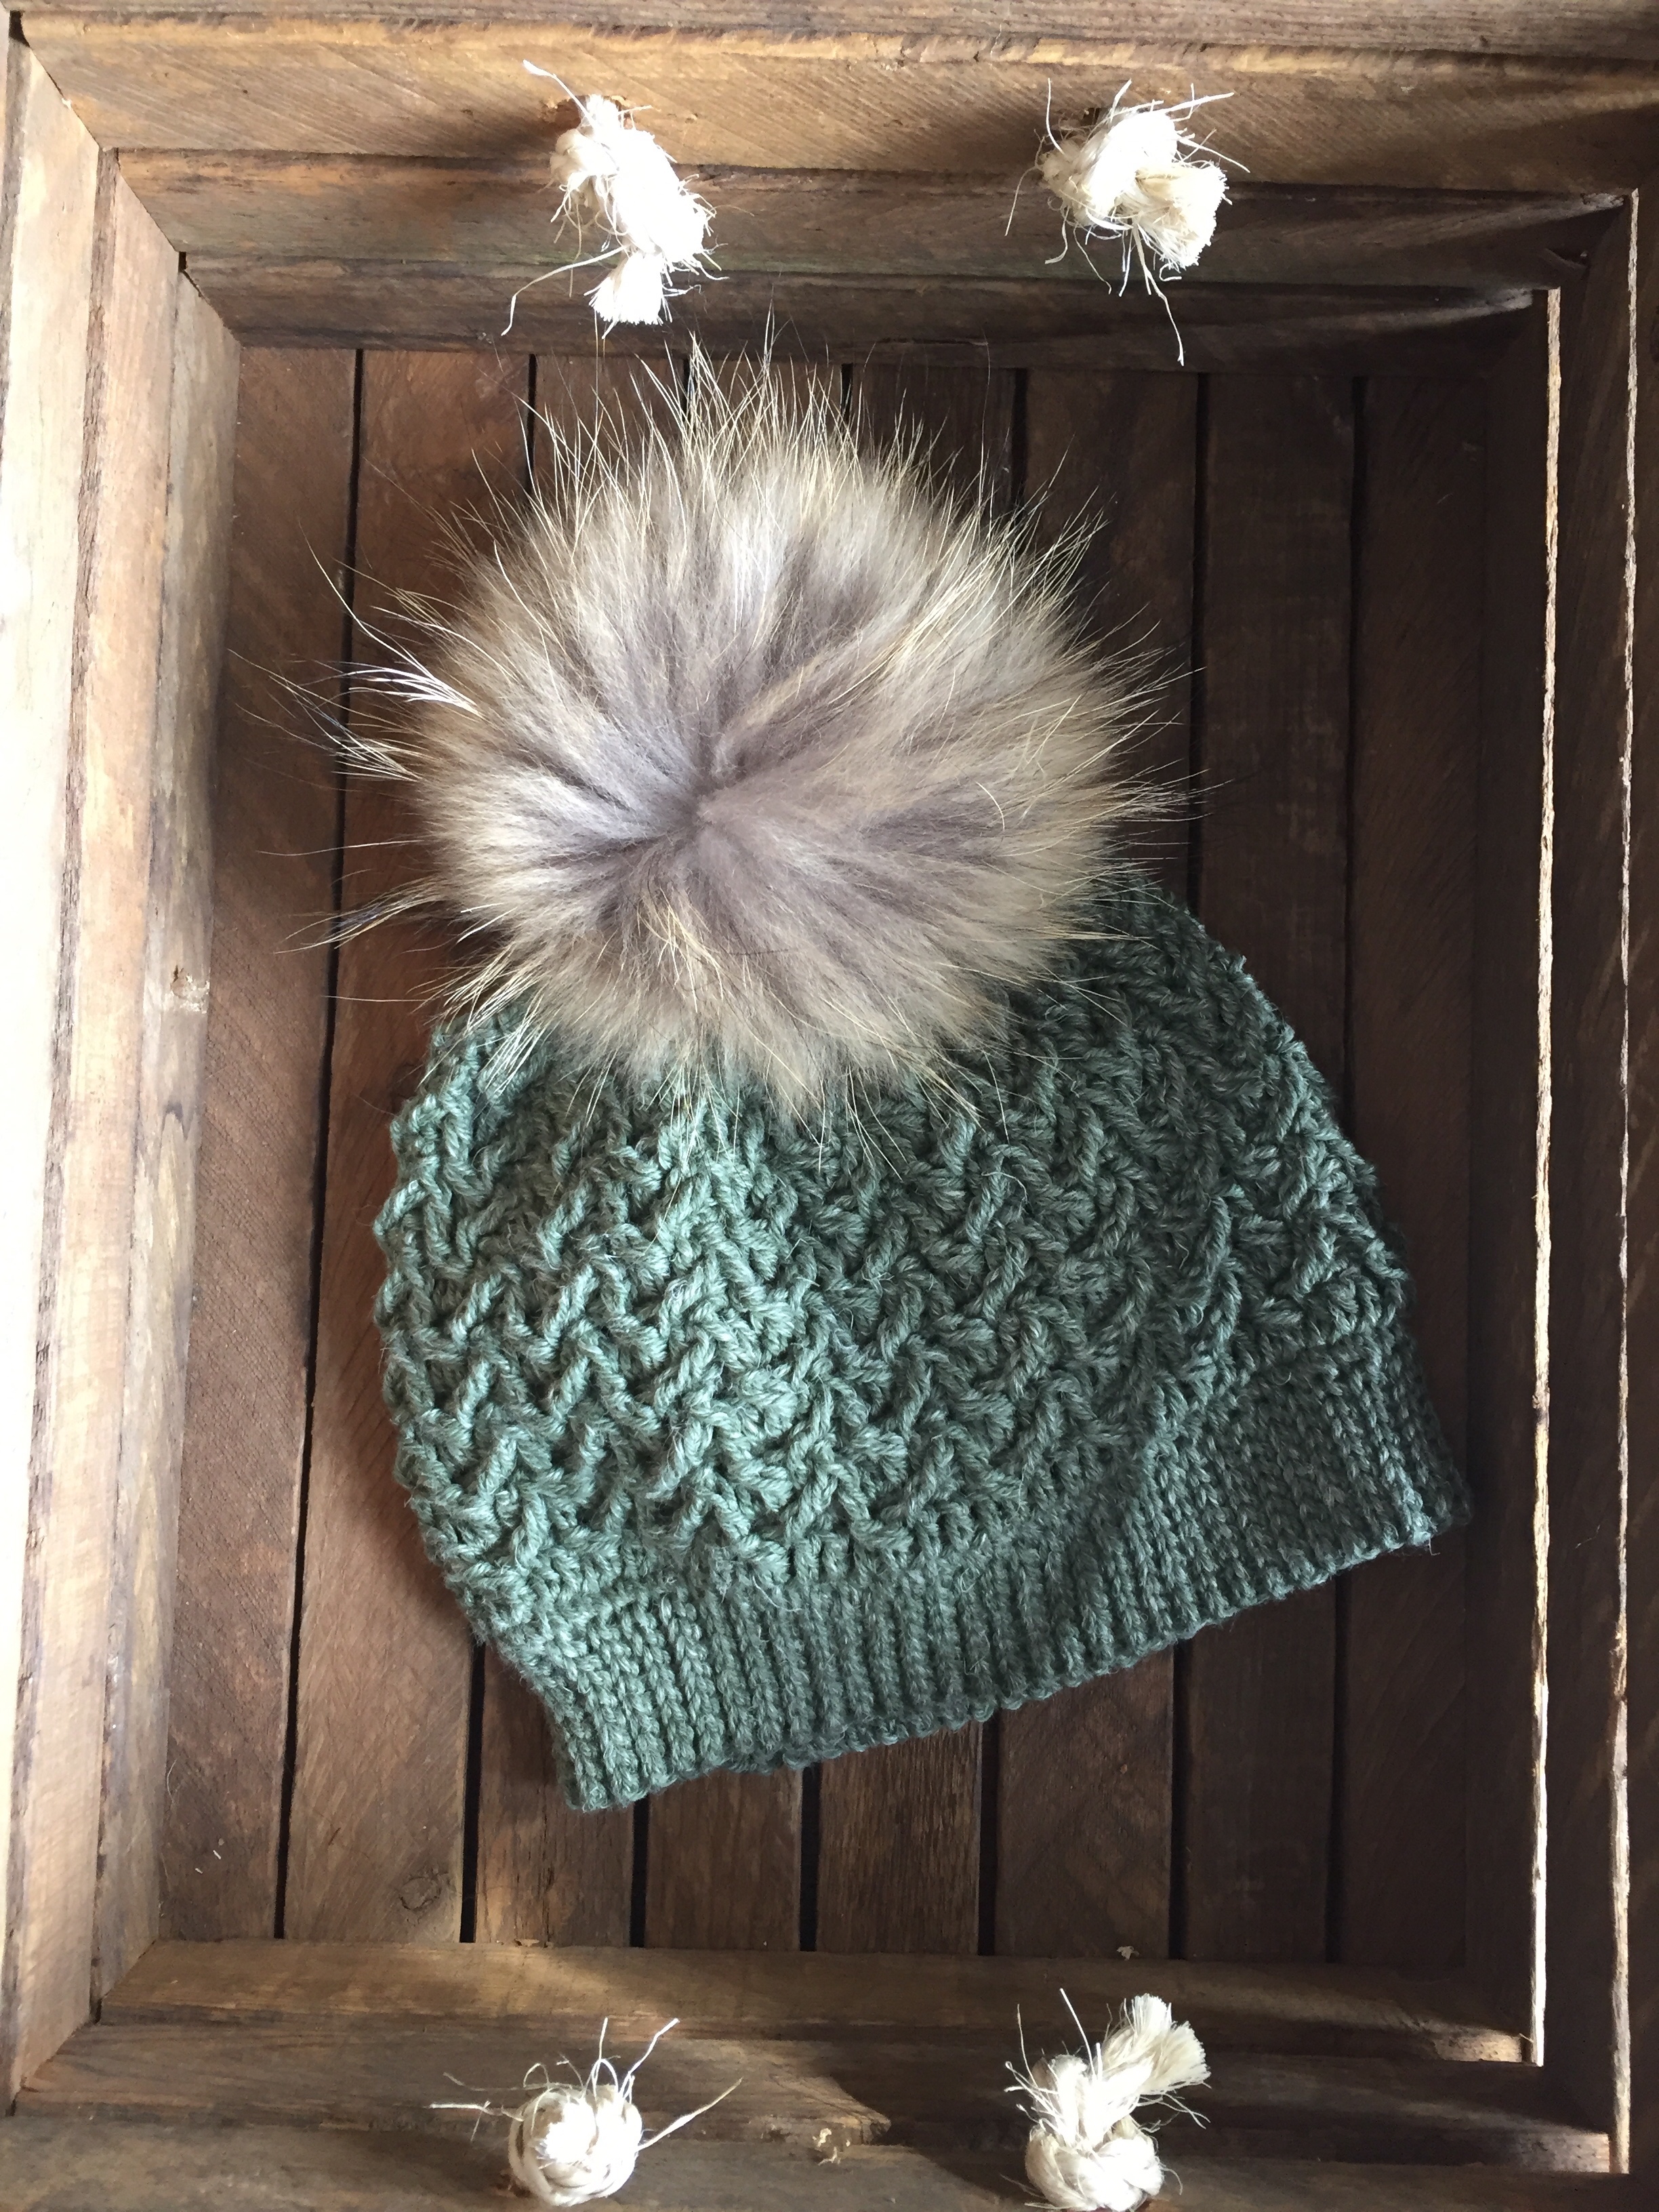
This hat is crocheted in a beautiful worsted weight yarn called “Shanty” by Sugar Bush Yarns (fitting, right?). Shanty is a blend of Superwash Merino Wool and linen. It is soft, holds it’s shape very well, a pleasure to wear and comes in a variety of beautiful colours! Curious to see more of their yarn, or discover where you can get your hands on some of this gorgeous yarn? Check out there website here: https://www.sugarbushyarns.com
A huge thank you to Sugar Bush Yarns for sponsoring this project!
Next week I look forward to completing this set with a matching cowl. For both of these projects you will also need a 6 mm crochet hook. The Pom Pom is optional.
Pattern and Video:
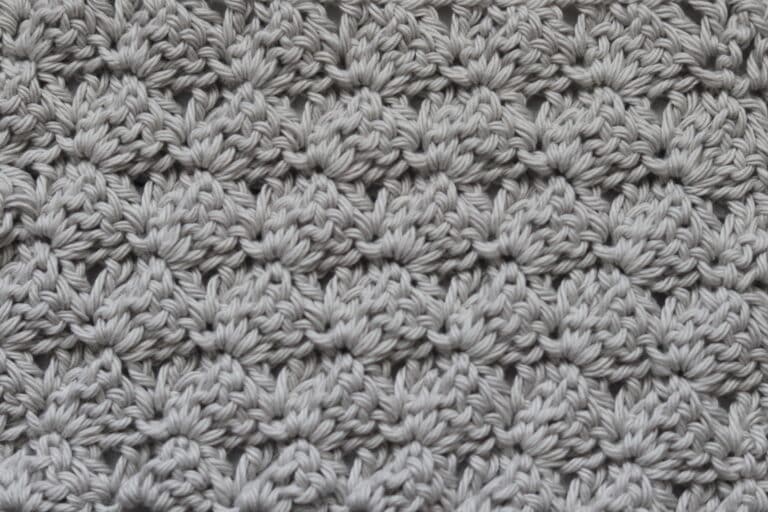
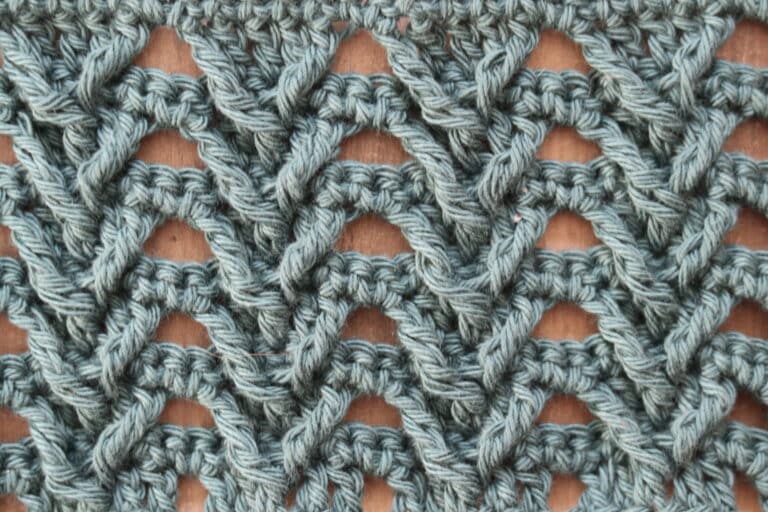
You will find the pattern written out in full below followed by a video tutorial. The pattern features a lot of textured stitches so I highly recommend that you check out the video tutorial if you are struggling with where and how to work the stitch. While you’re watching, please consider subscribing to my YouTube channel (https://www.youtube.com/c/RichTexturesCrochet/) which I like to update weekly.
PDF Copy:
If you wish to purchase a PDF copy of this pattern or add it to your library, you may do so through either of my Etsy or Ravelry Shops linked below:
Into the Bush Beanie on Ravelry
Thank you so much for stopping by! Happy Crocheting!
Sarah
Into the Bush Beanie:
Skill Level: Intermediate
Gauge: 16 sts x 11 rows of pattern = 4 inches.
Finished Size: Approximately 9 x 8.5 inches laid flat.
Yarn: Approximately 300 yards of Shanty by Sugar Bush Yarns (75% super wash merino/25% linen; 3.5 oz/100g; 186 yds/170 m)
Buy the yarn now:
Sugar Bush Shanty Yarn, Sea Glass![]()
Hook: Size J/10 (6.0 mm). Adjust hook size if necessary to obtain correct gauge.
Notions: Yarn Needle.
Stitches and Abbreviations:
Beg fptrcl – Beginning Front Post Triple (yarn over, insert hook in the first specified st, yarn over and draw up a loop, yarn over and draw through 2 loops on your hook. Yarn over twice, insert your hook from right to left around the post of the stitch indicated, yarn over and draw through two loops on your hook twice, yarn over and draw through the remaining loops on your hook.
Blo – Back Loop Only
Ch – Chain
Dc – Double Crochet
Dc2tog – Double Crochet two stitches together
Dc3tog – Double Crochet three stitches together
End fptrcl – End front post triple (Yarn over twice, insert your hook from right to left around the post of the stitch indicated, yarn over and draw through two loops on your hook twice, yarn over, insert hook in the next specified st, yarn over and draw up a loop, yarn over and draw through 2 loops on your hook. Yarn over and draw through the remaining loops on your hook.
Fptr2tog – Front Post Triple two stitches together (Yarn over twice, insert your hook from right to left around the post of the stitch indicated, yarn over and draw through two loops on your hook twice. Yarn over twice, insert hook around the post of the next specified st, yarn over and draw up a loop, yarn over and draw through 2 loops on your hook twice. Yarn over and draw through the remaining loops on your hook.
Rpt – Repeat
Sc – Single Crochet
Sk – Skip
Sl St – Slip Stitch
Yo – Yarn Over
Pattern Notes:
- Pattern is written in American English terms.
- Pattern is worked in rounds.
- Do not turn unless stated otherwise.
- Ch 1 at beg of row does not count as stitch.
- Weave in ends as needed.
Crochet Pattern:
Brim (Worked in Rows):
Ch 10.
Row 1: Sl st in the 2nd ch from hook and in each ch across. Turn. (9 sts)
Row 2: Ch 1, working in the blo, sl st in each st across. Turn. (9 sts)
Repeat row 2 until work from the beginning measures approximately 18 inches.
Do not fasten off, but fold brim of hat so that two shorter ends meet. Now working through both thicknesses, sl st across working through the blo on each side. Do not fasten off, turn work right side out (so that the right side is facing you).
Now working around the edge of the brim, continue working in rounds as follows:
Hat (Worked in Rounds):
Rnd 1: Ch 1, evenly work 78 sc all the way around. Join with a sl st in the first st, do not turn. (78 sc)
Rnd 2: Ch 3 (counts as dc), dc in the next st and in each st all the way around. Join with a sl st in the first st, do not turn.
Rnd 3: Ch 3, beg fptrcl working the first part of the st in the next dc and the second part of the st around the post of the third dc in the rnd below, dc in each of the next 3 sts (Note: You will start the first of these dc sts in the next st after skipping the st behind the fptr2tog), *fptr2tog with the first part of the st worked around the same post as the previous fptr below, sk 3 dc and work the second part of the st around the post of the next st, dc in each of the next 3 sts; rpt from * around to the final st, end fptrcl around the same post as the previous fptr and completing the st in the final dc. Join with a sl st in the first st, do not turn. (18 fp2tog sts)
Rnd 4: Ch 1, sc in each st all the way around, join with a sl st in the first st, do not turn. (78 sc)
Rnd 5: Ch 3, beg fptrcl working the first part of the st in the next sc and the second part of the st around the post of the 2nd dc in group of 3 dc 2 rnds below, dc in each of the next 3 sts, *fptr2tog with the first part of the st worked around the same post as the previous fptr below, sk 3 sts and work the second part of the st around the post of the next st, dc in each of the next 3 sts; rpt from * around to the final st, end fptrcl around the same post as the previous fptr and completing the st in the final sc. Join with a sl st in the first st, do not turn. (18 fp2tog sts)
Rnds 6-13: Rpt rounds 4 and 5 four times.
Rnd 14: Ch 1, sc in each st all the way around, join with a sl st in the first st, do not turn. (78 sc)
Rnd 15: Ch 3, beg fptrcl working the first part of the st in the next sc and the second part of the st around the post of the 2nd dc in group of 3 dc 2 rnds below, dc3tog over the next 3 sts *fptr2tog with the first part of the st worked around the same post as the previous fptr below, sk 3 sts and work the second part of the st around the post of the next st, dc3tog in over the next 3 sts; rpt from * around to the final st, end fptrcl around the same post as the previous fptr and completing the st in the final sc. Join with a sl st in the first st, do not turn. (18 fp2tog sts)
Rnd 16: Ch 1, sc in each st all the way around, join with a sl st in the first st, do not turn. (44 sts)
Rnd 17: Ch 2, dc2tog over the next 2 sts, * dc3tog over the next 3 sts; rpt from * around, join with a sl st in the 1st st, do not turn. (16 sts)
Rnd 18: Ch 2, dc2tog over the next 2 sts, * dc3tog over the next 3 sts; rpt from * around, join with a sl st in the 1st st, do not turn. (5 sts)
Fasten off leaving a long tail. Using the long tail, sew the top of the hat closed. Fasten off and weave in your ends.
OPTIONAL: Add a pompom to the top.
Did you like this pattern? You may want to check out the Rustic River Beanie, also made with a yarn by Sugar Bush Yarns. Find it here: Rustic River Beanie – Free Crochet Pattern
Video Tutorial:


Hello, love the look of this hat and so, thank you for posting your pattern. Unfortunately I’m stuck in the very begining… sl stitches in blo of slip stiches, can’t seem to figure out how to make this work. Help?
Angele
If you’re having trouble with the sl sts blo (they can be hard to see), you can do single crochet as an alternative 🙂