

I recently finished crocheting this whimsical deer crossbody bag, and wanted to share the pattern with you all!
Features
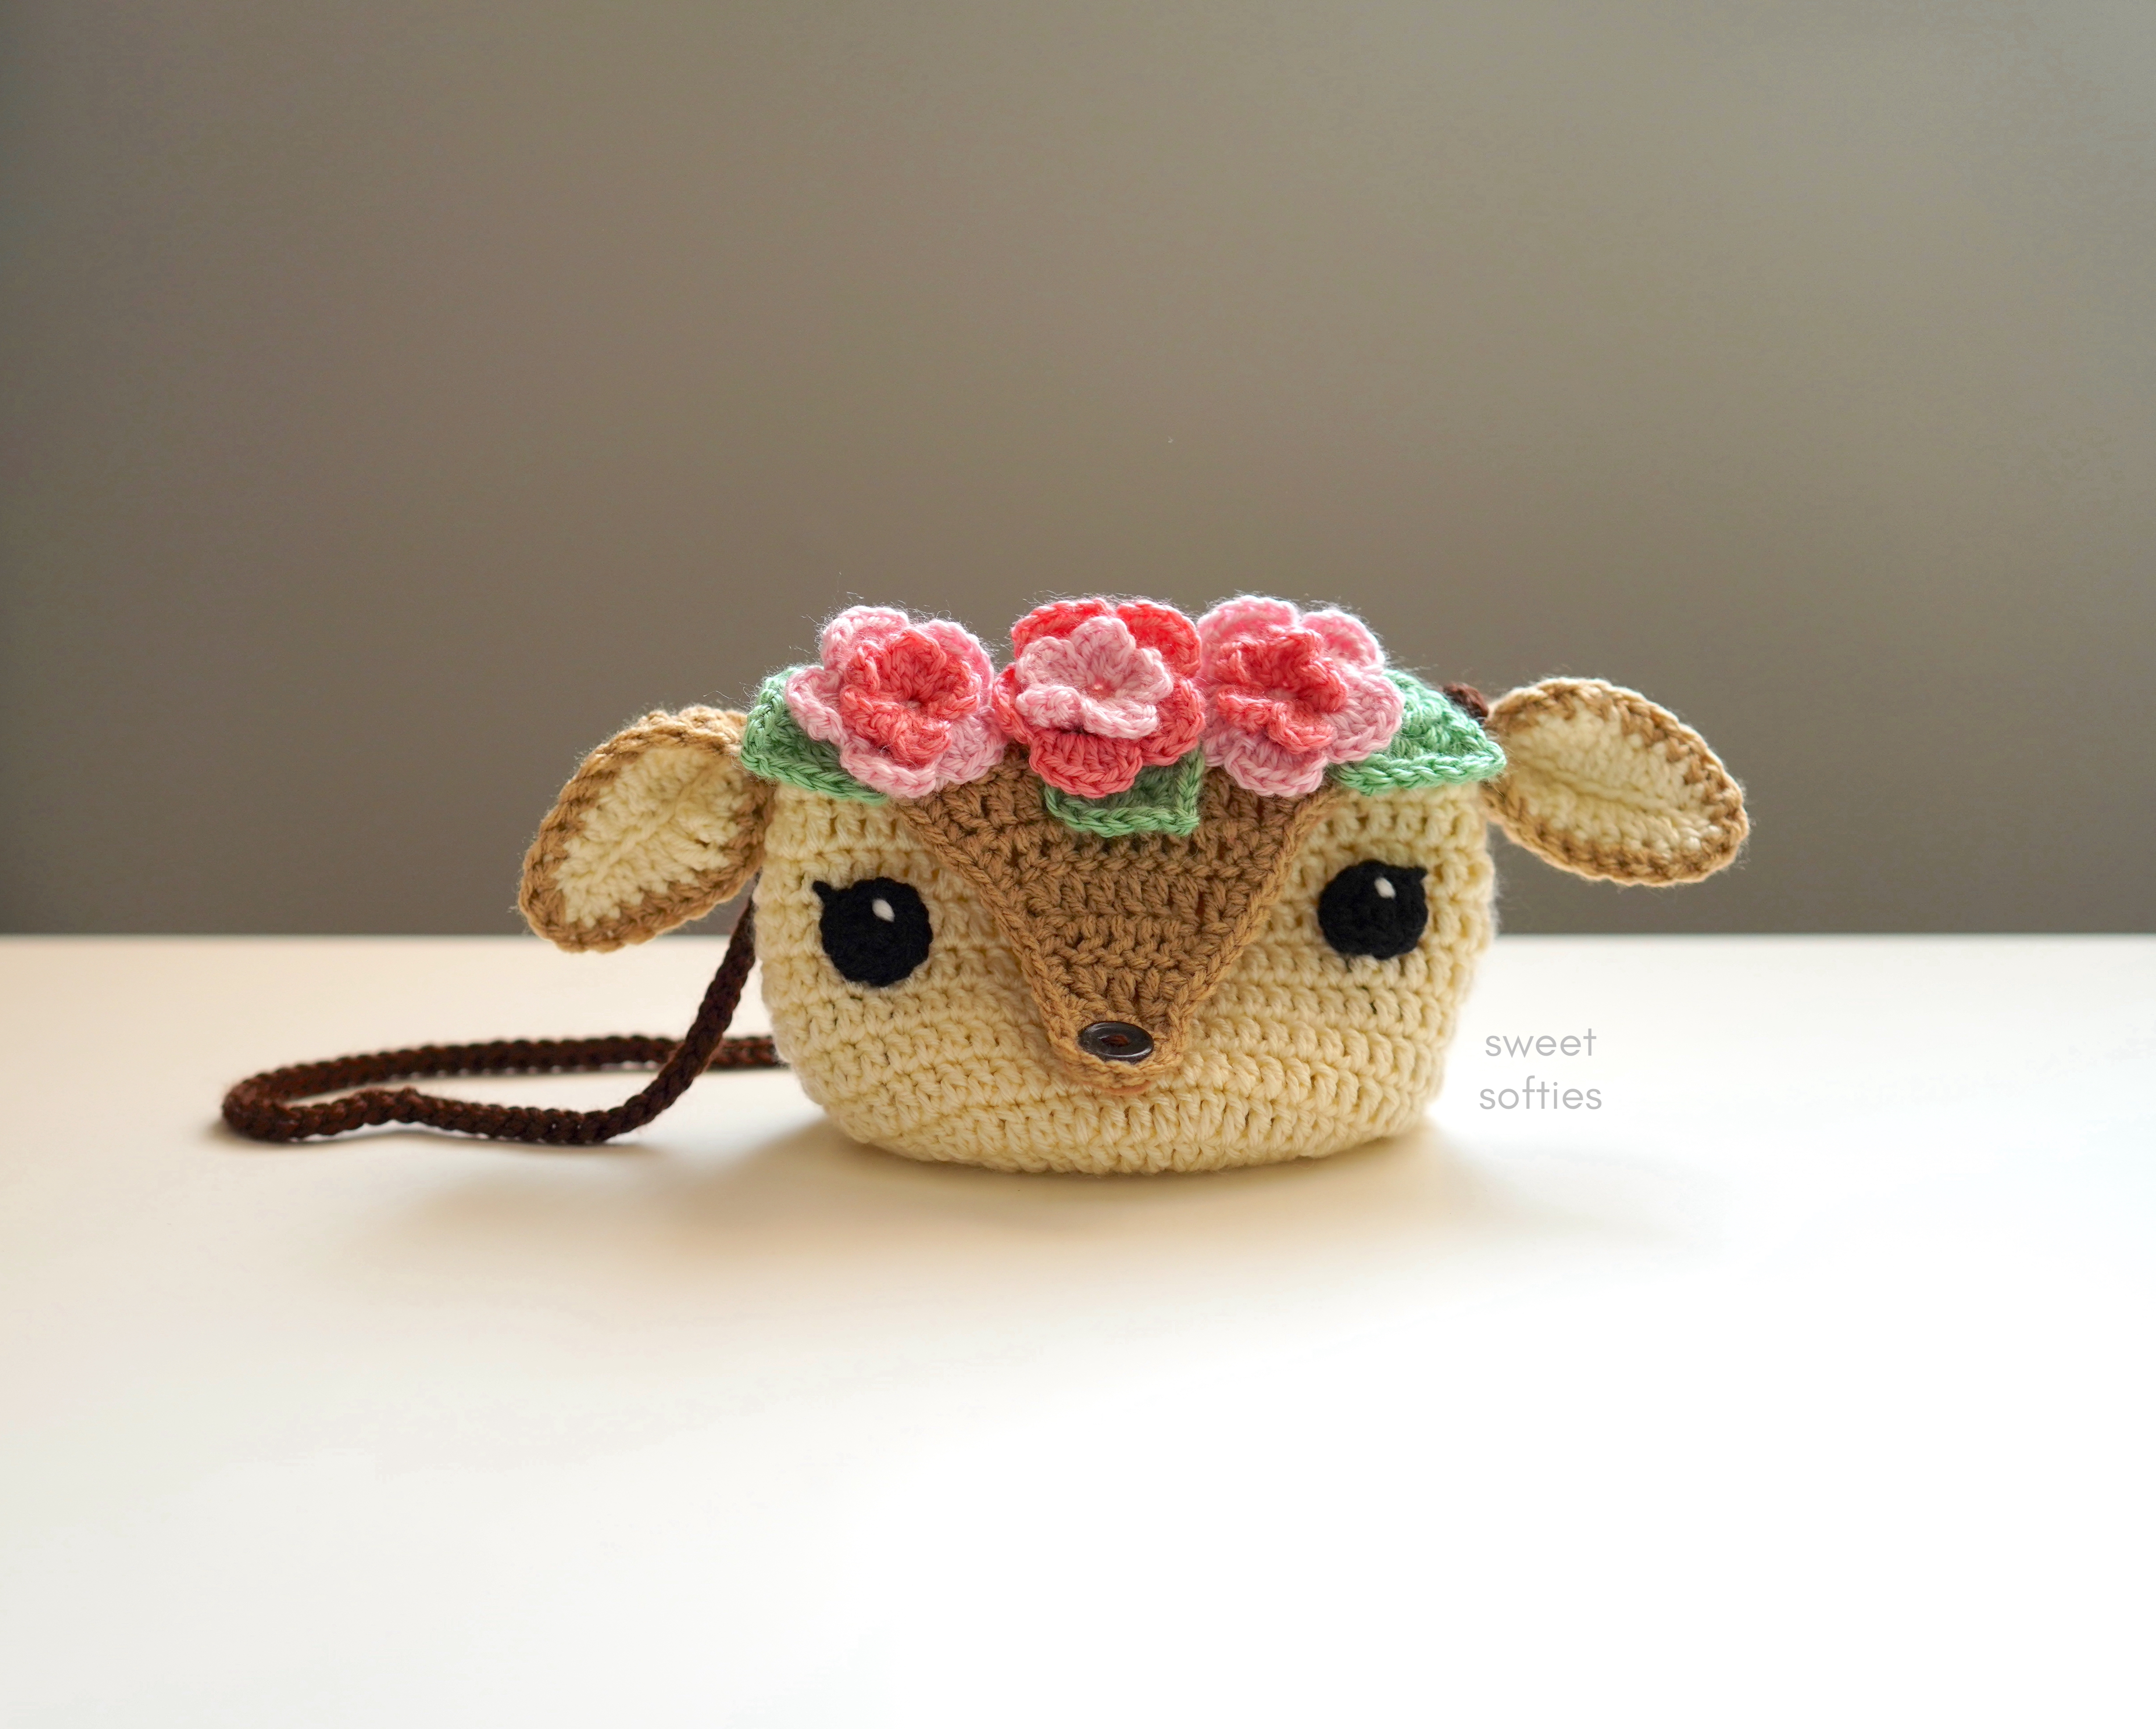
The Floral Deer Bag is a sweet pouch featuring:
- Two-layered flowers (crocheted in one piece)
- A nose "flap" to go over the opening of the purse
- Two-toned ears (crocheted in one piece)
Those who love the woodland, bohemian (“boho”), chic, fairytale, and cottagecore aesthetic will certainly adore the style of this pouch!

Difficulty
This project is suitable for intermediate crocheters. While I normally design patterns that are quick, easy, and beginner-friendly with minimal sewing (or even no sewing!), this is definitely not a no sew project. There's a lot more sewing needed in this than many of my other patterns, simply due to the appliques and parts that go on the deer: the two ears, the three flowers, the three leaves, and the two eyes. Due to the amount of sewing, I would classify this as a more intermediate-level project.

Yarn
I used medium weight acrylic yarn, but you're welcome to use a different fiber or weight! Note that cotton tends to be a more "durable" and stiff yarn that won't stretch as much as acrylic. Thus, if you're using a stretchy yarn like me, I recommend adding a cloth lining inside your bag to make sure it doesn't stretch out of shape.
Using a different weight of yarn will impact the finished size of the bag. Thinner yarns (which will pair with smaller hooks) yield a smaller purse, and vice versa.

Gifting & Selling
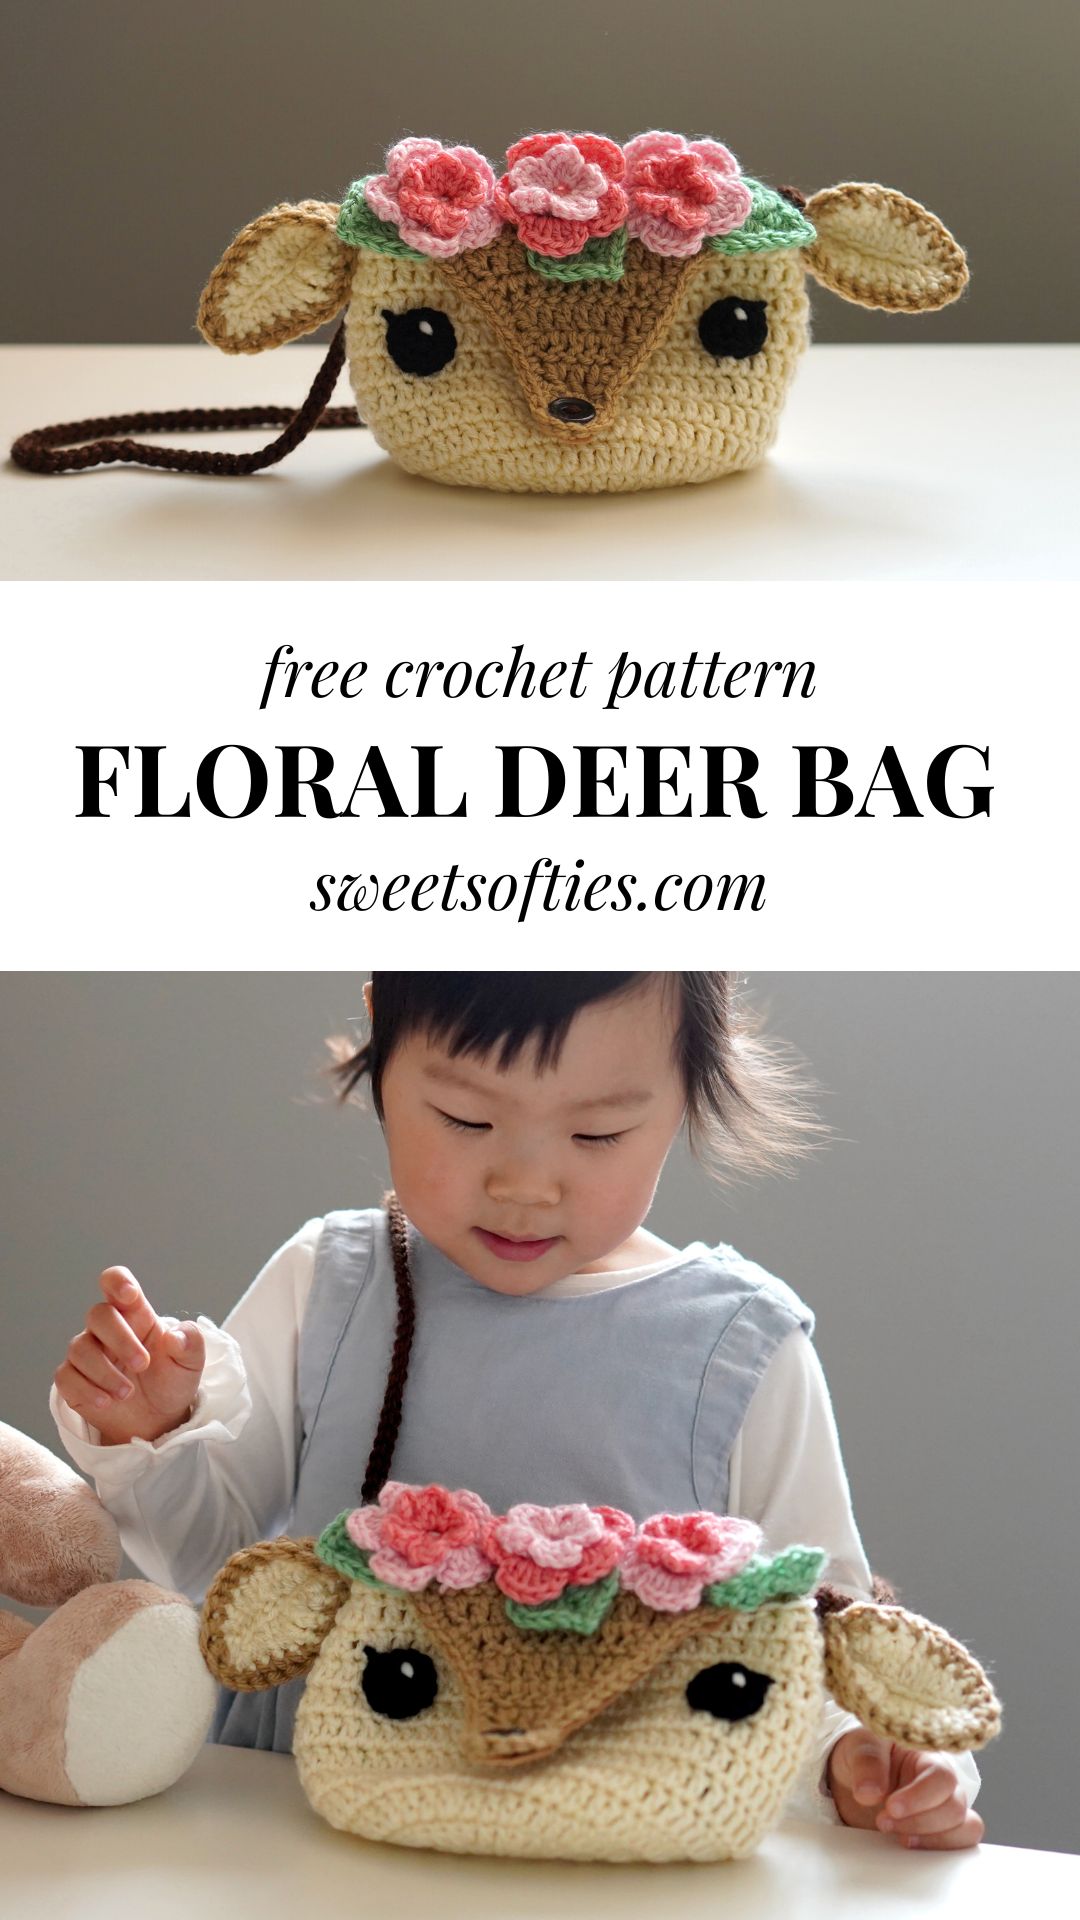
This bag makes a beautiful and stunning gift for birthdays and holidays! They make a spacious pouch for a toddler or young child to put in their tiny treasures, but they also work for teens and adults looking for a smaller, on-the-go bag!
If you're a market vendor, you can crochet this trendy piece as an eye-catching product to add to your table. It's perfect for Spring and Summer craft fairs, but you can also change up the colors of the flowers to make it suitable for Autumn/Fall and Winter.
It might even be good for cosplay, medieval, or Ren faires!
PDF Pattern
The PDF pattern is printable, ad-free, easy to read, includes photo references, and helps support Sweet Softies! (If you enjoy my free patterns, you can consider it as a donation to me when you buy one of my pattern PDFs! It allows me to maintain my blog and continue sharing more free patterns.)

FLORAL DEER BAG
Free Crochet Pattern
Terms of Use & Copyright Notice © 2022 Sweet Softies (www.sweetsofties.com). You have permission to sell finished products made from this pattern, but you must credit Sweet Softies as the owner/creator of this pattern by linking to my website (www.sweetsofties.com). No wholesale. You may not translate, copy, alter, or sell my patterns in part or in whole in any way. My patterns may not be used in video tutorials or teaching online classes. My patterns may be used in teaching in-person classes ONLY with written consent from me. You may link to this pattern but you may not copy any part of the pattern instructions on other websites.
Pattern Information
Size:
Height of bag: 7 inches (18 cm)Width of bag: 7.5 inches (19 cm)
Length of straps: recommended length is 30 in. for a child and 40 in. for an adult, but it’s easily adjustable to any length.
Level of Difficulty:
★★☆☆☆ Intermediate. Requires familiarity with stitches used (below), changing yarn colors, and sewing parts together.
Stitches/Terms Used: (US Terms)
- FO = fasten off
- MR = magic ring
- ch = chain
- sl st = slip stitch
- sc = single crochet
- inc = increase
- dec = decrease
- hdc = half double crochet
- dc = double crochet
- dc-inc = double crochet increase (insert 2 dc in the same st)
- dc-dec = double crochet decrease
- tr = triple (treble) crochet
Materials:
- Medium weight “4” yarn in desired colors
- 5mm crochet hook
- 6mm crochet hook
- Large black button for the nose
- Yarn needle
- Scissors
- Optional: two 12”x12” fabric squares to line the bag, and some felt to line the nose area.
Crochet Instructions
BAG
Start with cream color yarn and a 5mm hook.R1: In a MR, ch 3 and insert 12 dc. Pull ring tight. *Join with a sl st to the first dc. (12 dc)
R2: Ch 3, dc-inc around. *Join. (24 dc)
R3: Ch 3, (dc, dc-inc) around. *Join. (36 dc)
R4: Ch 3, (dc 2, dc-inc) around. *Join. (48 dc)
R5: Ch 3, (dc 3, dc-inc) around. *Join. (60 dc)
R6-R10: Ch 3, dc around. *Join. (60 dc)
R11: Ch 3, (dc 8, dc-dec) x 6. *Join. (54 dc)
R12: Ch 3, (dc 7, dc-dec) x 6. *Join. (48 dc)
R13: Ch 3, (dc 6, dc-dec) x 6. *Join. (42 dc)
Switch to brown yarn. Now, work in turned rows without joining.
R14: Ch 3, dc 21. (21 dc)
R15: Ch 3, turn, dc 21. (21 dc)
R16: Ch 3, turn. Dc-dec, (dc 6, dc-dec) x 2. Dc, dc-dec. (17 dc)
R17: Ch 3, turn. Dc-dec, dc 5, dc-dec, dc 6, dc-dec. (14 dc)
R18: Ch 3, turn. Dc-dec, dc 4, dc-dec, dc 4, dc-dec. (11 dc)
R19: Ch 3, turn. Dc-dec, dc 7, dc-dec. (9 dc)
R20: Ch 3, turn. Dc-dec, dc 5, dc-dec. (7 dc)
R21: Ch 3, turn. Dc-dec, dc 3, dc-dec. (5 dc)
R22: Ch 3, turn. Dc-dec, dc, dc-dec. (3 dc)
R23: Ch 3, turn. Dc across. (3 dc)
R24: Ch 3, turn. Dc, dc-dec. (2 dc)
R25: Ch 1, turn. Dec. (1 sc)
FO. Now we will work on the edging to create a neat trim around the bag’s flap. Attach brown yarn to the right side of the flap (see photo references). Sc around the entire flap, which is the brown section of the bag. FO upon reaching the other end of the flap, and weave in the ends.
STRAPS
Notes: [1] Use the 6mm hook and dark brown yarn. The two straps will be attached to the sides of the bag. Each strap end will take up 2 stitch spaces.[2] A video tutorial for this method of adding straps is available.
- Attach yarn to a st, then insert hook into next st and pull a loop up. YO and pull through both loops.
- Make a chain of 30 inches for a child or 40 inches for an adult, or go with your preferred strap length. If you are using stretchy yarn, pull it taut when measuring the strap’s length.
- First, make sure the strap is not twisted before attaching it to the other side. YO and insert hook into the other side of the bag, pulling up a loop. Insert hook into the next st and pull up a loop. Then, YO and pull through both loops.
- Working back along the chains, sl st into the first ch. Then, sl st across in each of the ch.
- You will now be back to where you first started the straps. FO and tightly knot the yarn ends together, then weave them in.
EARS (x2)
Notes: [1] Use a 6mm hook for all parts of the ear. [2] A video tutorial for the ears is available. You will be crocheting the inner ear piece first, then an outer ear piece, and joining them together with a no-sew method.Inner Ear Piece
Make two using cream yarn.- Ch 11.
- Sl st in 2nd ch from hook. Sl st in each of the remaining 9 ch.
- Now, work along the other side of the ch. Work one stitch into each of the 10 sts as follows: hdc, dc, tr 2, dc 2, hdc 2, sc, sl st.
- Now, work along the other side of the ch. Work one stitch into each of the 10 sts as follows: sl st, sc, hdc 2, dc 2, tr 2, dc, hdc.
- FO with a tail, which will be weaved in later.
Outer Ear Piece
Make two using brown yarn.- Repeat steps #1-4 for the ‘Inner Ear Piece.’
- Do not FO. Continue with the ‘Joining’ directions below.
Joining the Ear Pieces
We will now work on joining the inner and outer ear pieces together.- Place the wrong side of the inner and outer pieces together.
- With brown yarn still attached to the outer ear piece, insert a sc in each of the sts around the two pieces, going through both layers at once.
- FO with a long tail for sewing later.
EYES (x2)
Use black yarn and a 5mm crochet hook.R1: In a MR, insert 6 sc. Pull the ring tight. (6 sts)
R2: inc around. (12 sts)
FO with a long tail for sewing to the bag later.
FLOWERS (x3)
Start with the front petal color and a 5mm hook.R1: In a MR, insert 5 sc. Pull ring tight. Join with a sl st to the first sc. (5 sc)
R2: (Ch 2, insert 3 dc in same st, ch 2, sl st in same st, sl st in next st) x 5. Join with a sl st to the start of the round. (5 petals)
Switch to the back petal color.
R3: Ch 3 and turn the flower over to its backside. Sl st in the center-back of the first petal. (Ch 3, sl st in the center-back of the next petal) x 4. (5 ch-3 gaps)
R4: (In ch-3 gap: sl st, ch 2, insert 4 dc, ch 2, sl st) x 5.
FO with a long tail for sewing later.
LEAF APPLIQUE
Start with green yarn and a 6mm hook.- Ch 8.
- Now, work down one end of the ch. In 2nd ch from hook: sl st, sc, hdc, dc, tr 2, dc+dc+hdc in last ch.
- Continue on the other side of the ch. Hdc+dc+dc in first ch, tr 2, dc, hdc, sc, sl st.
- Fasten off with a long tail for sewing later.

Finishing Instructions
- Sew the ears to the sides of the purse.
- Arrange the leaves and flowers on the head. Once you are happy with the positioning, sew them down with the leaves first, then the flowers on top.
- Sew the eyes to the face.
- Sew a black button to the nose.
- Optionally, you can include a cloth lining inside of your bag to make it more durable and avoid stretching out. To do so, put the right sides of two 12”x12” fabric squares together. Place the body of the bag over the squares and draw out the approximate size/shape of the bag. Cut out the two pieces of fabric lining. Then, sew the sides of the bottom of the pieces together. Fit the lining inside of the bag and sew the top edges. Here’s a video tutorial on sewing lining inside bag without stitches showing.
- Weave in all ends.
Congratulations on finishing!

Thank you for reading, and hope you had a fun time crocheting this project! If you'd like to help out my blog, feel free to check out my post, "5 Ways to Support my Blog!"
You might like my other designs if you enjoyed this one! Simply click on the image below for the pattern, or check out all my free patterns here.


I'd love to see your finished work from my designs! Here are links for sharing photos of your creations:
Best wishes,

.jpg)

.jpg)