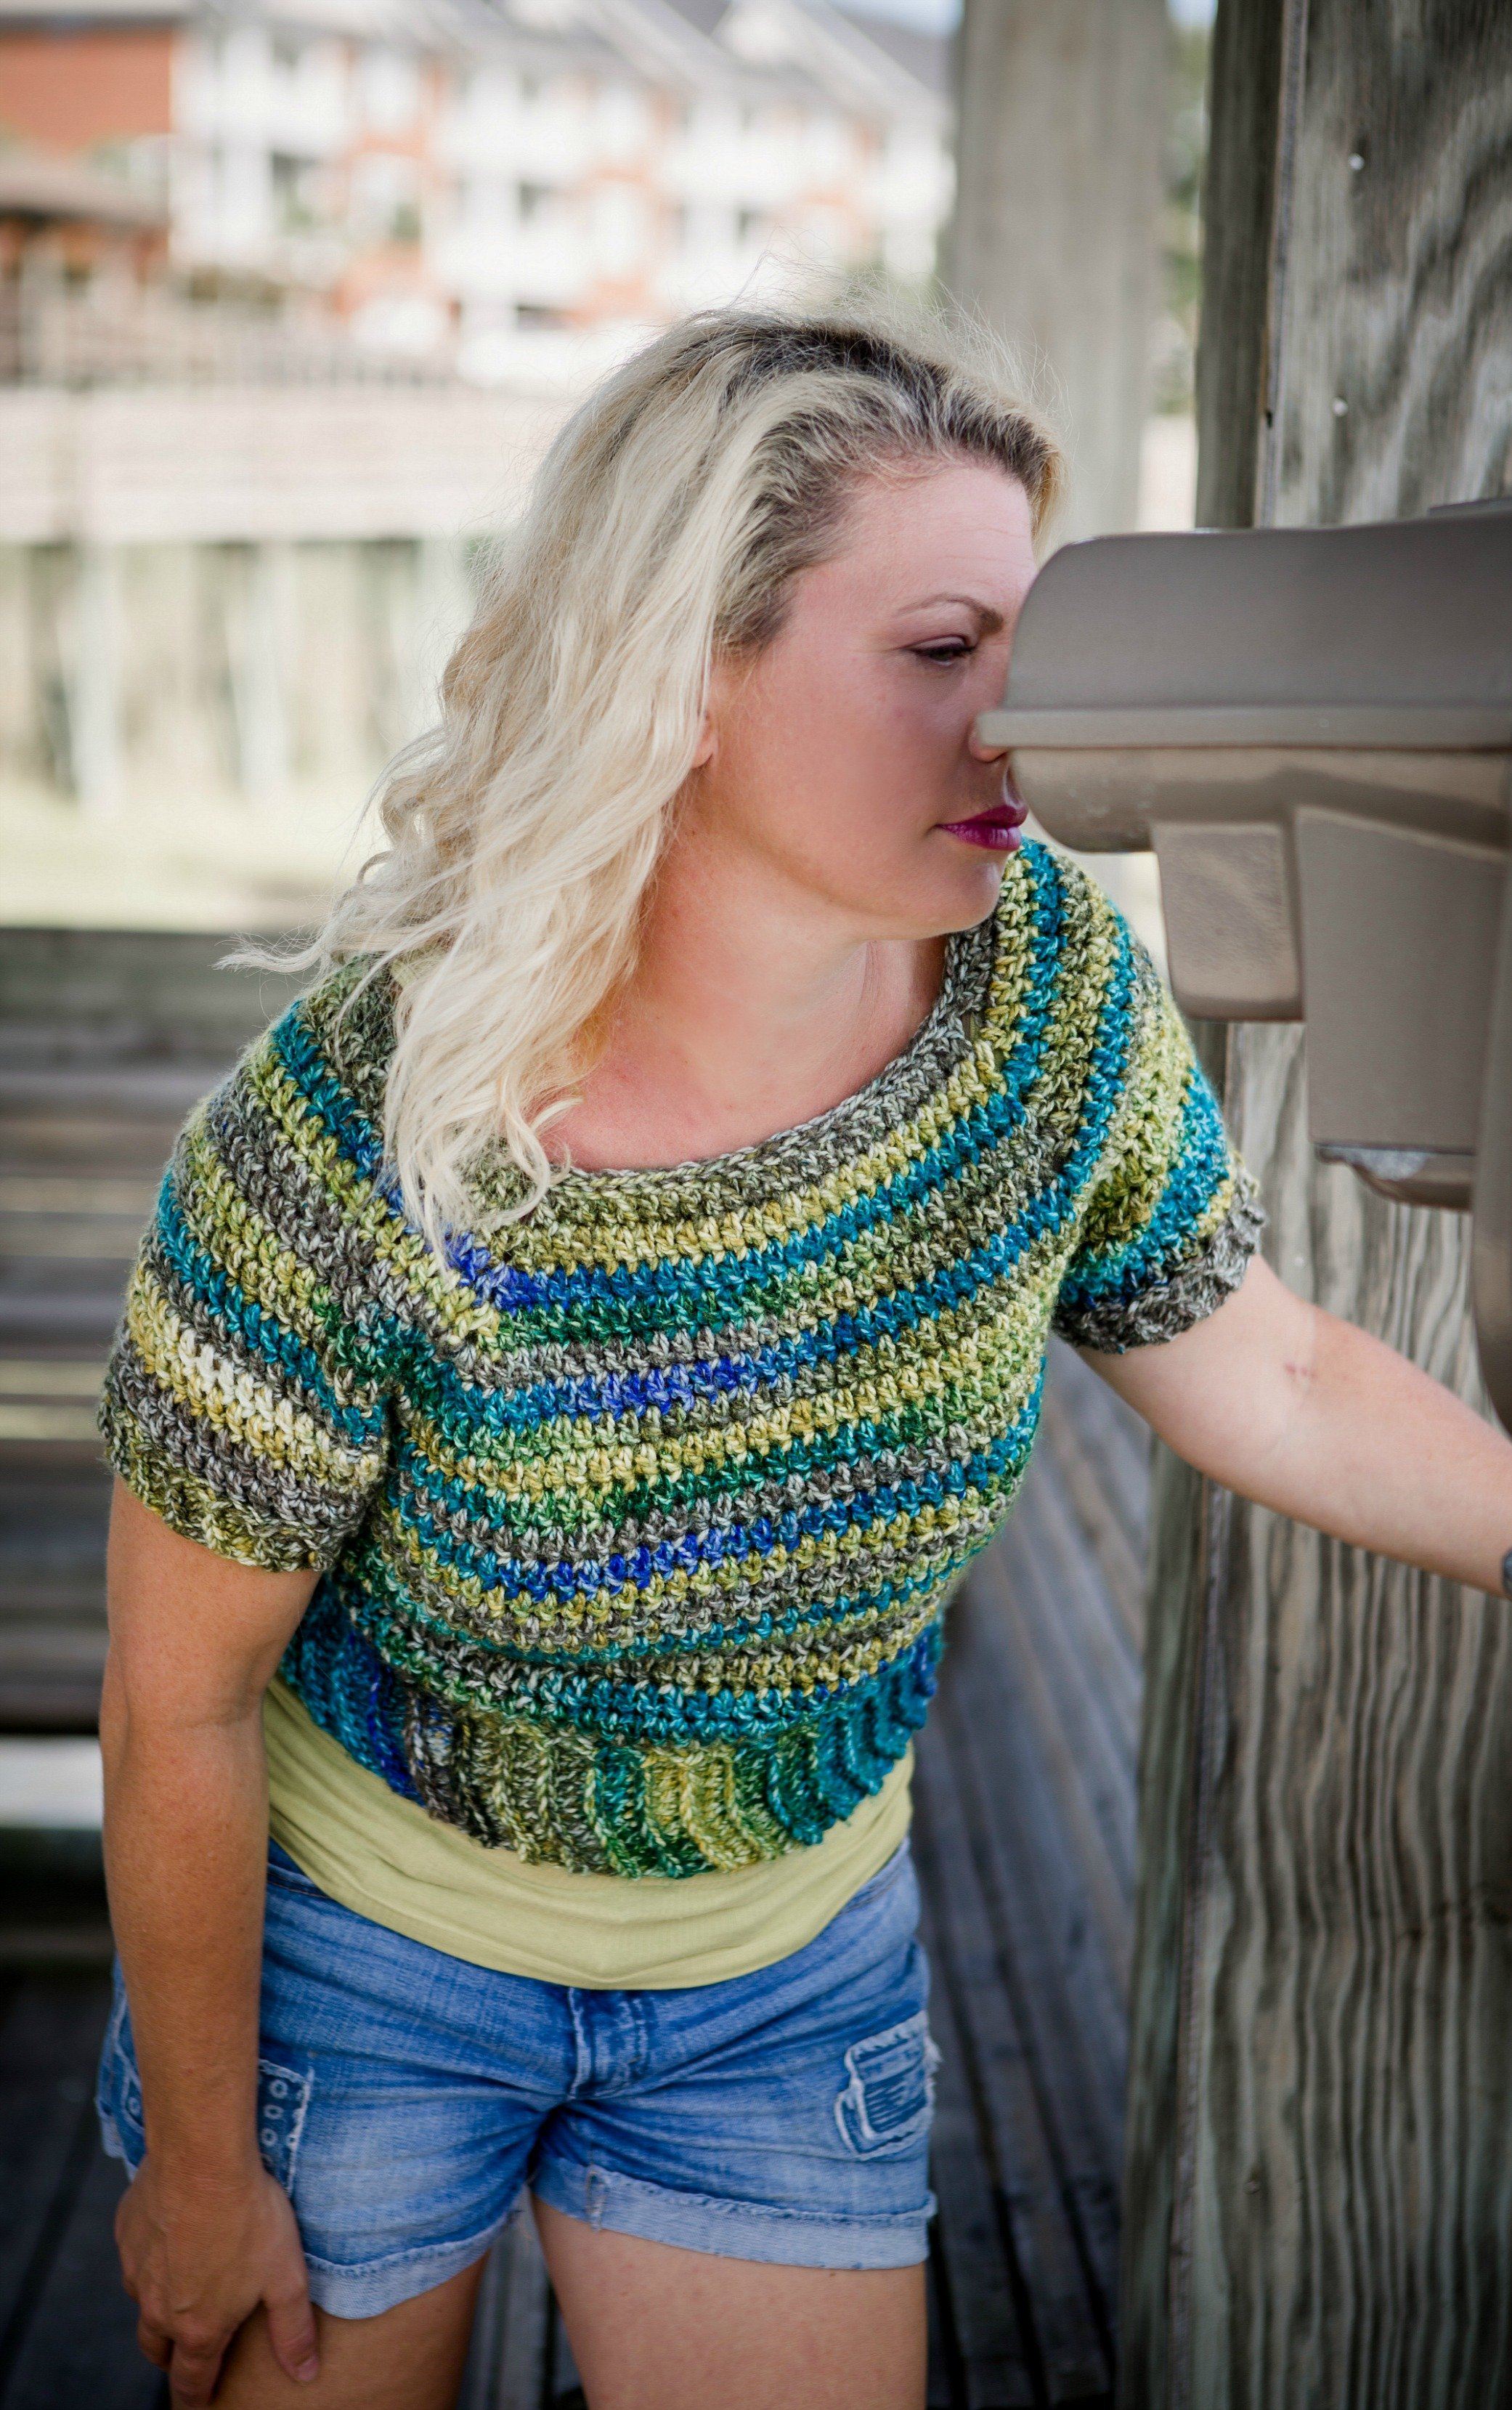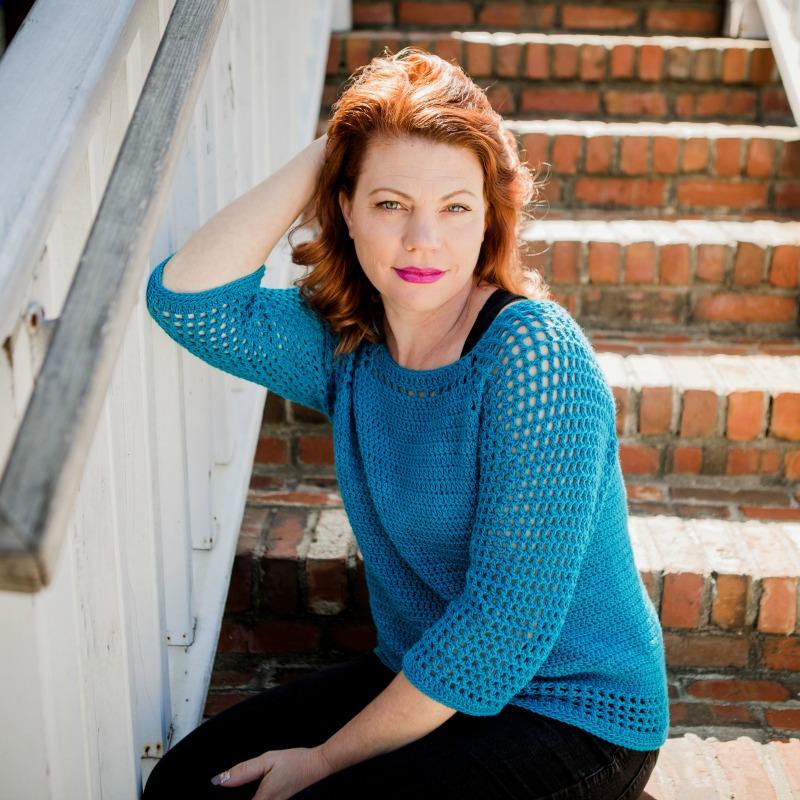
The Chelsea Top
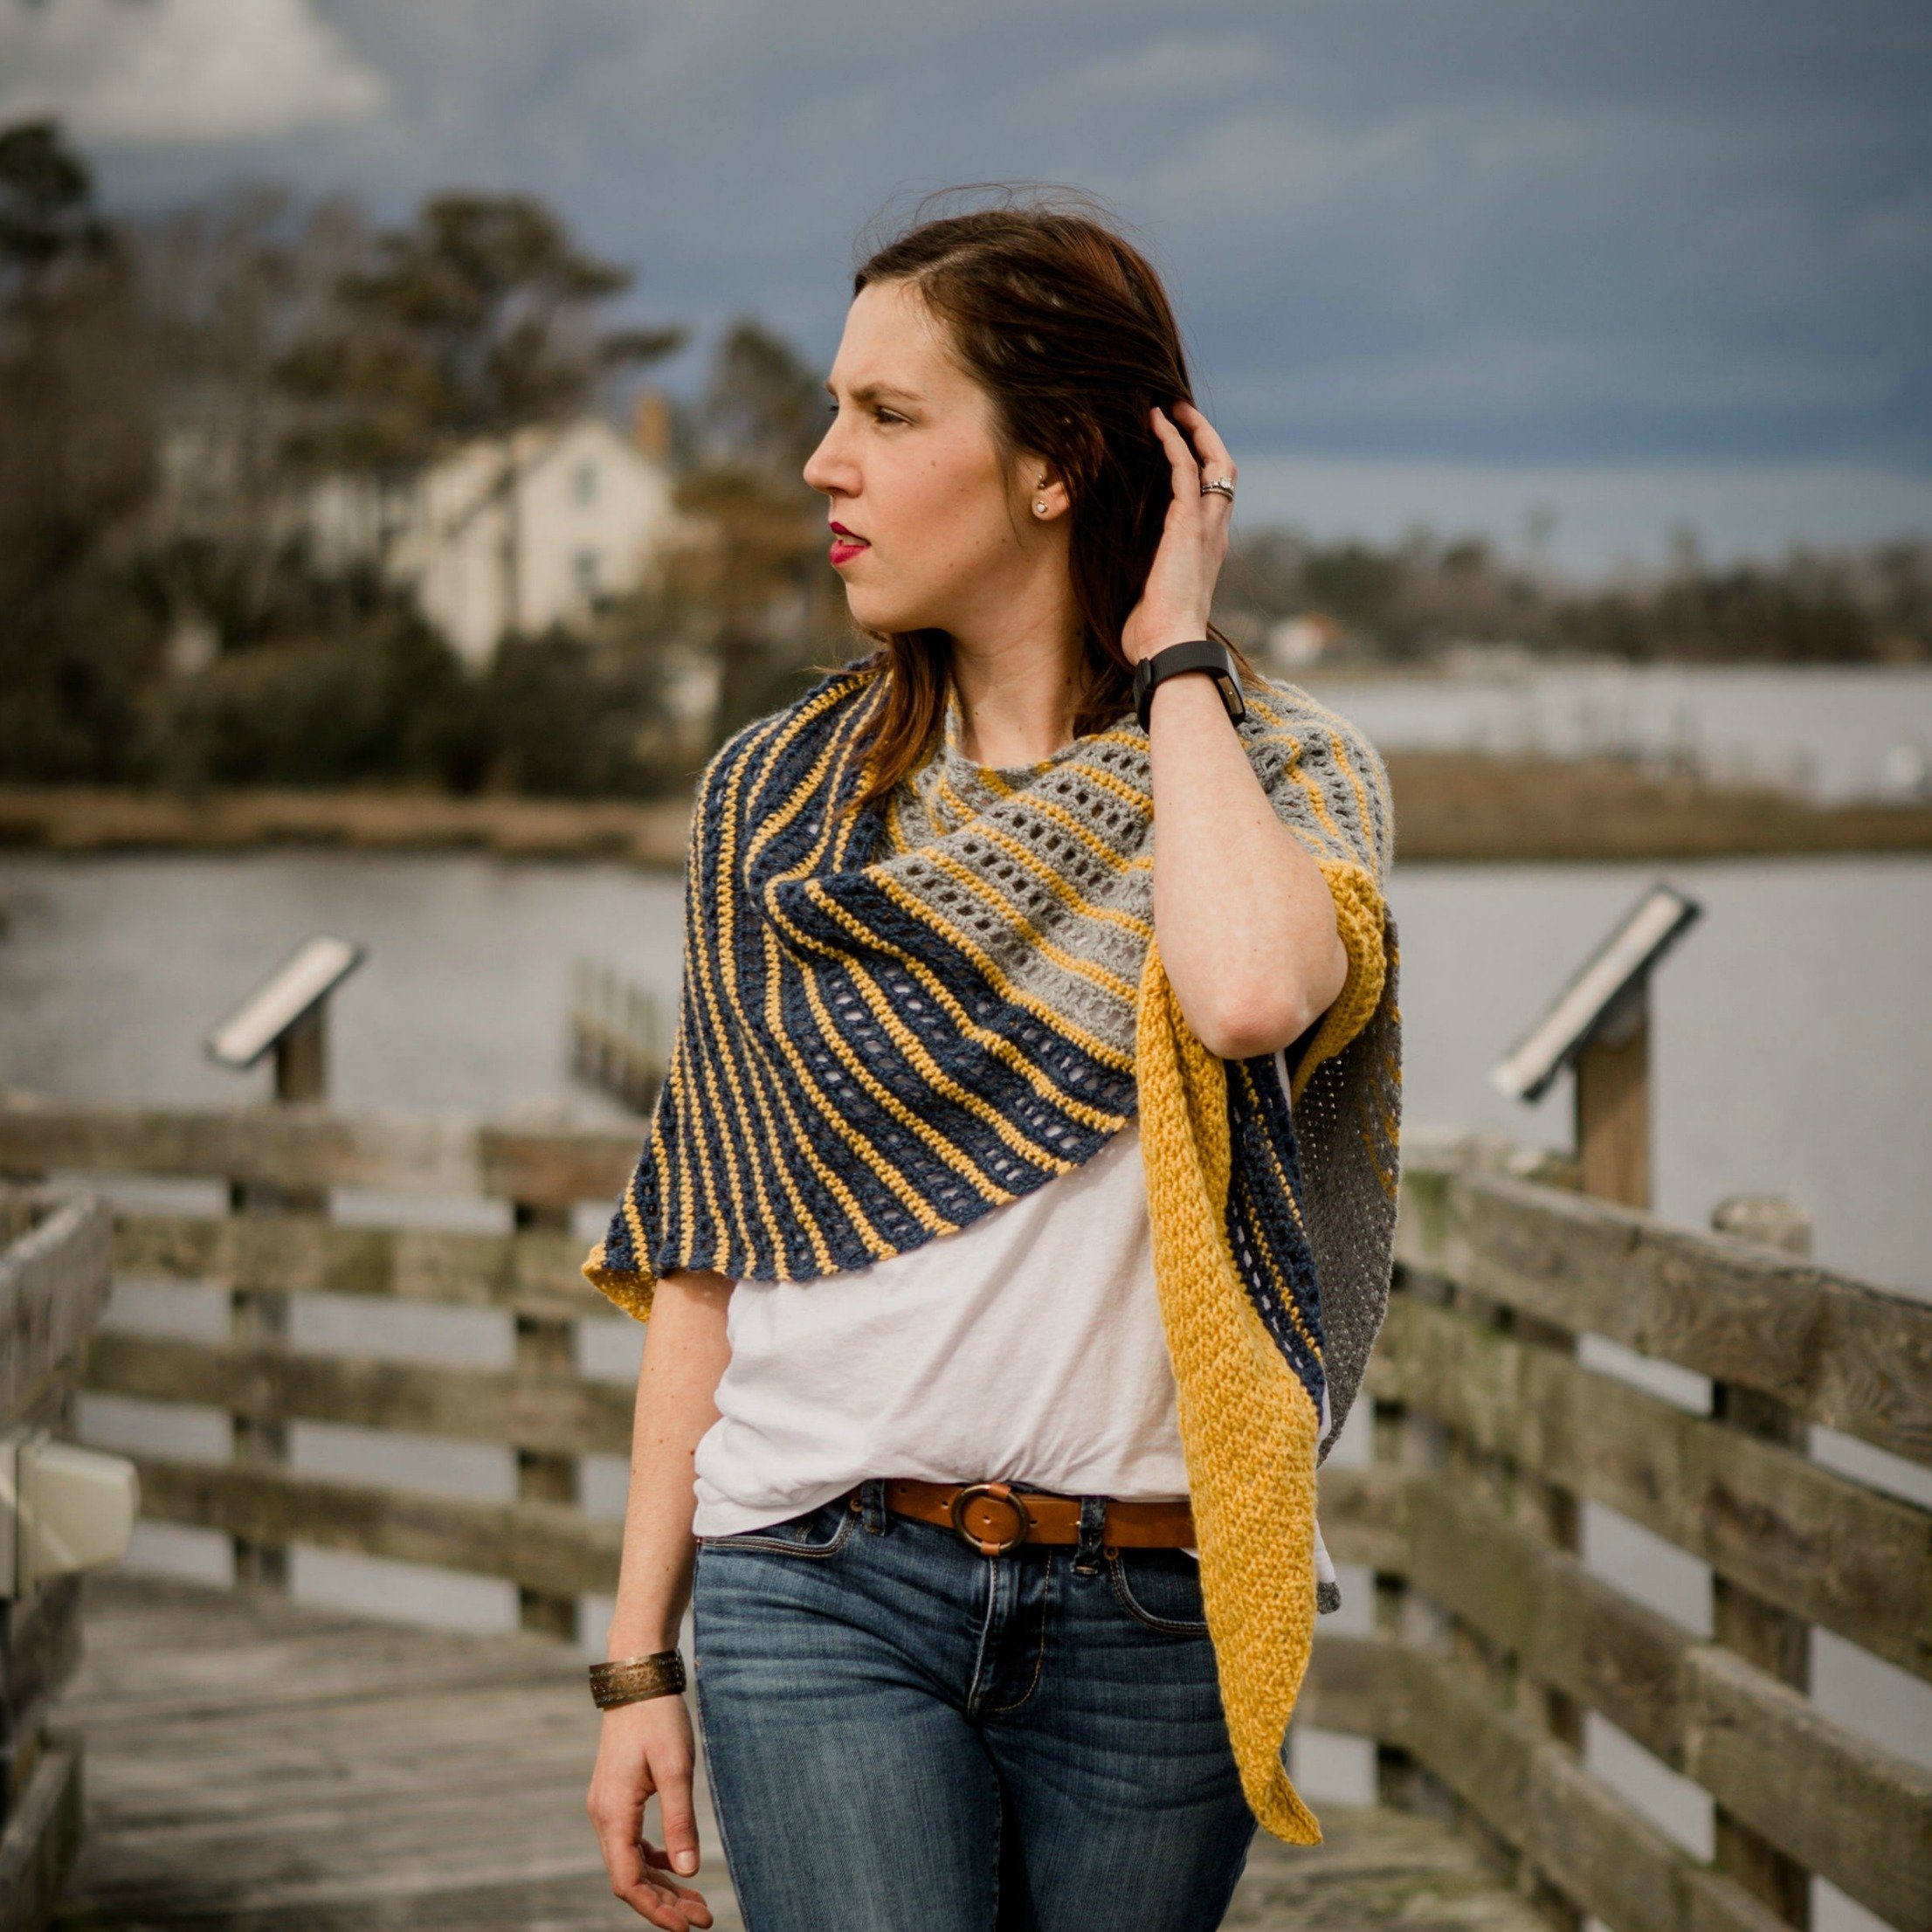
I'm so excited to be hosting this month's CAL with Furls! I have designed this versatile top for you with two sleeve options. The top is easy to wear with a relaxed fit and flattering for most body styles. It's a great top to wear with jeans for casual events, or pair with a flouncy skirt for a romantic night out. Add an accessory or two to dress it up or throw a blazer over it for office wear! I hope you'll make more than one in different colors!
The top is available with two sleeve lengths (3/4 sleeve and sleeveless).

ABOUT OUR DESIGNER
Hi everyone, I am Maria Bittner, the designer and creator behind Pattern Paradise. I've been crocheting since I'm 11 when I learned at the knee of a family friend. I love making all kinds of things from crafts for the home to garments, but my very favorite makes are for babies!
When I'm not crocheting, I love to cook and entertain. I get almost as much joy from watching people enjoy a meal I've prepared as I do from a finished crochet project. I'm a beach and flower lover and enjoy exploring the countryside and historical sites as well. Follow me at Pattern Paradise to see what I'm making next and maybe catch a recipe or two!
Blog | Ravelry | Pinterest | Instagram | YouTubeSUPPLIES
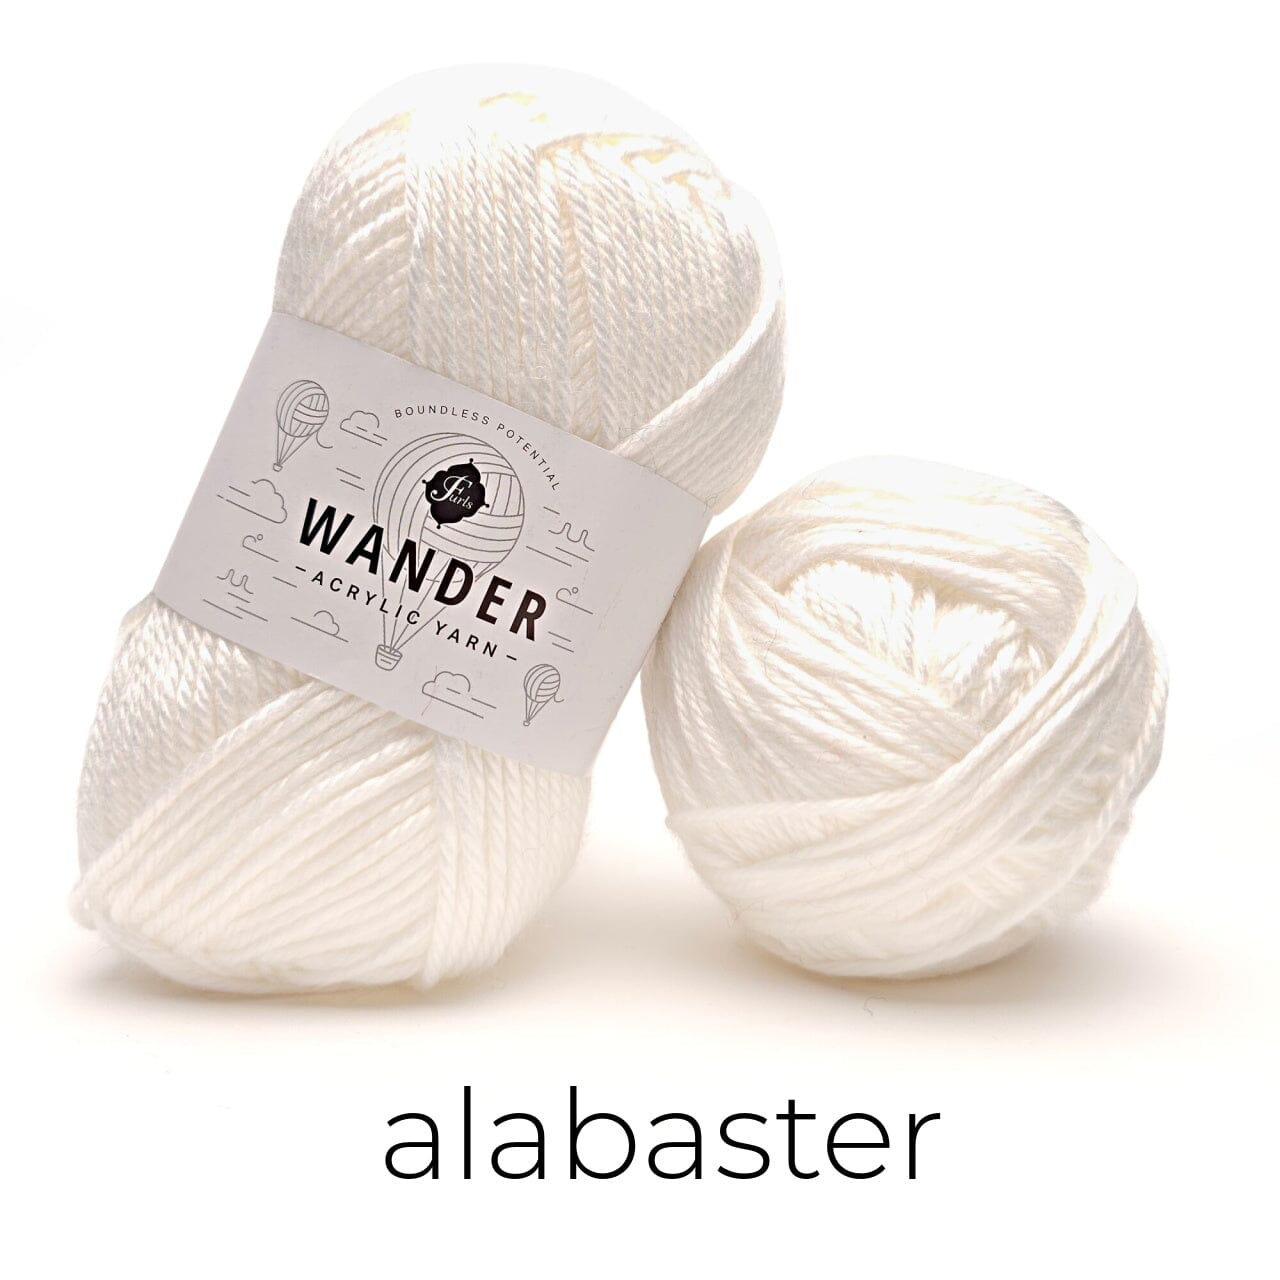
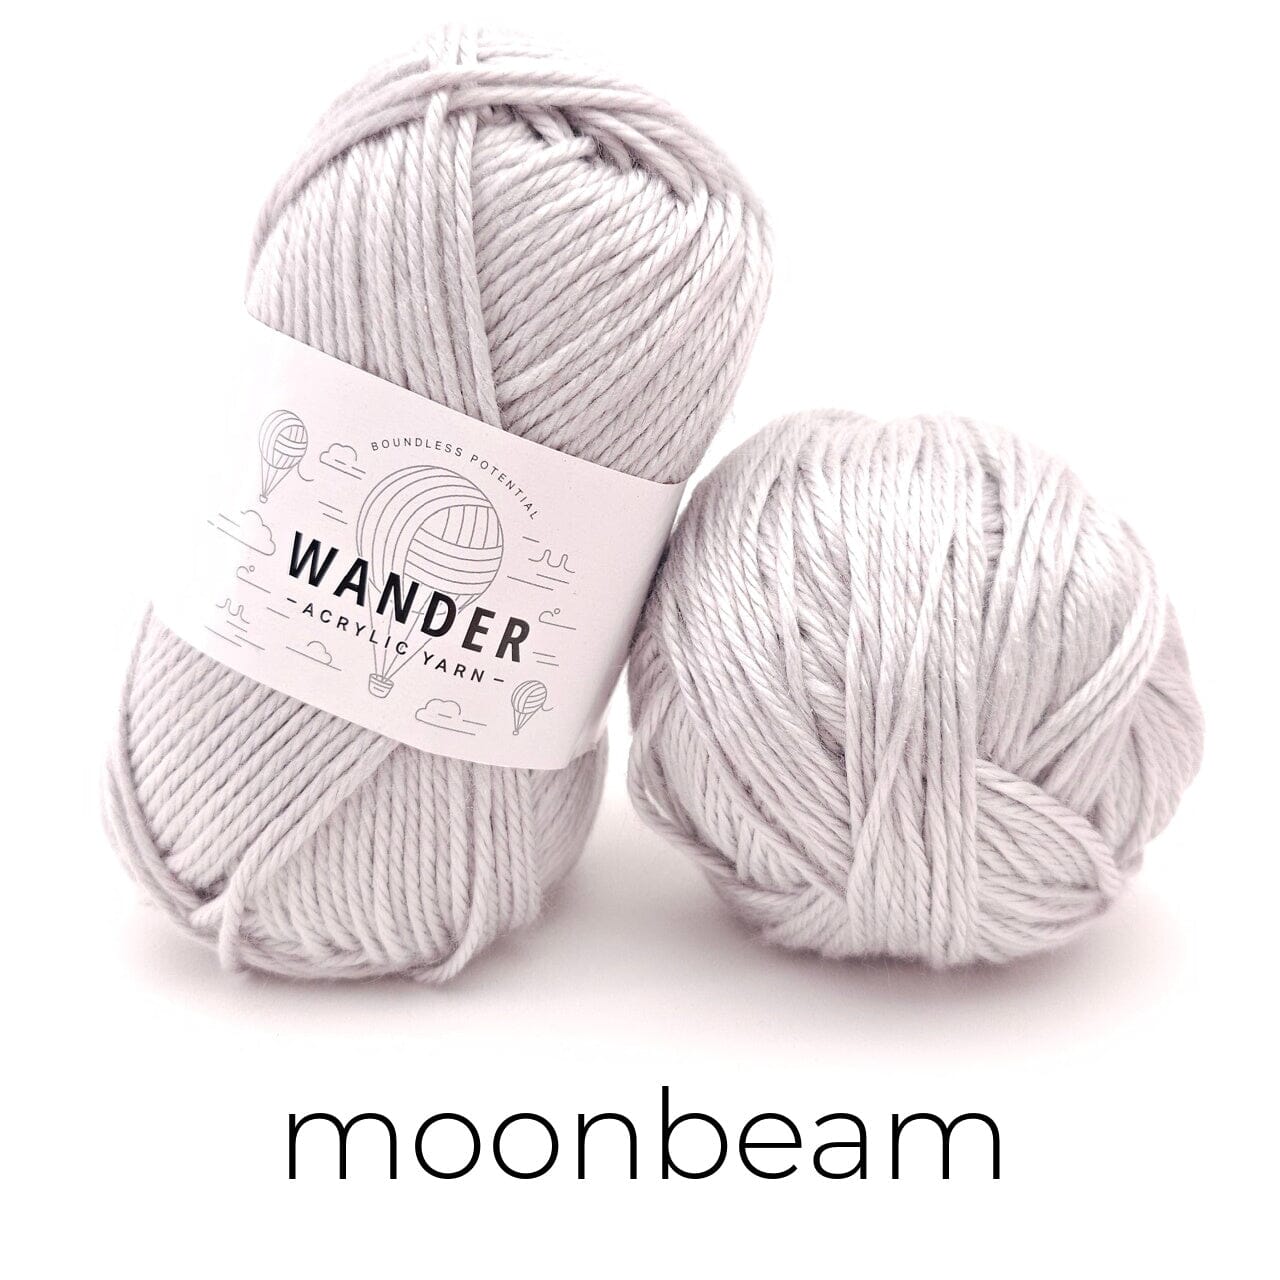
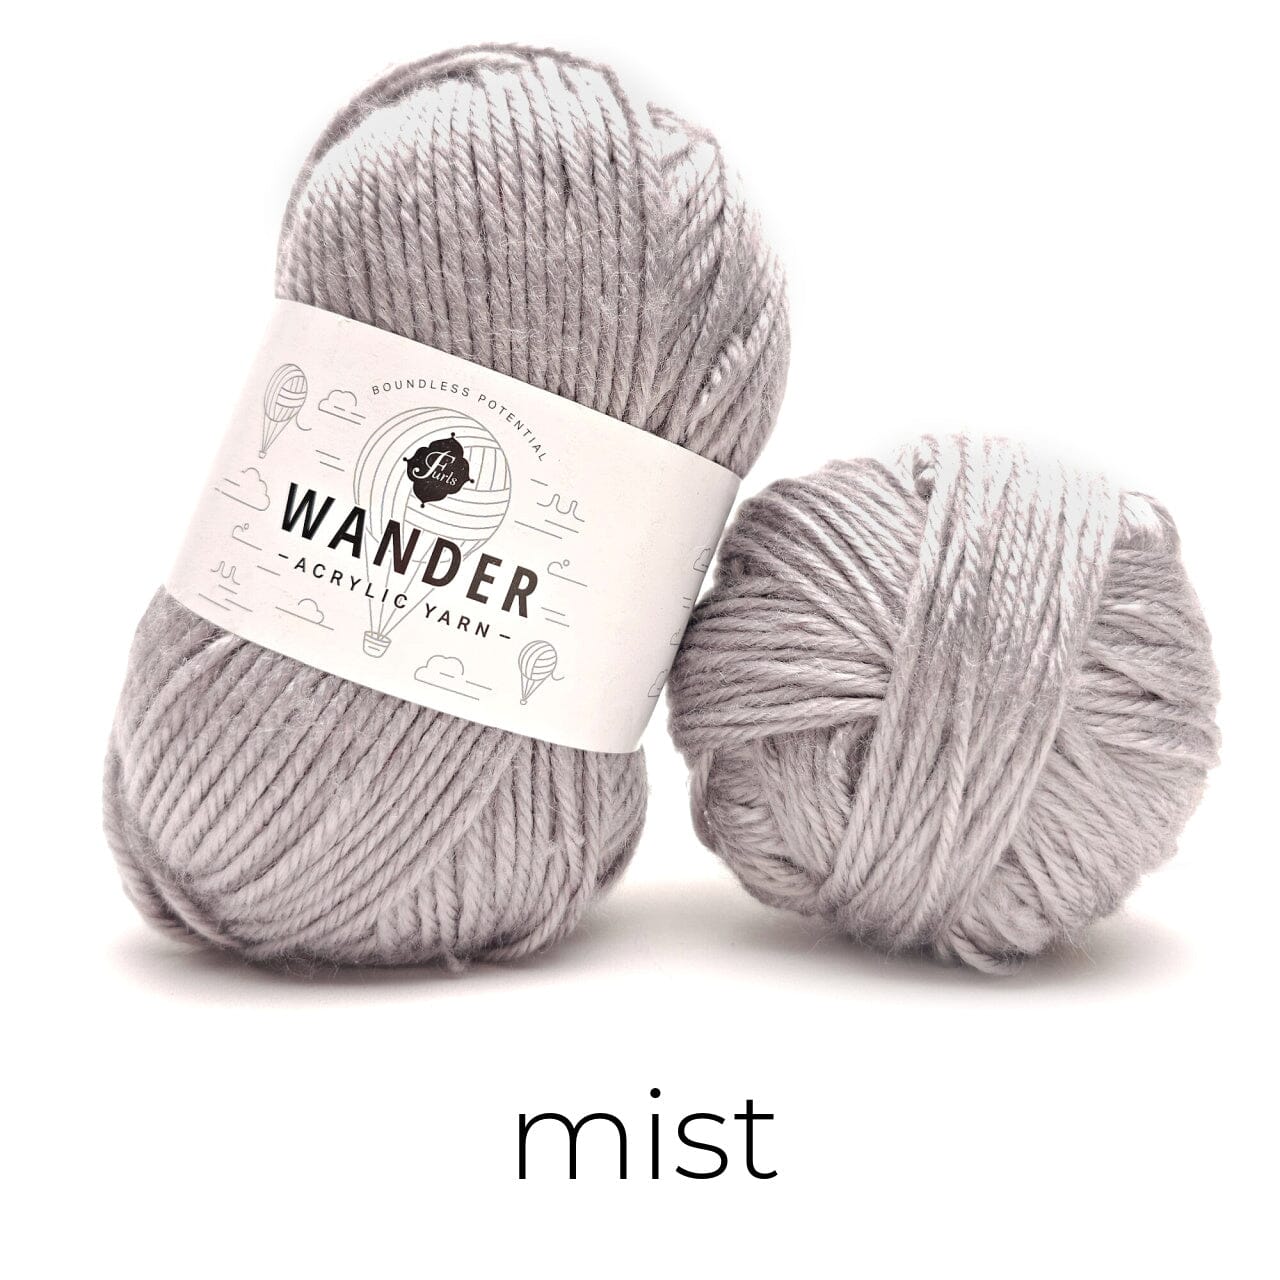
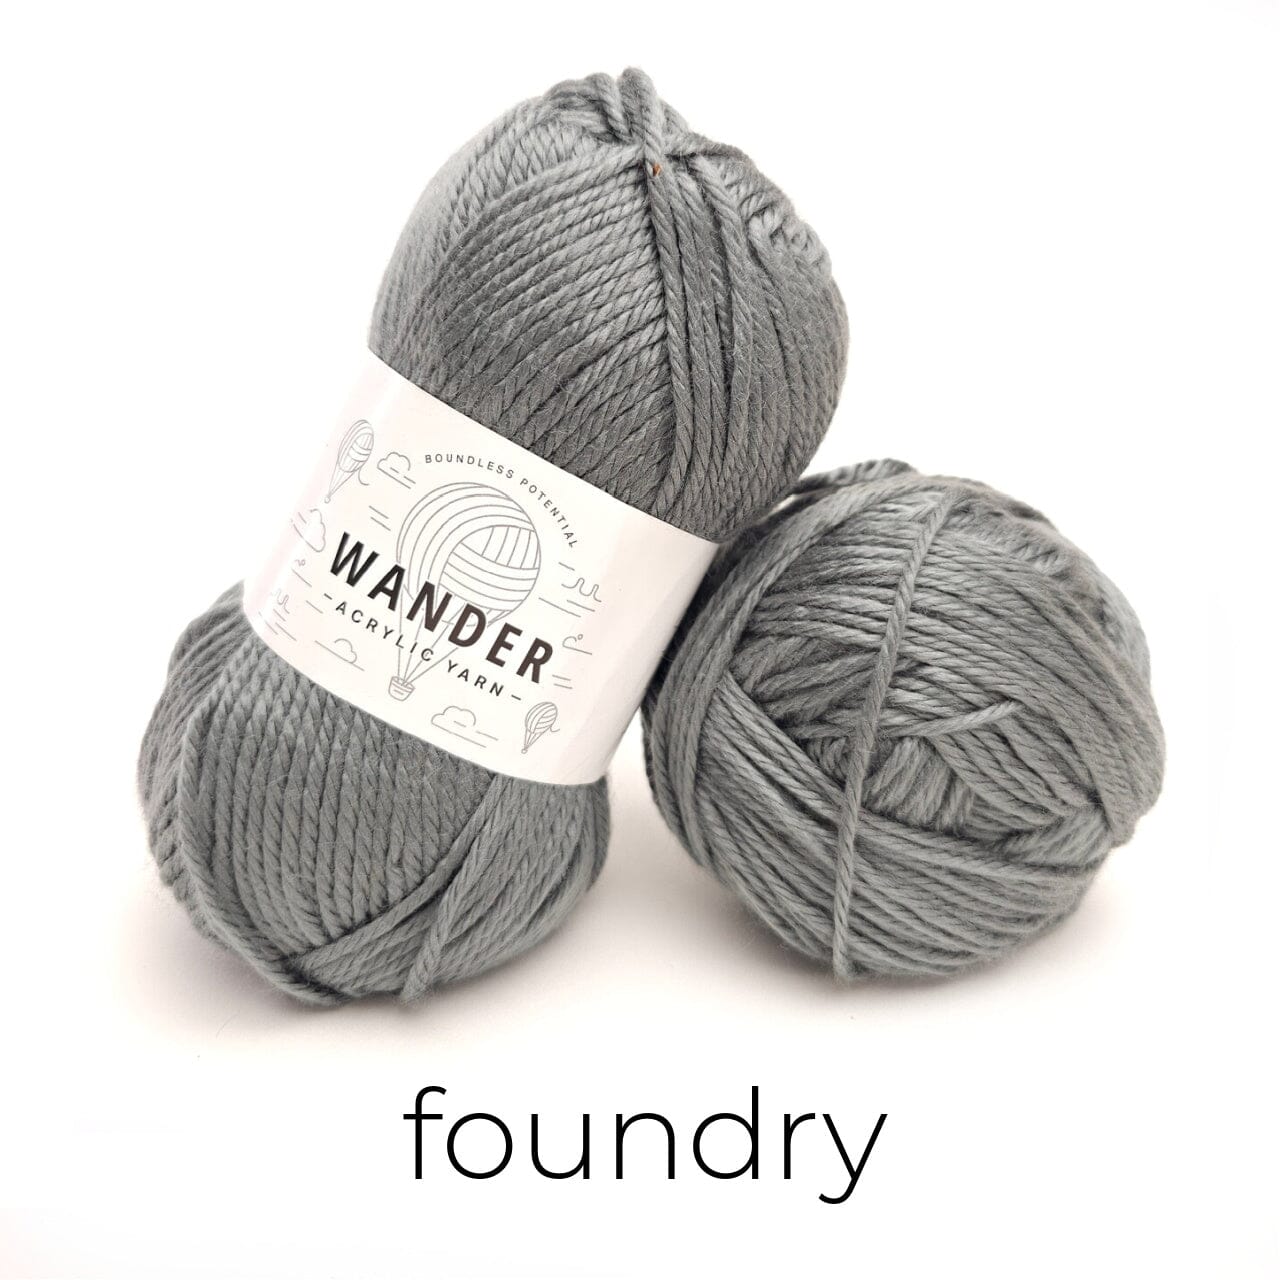
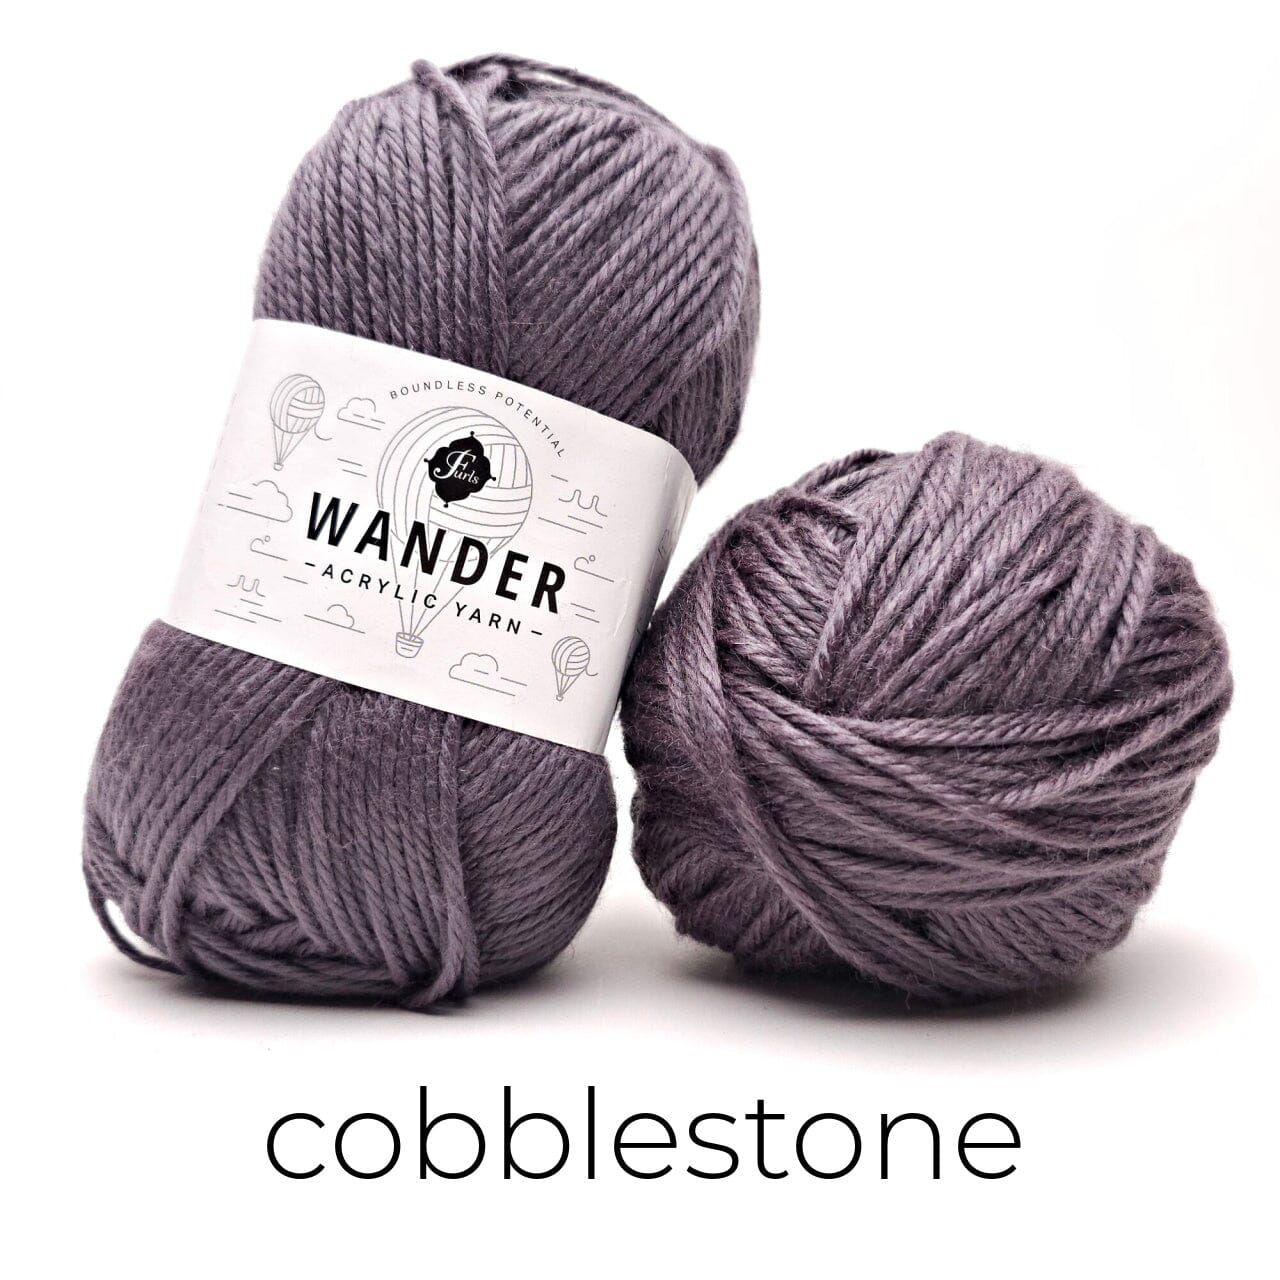
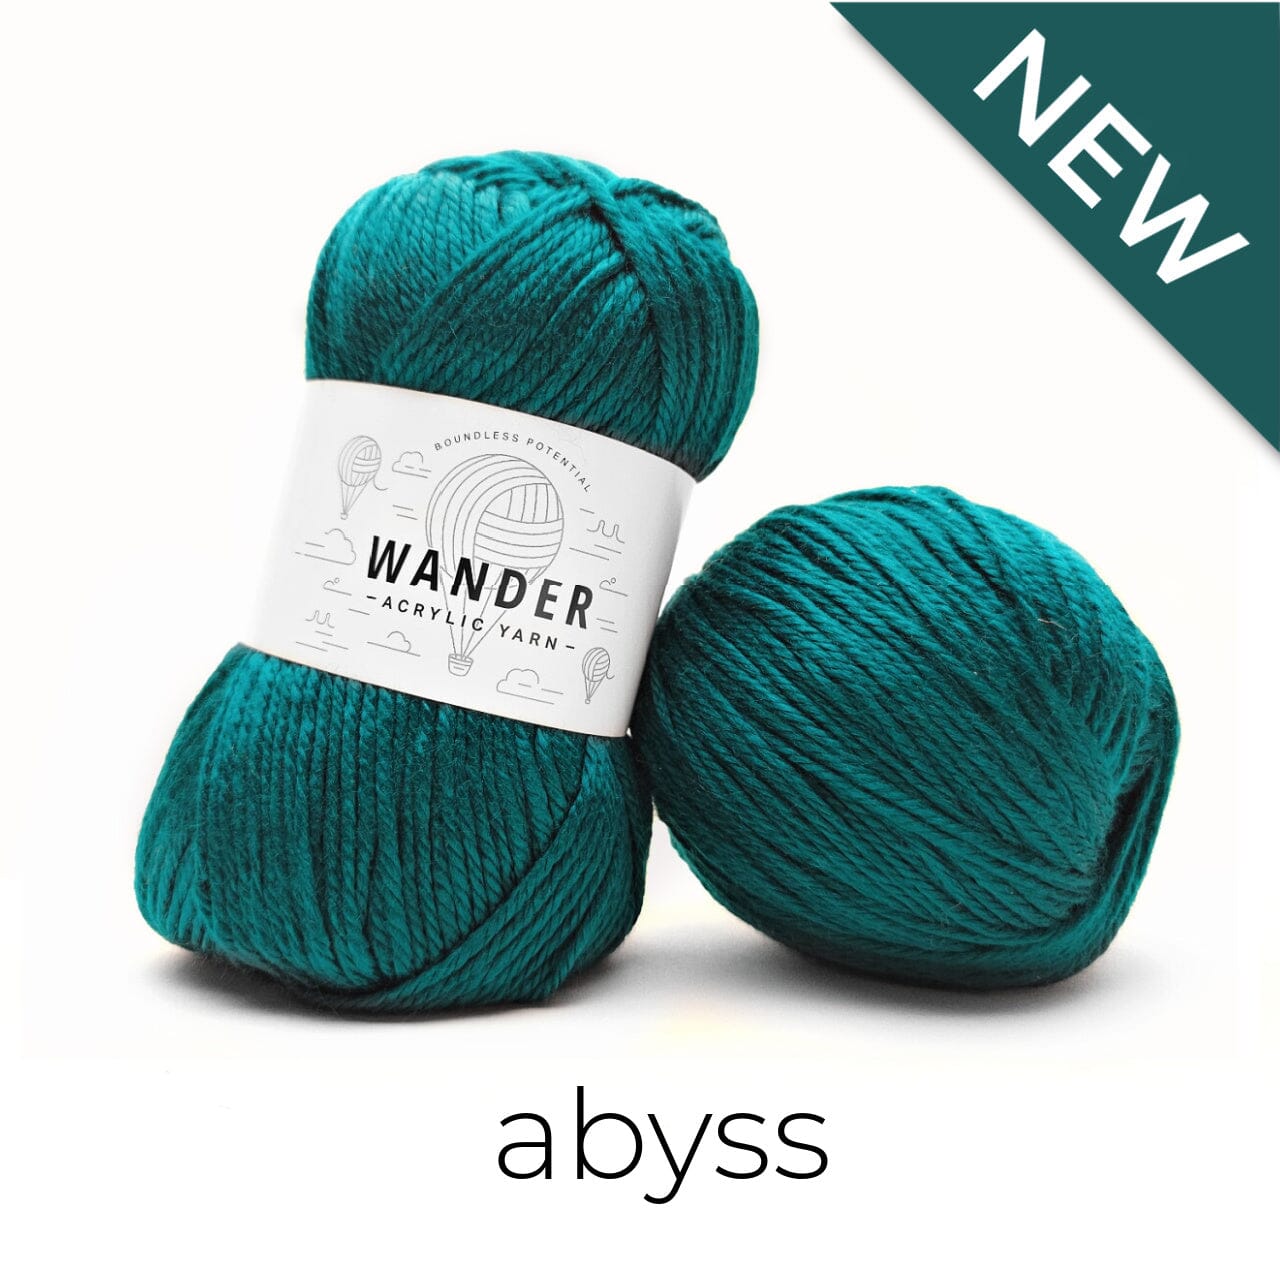
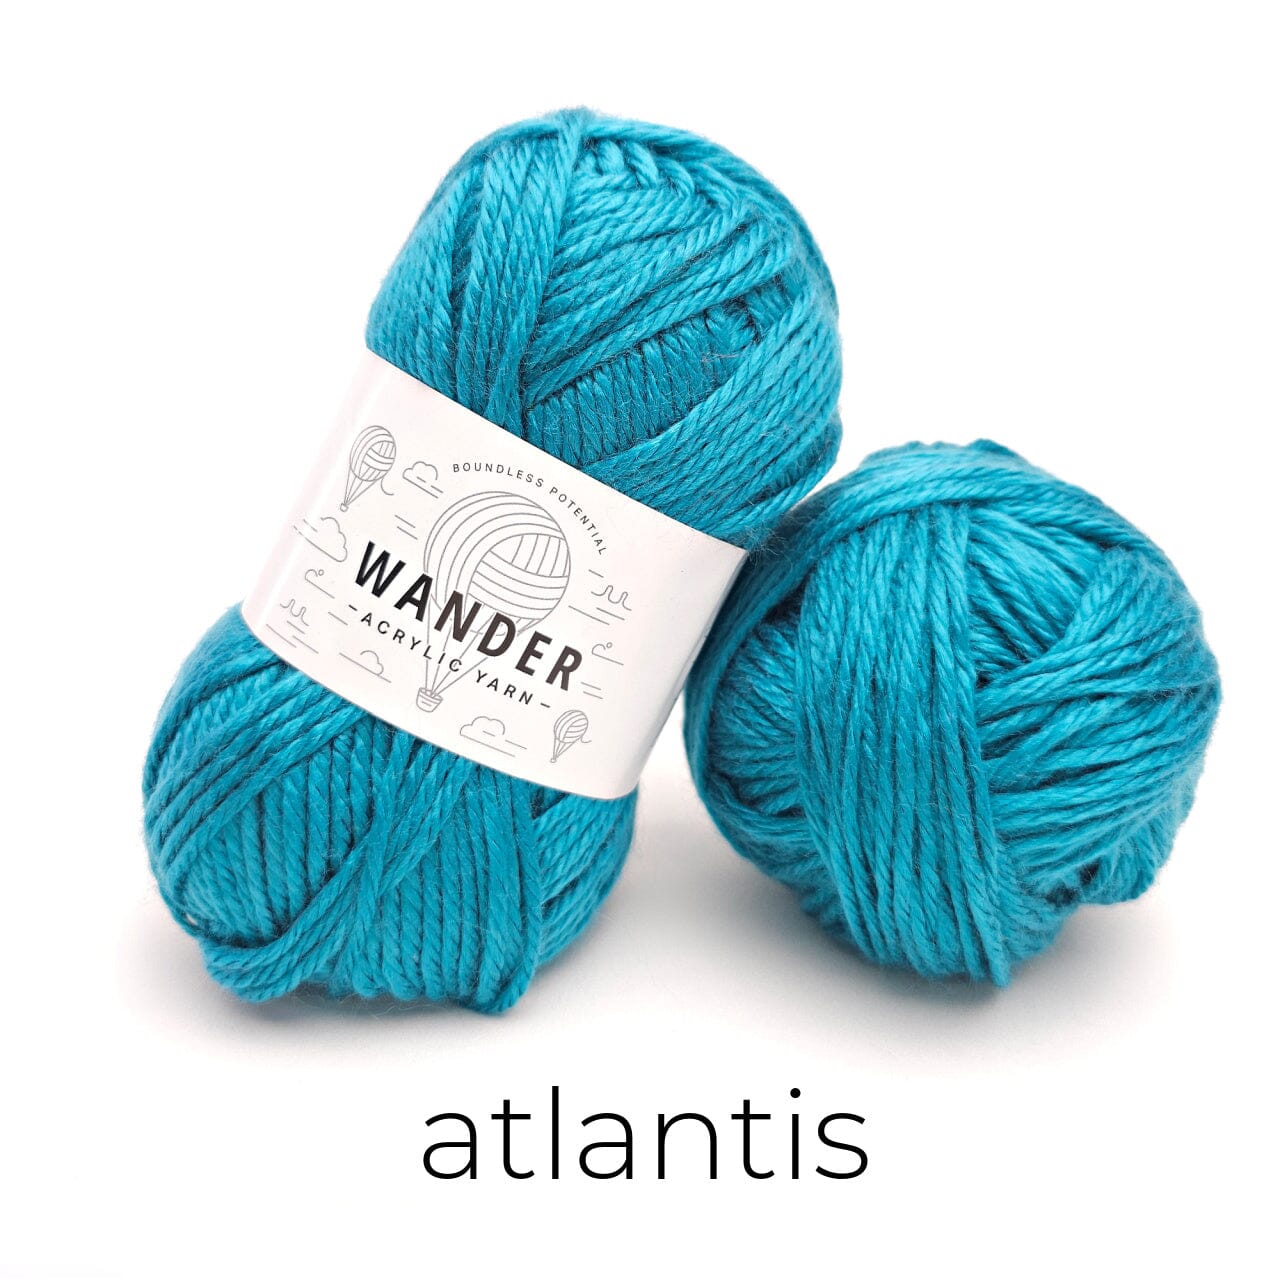
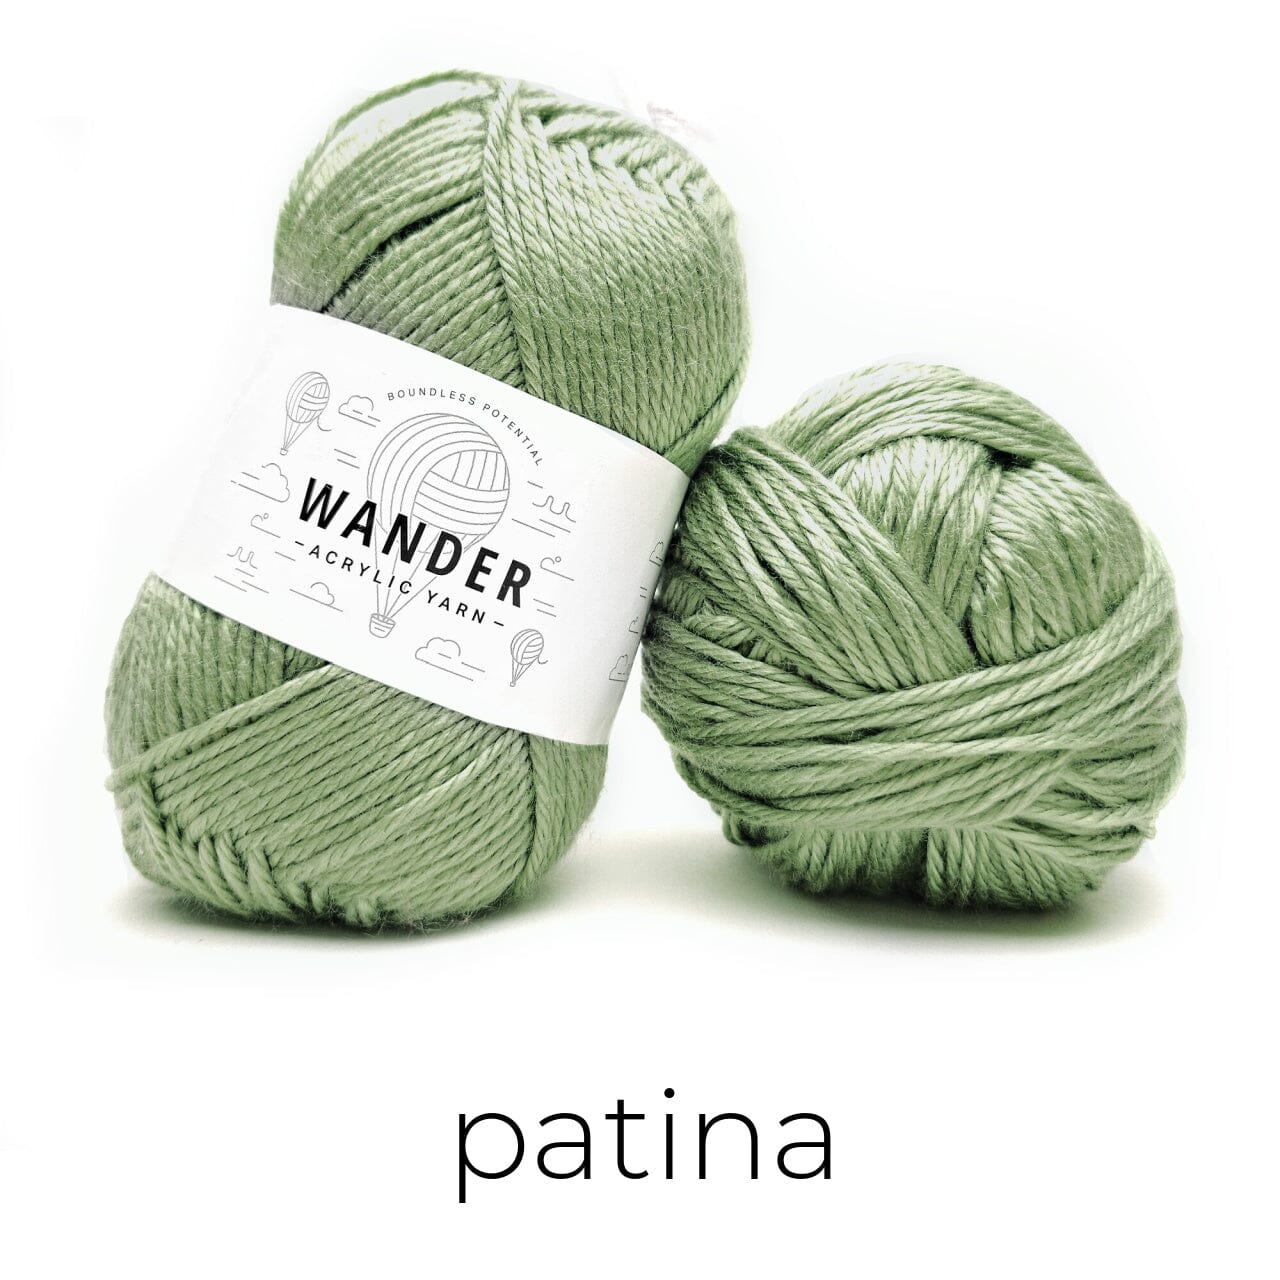
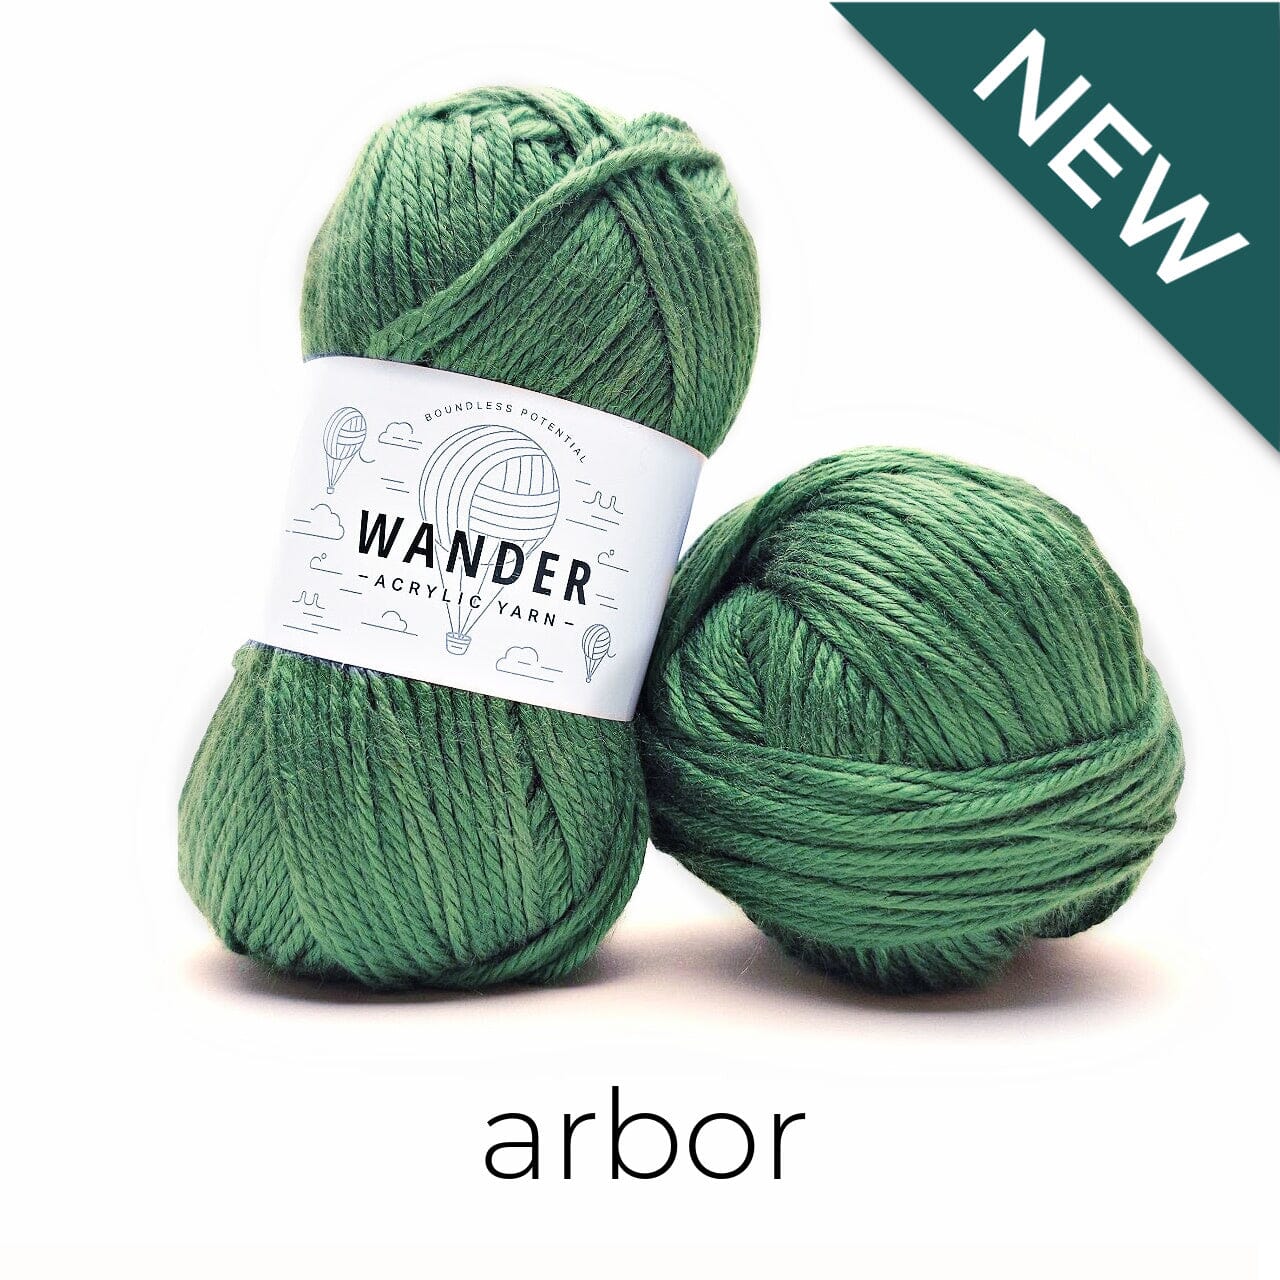
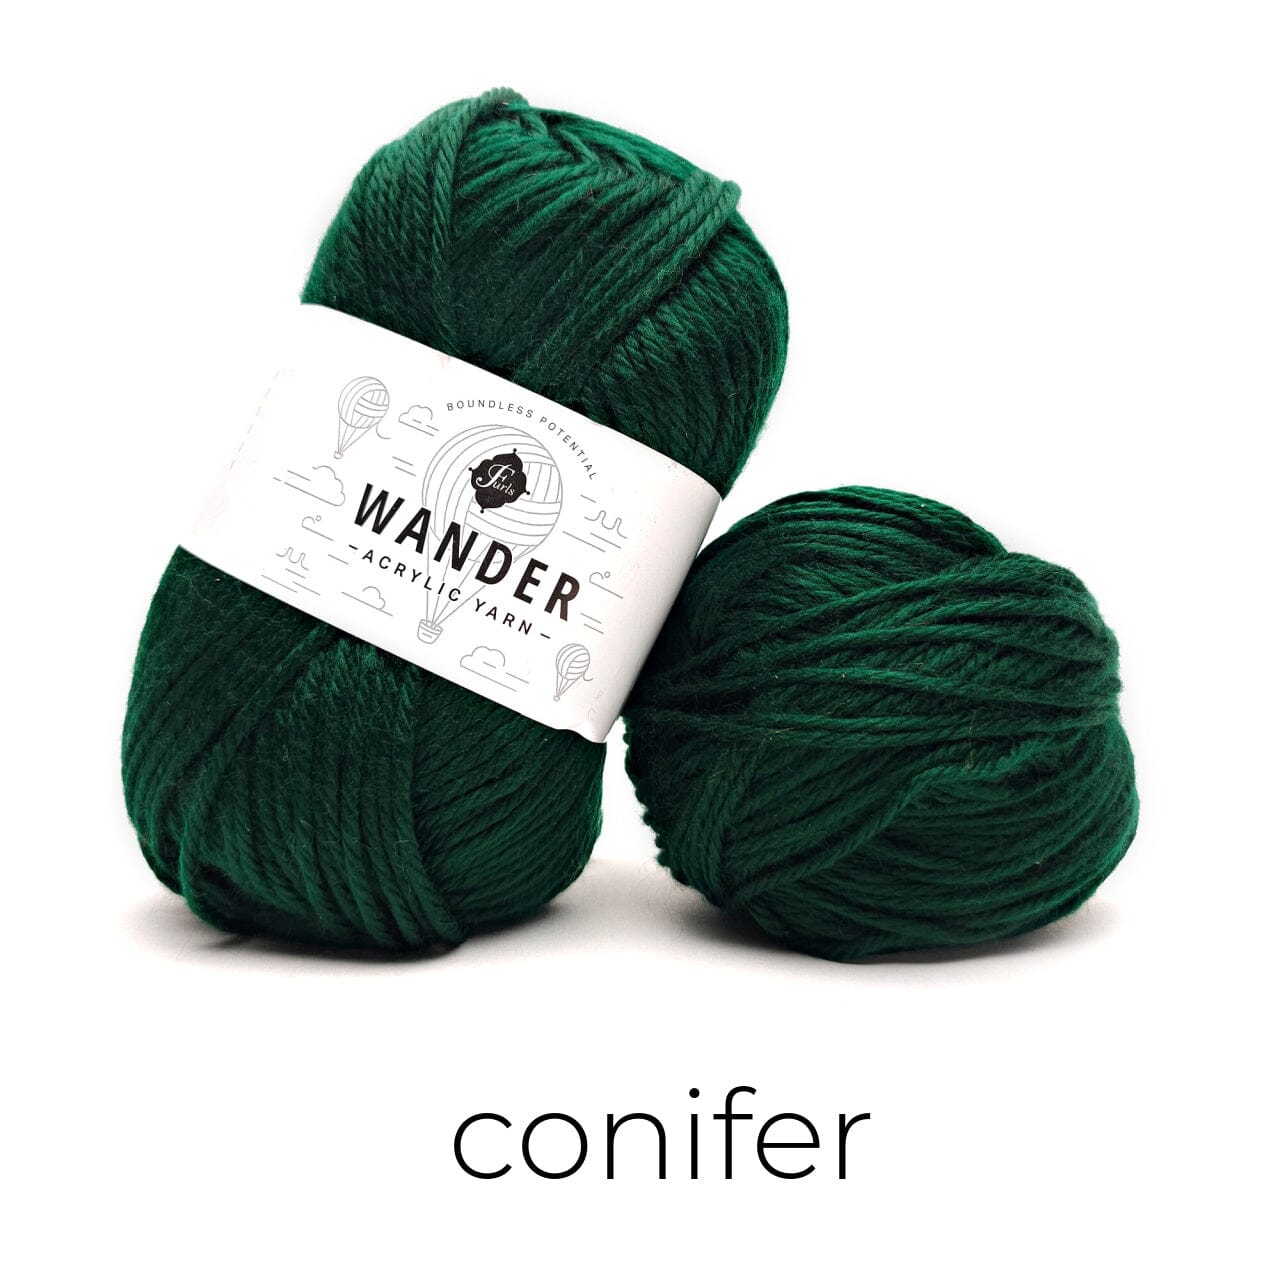
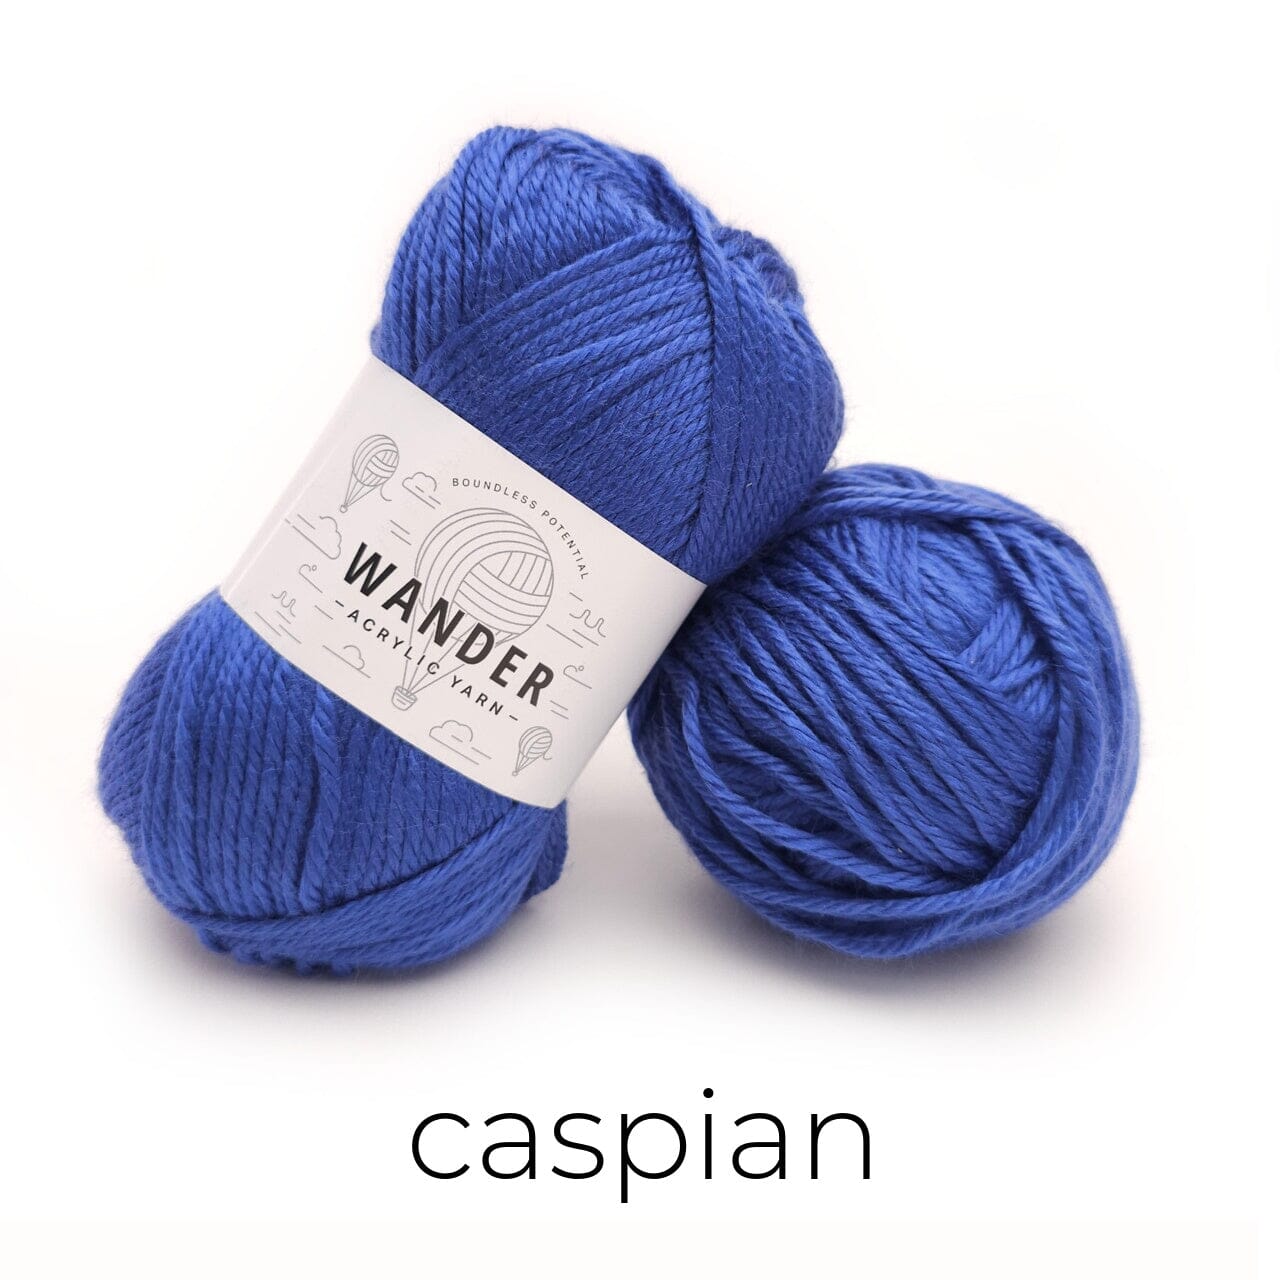
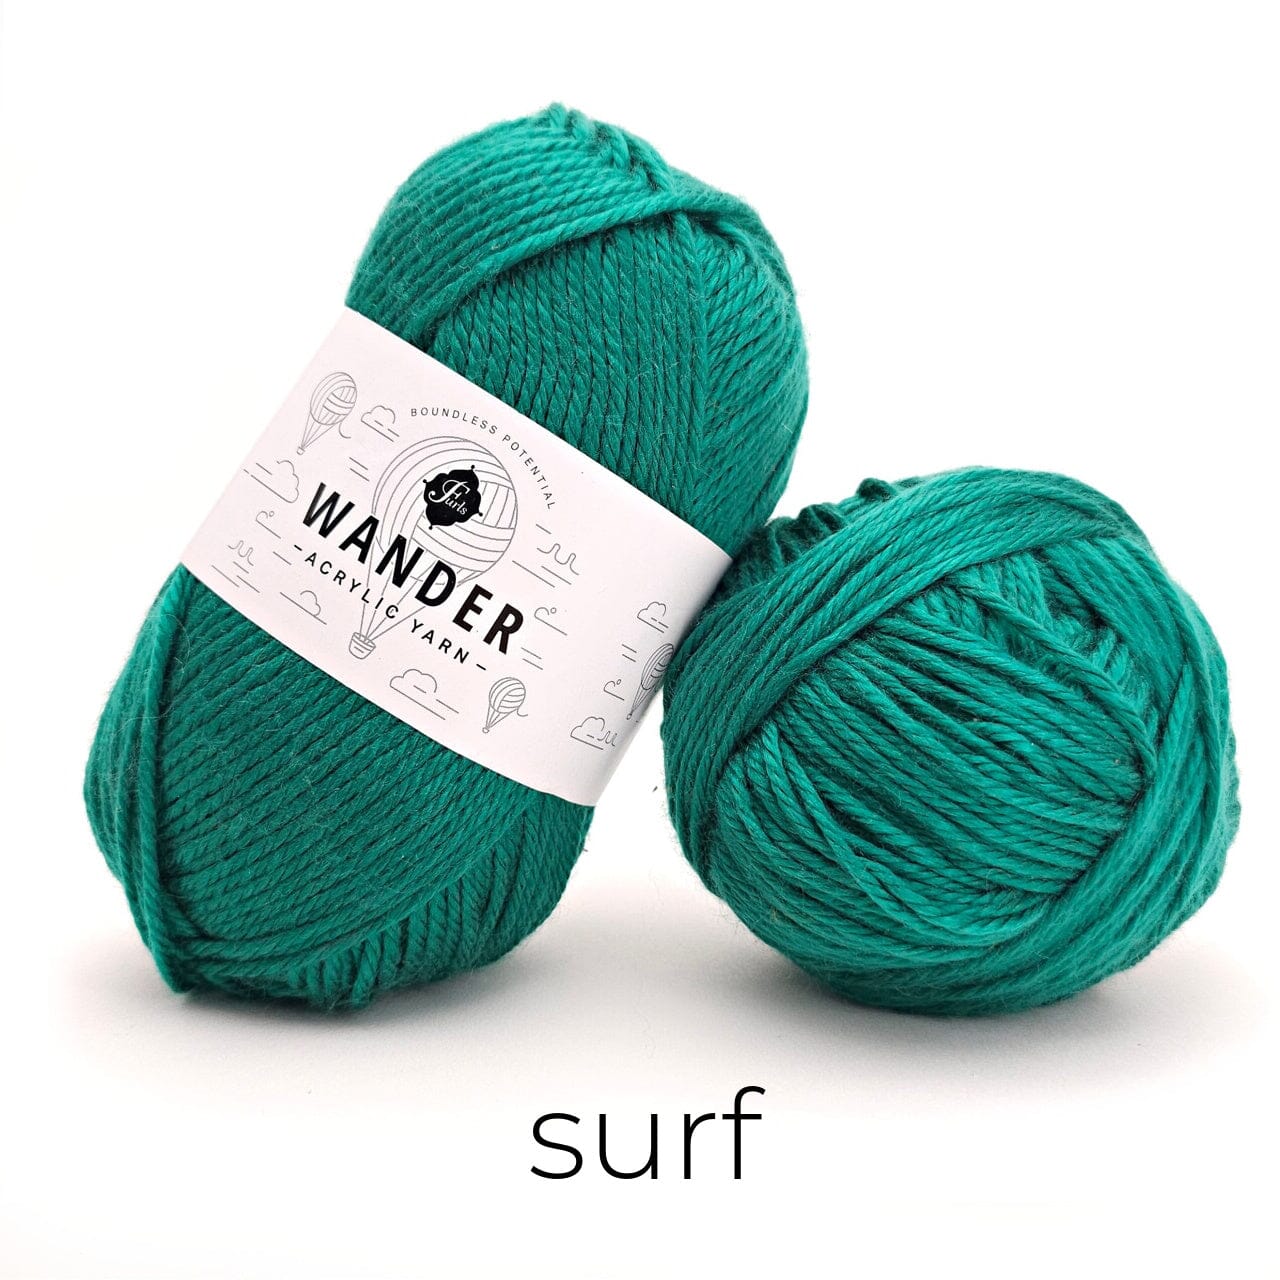
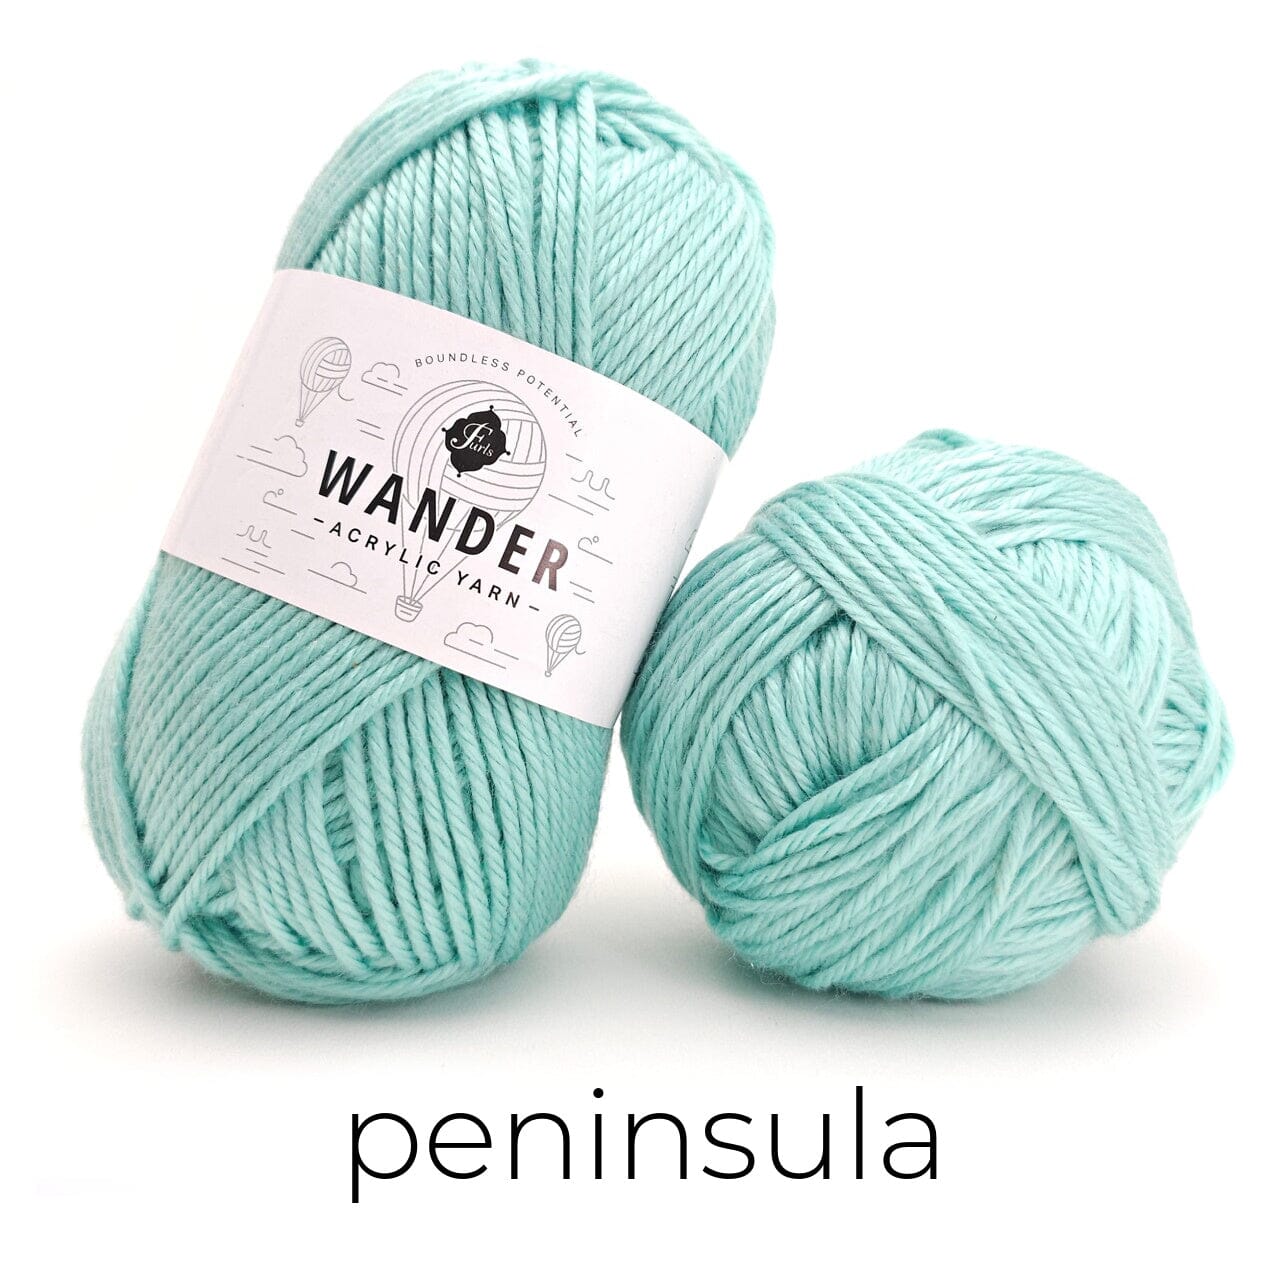
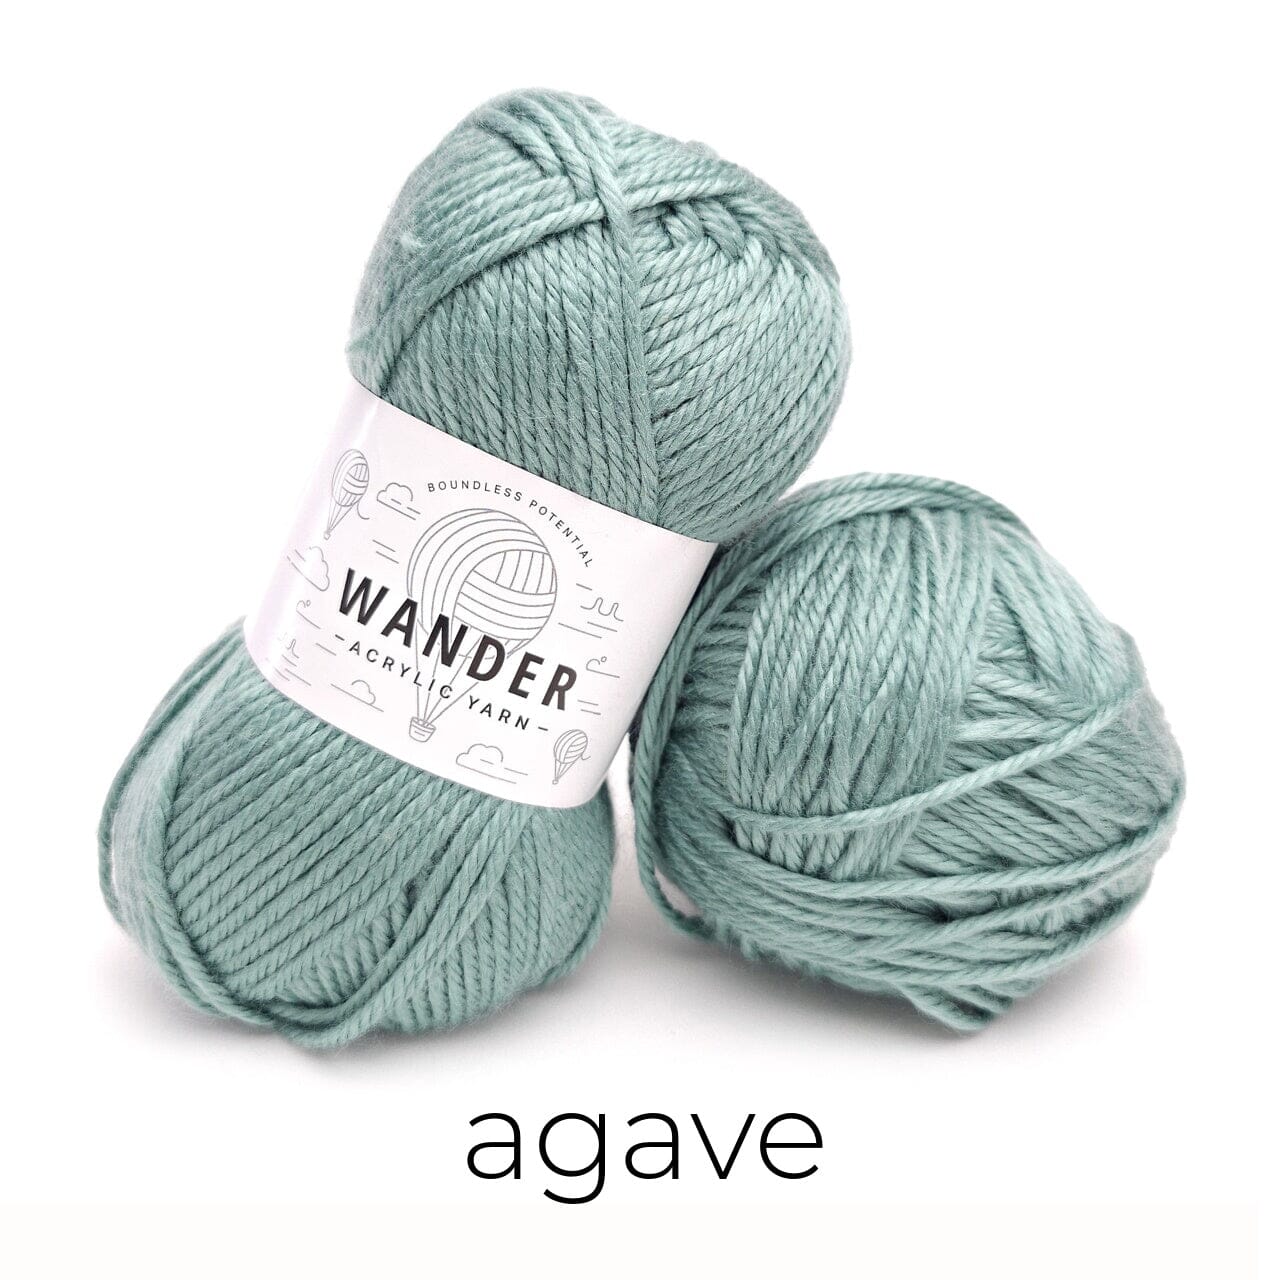
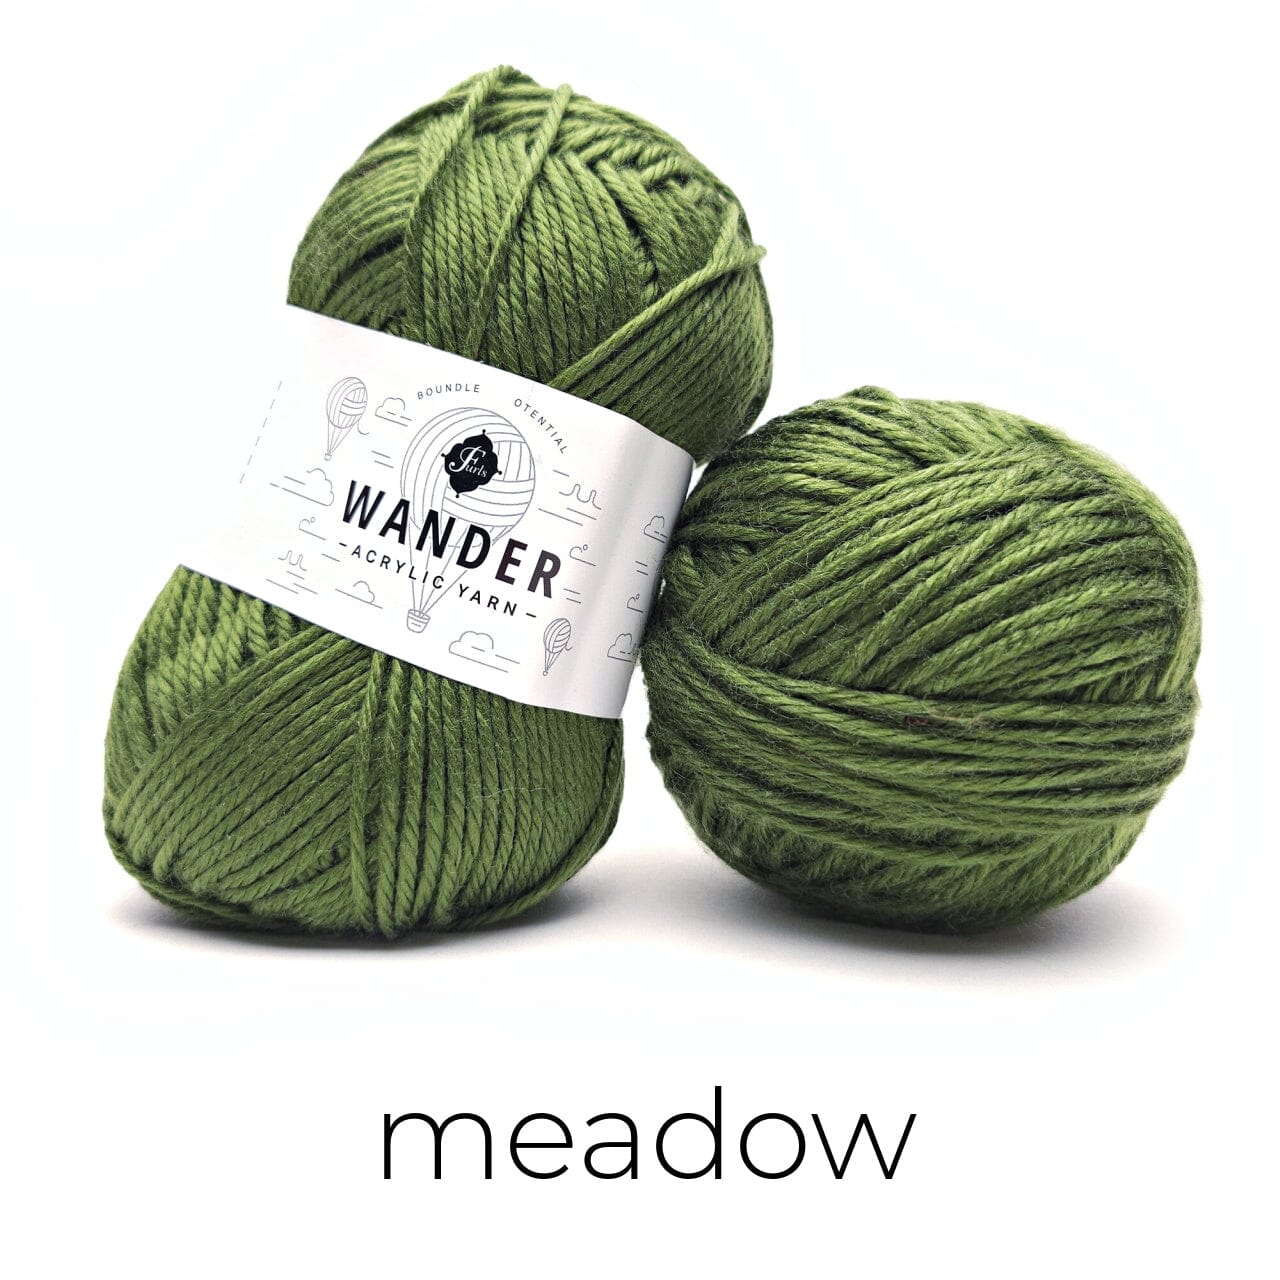
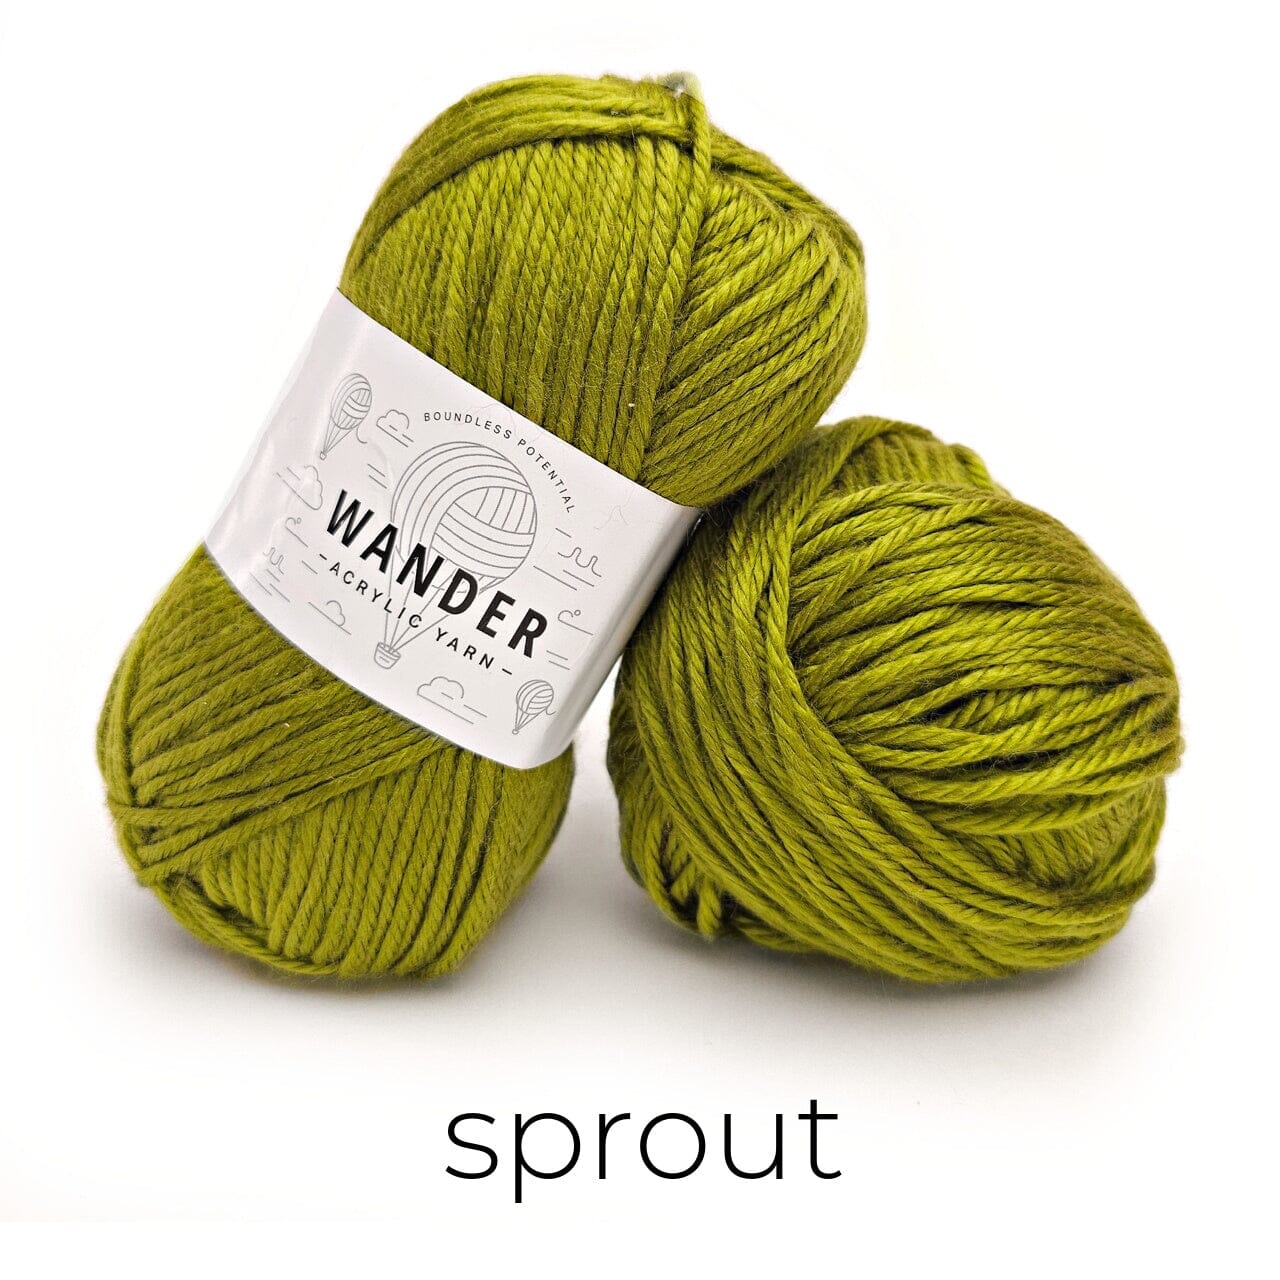
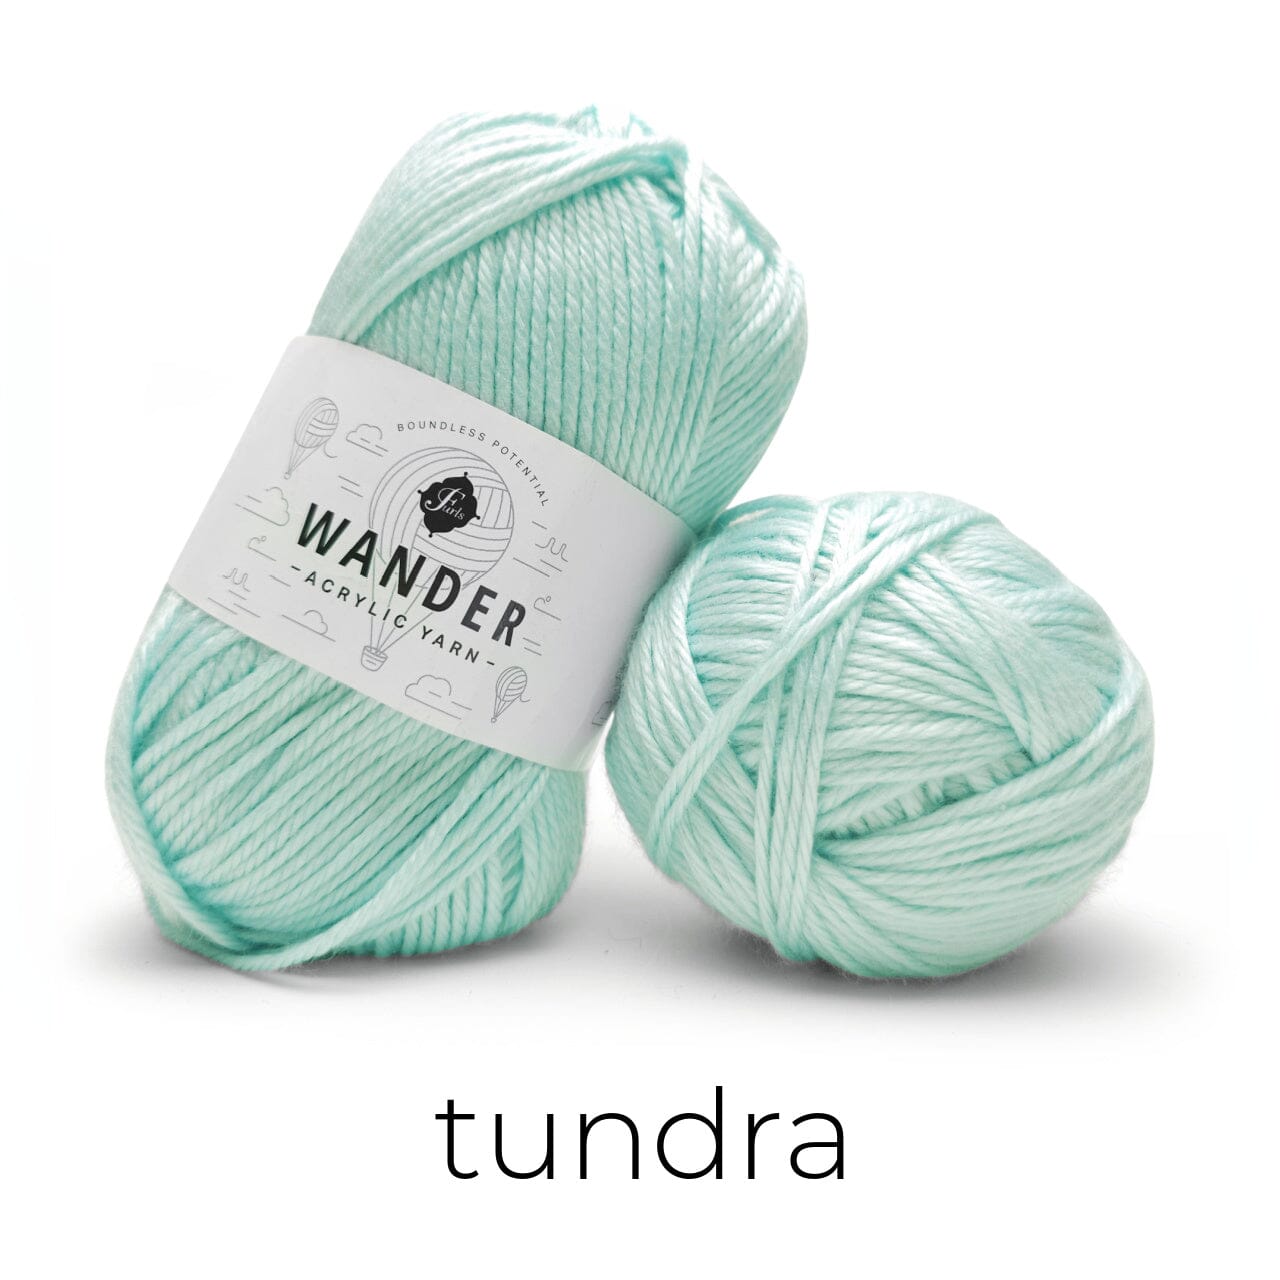
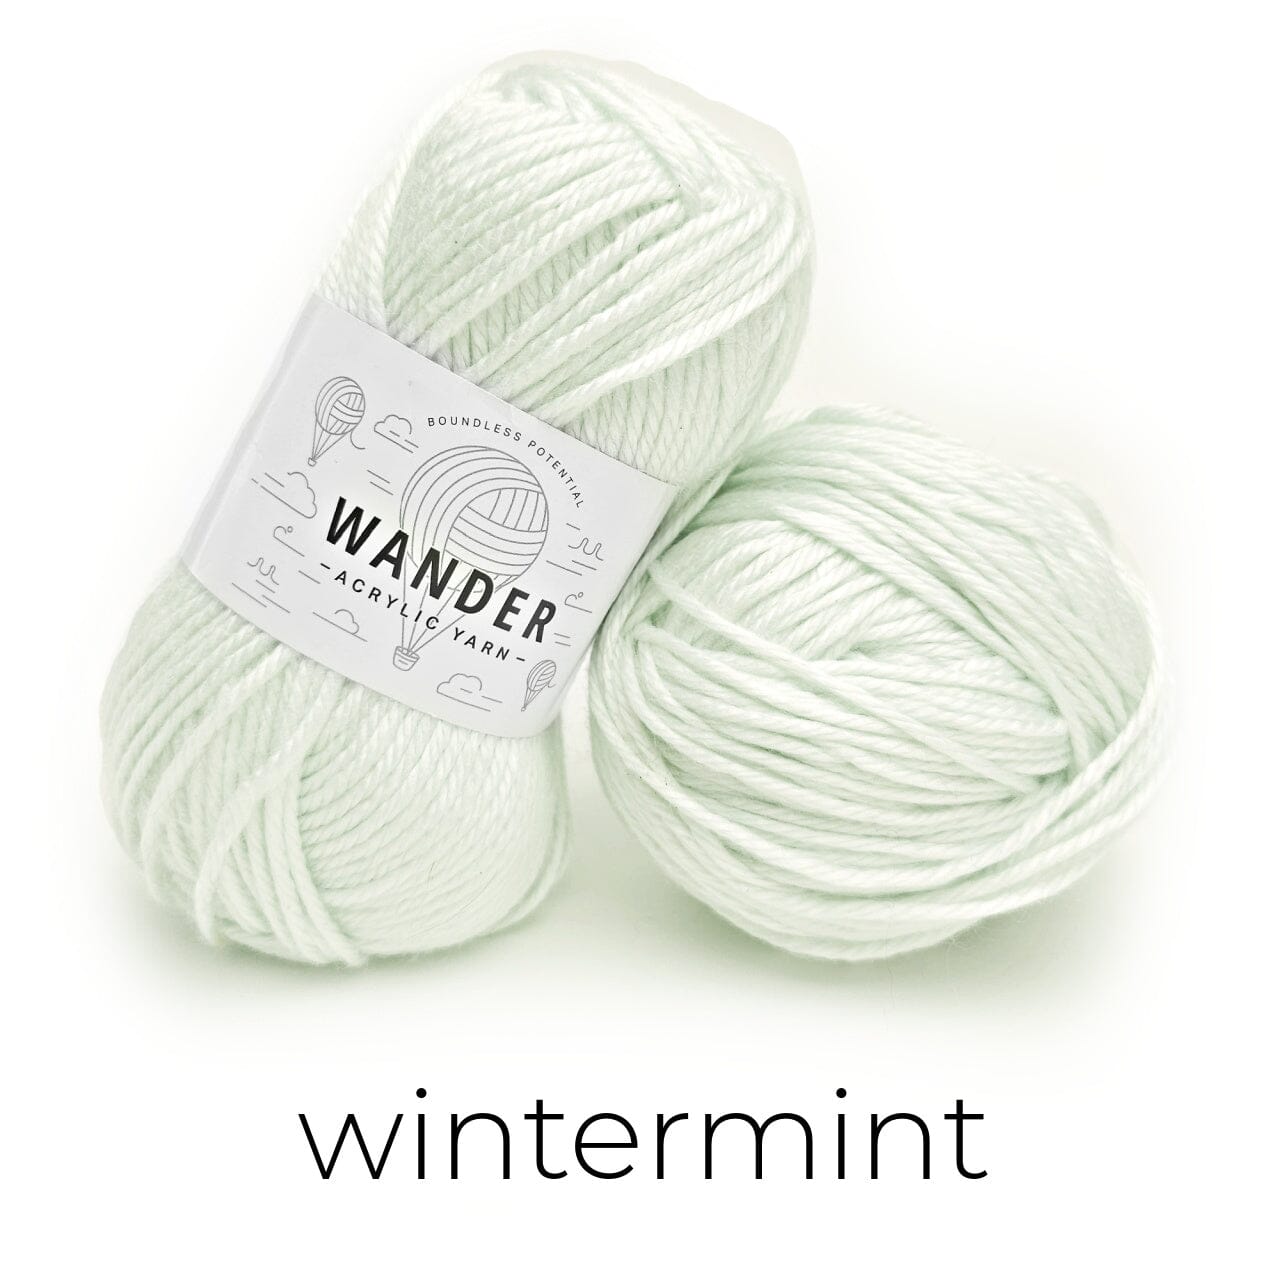
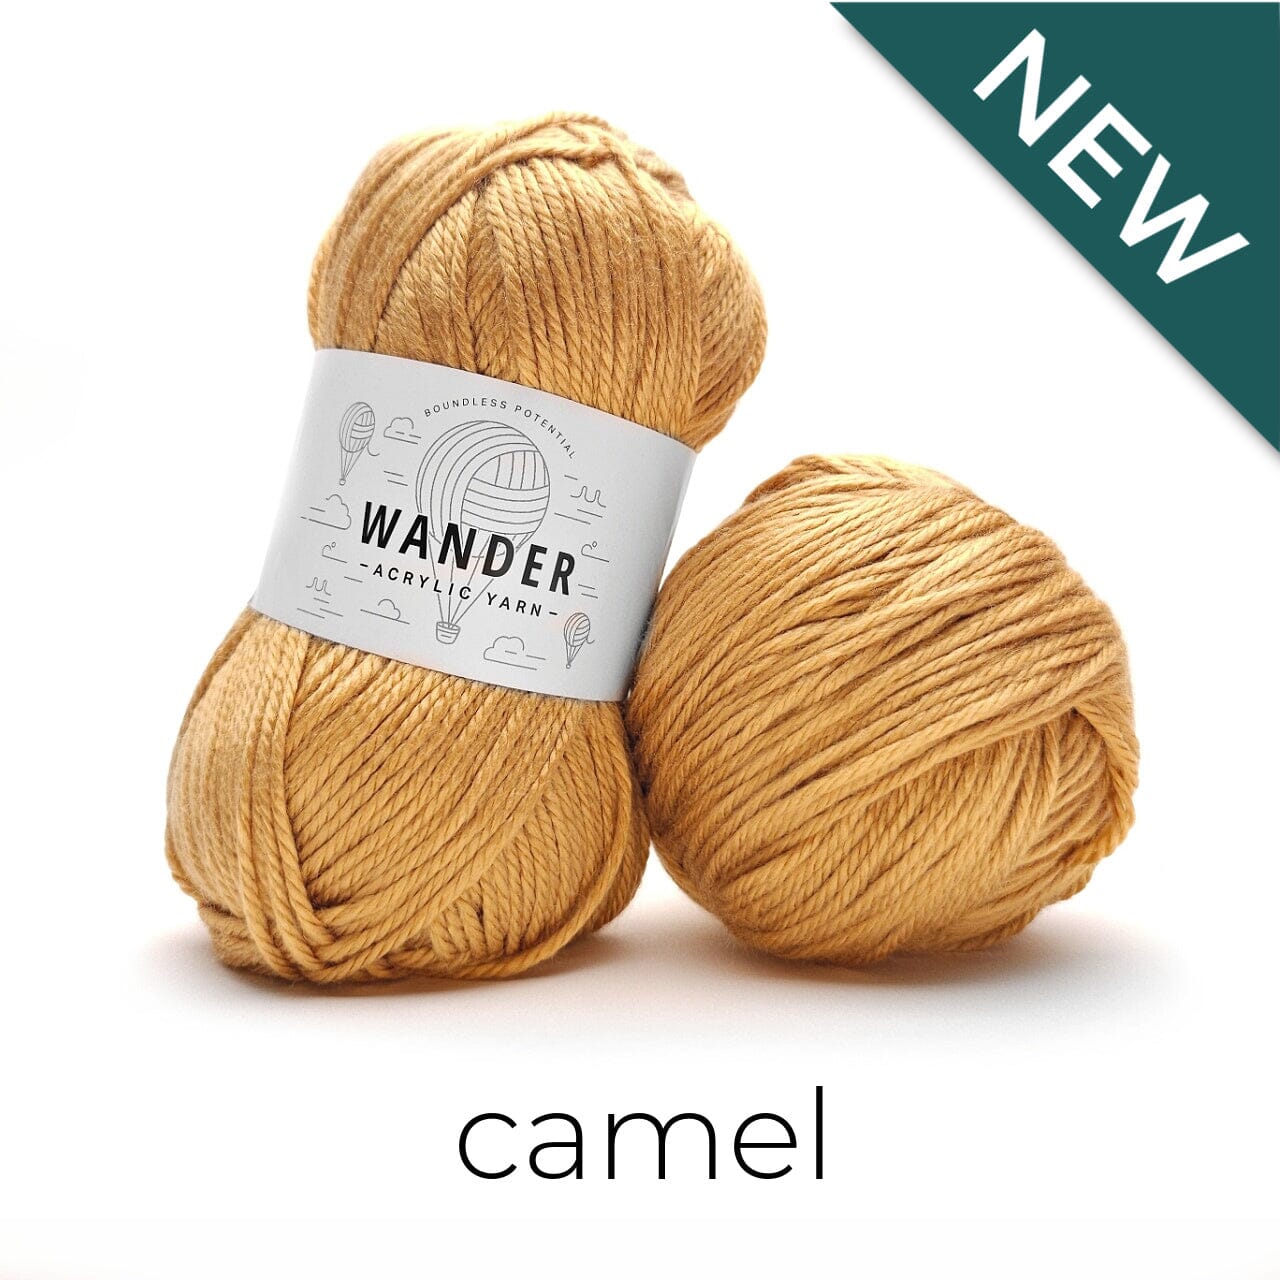
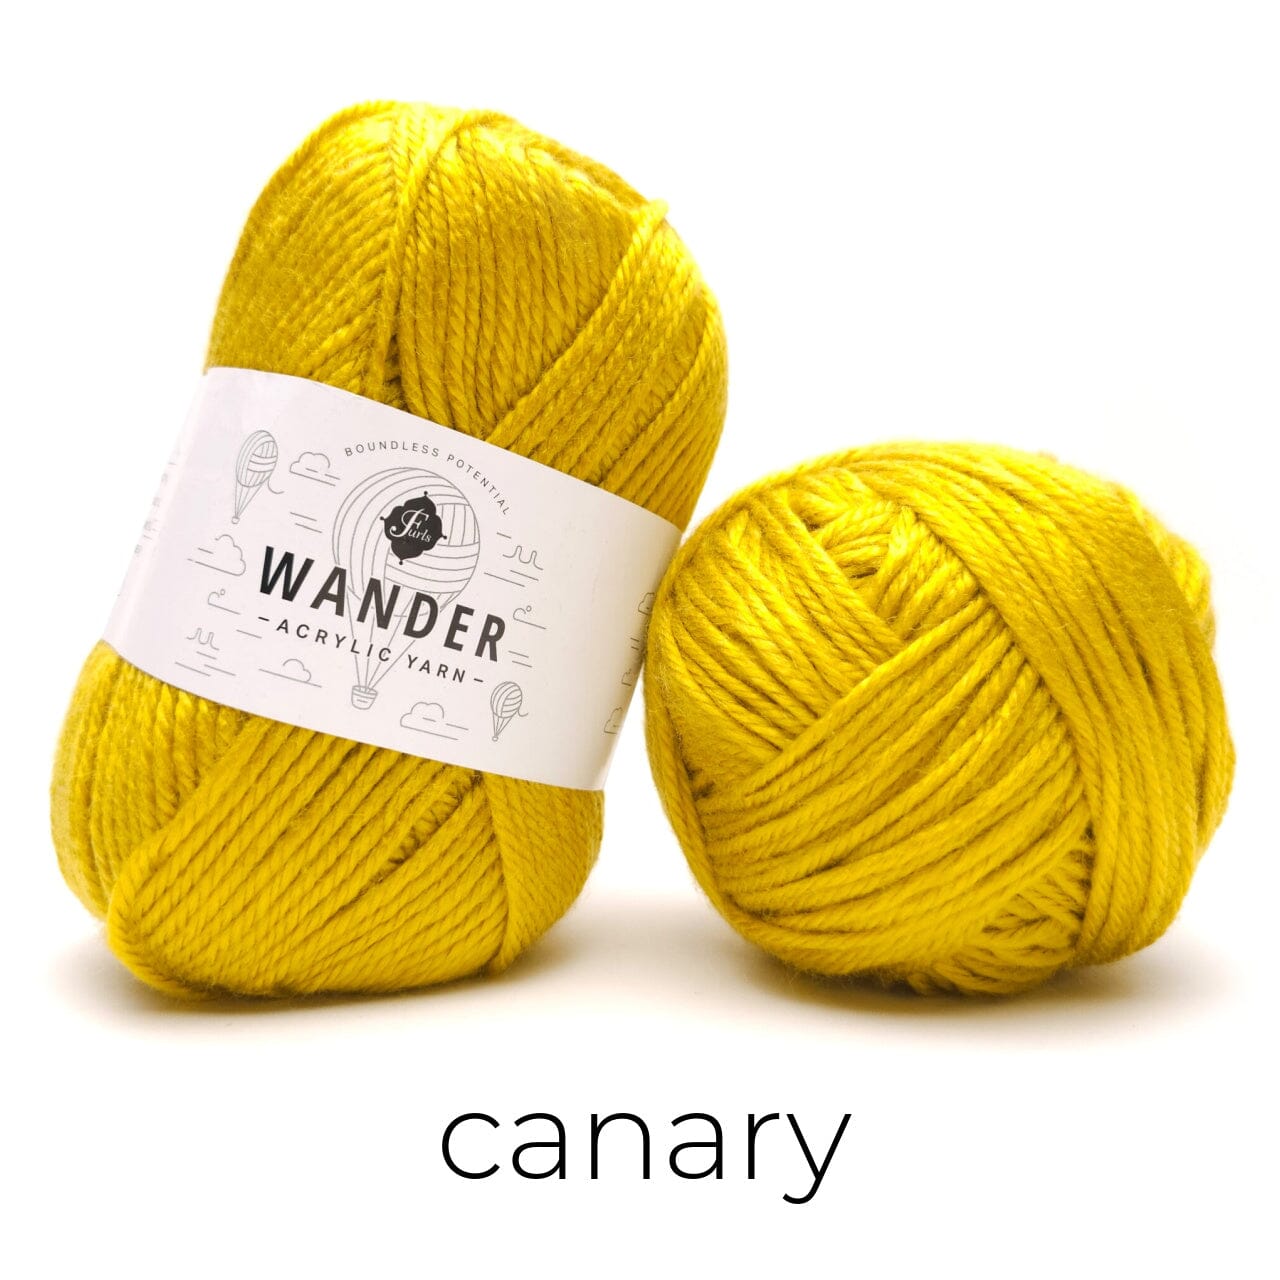
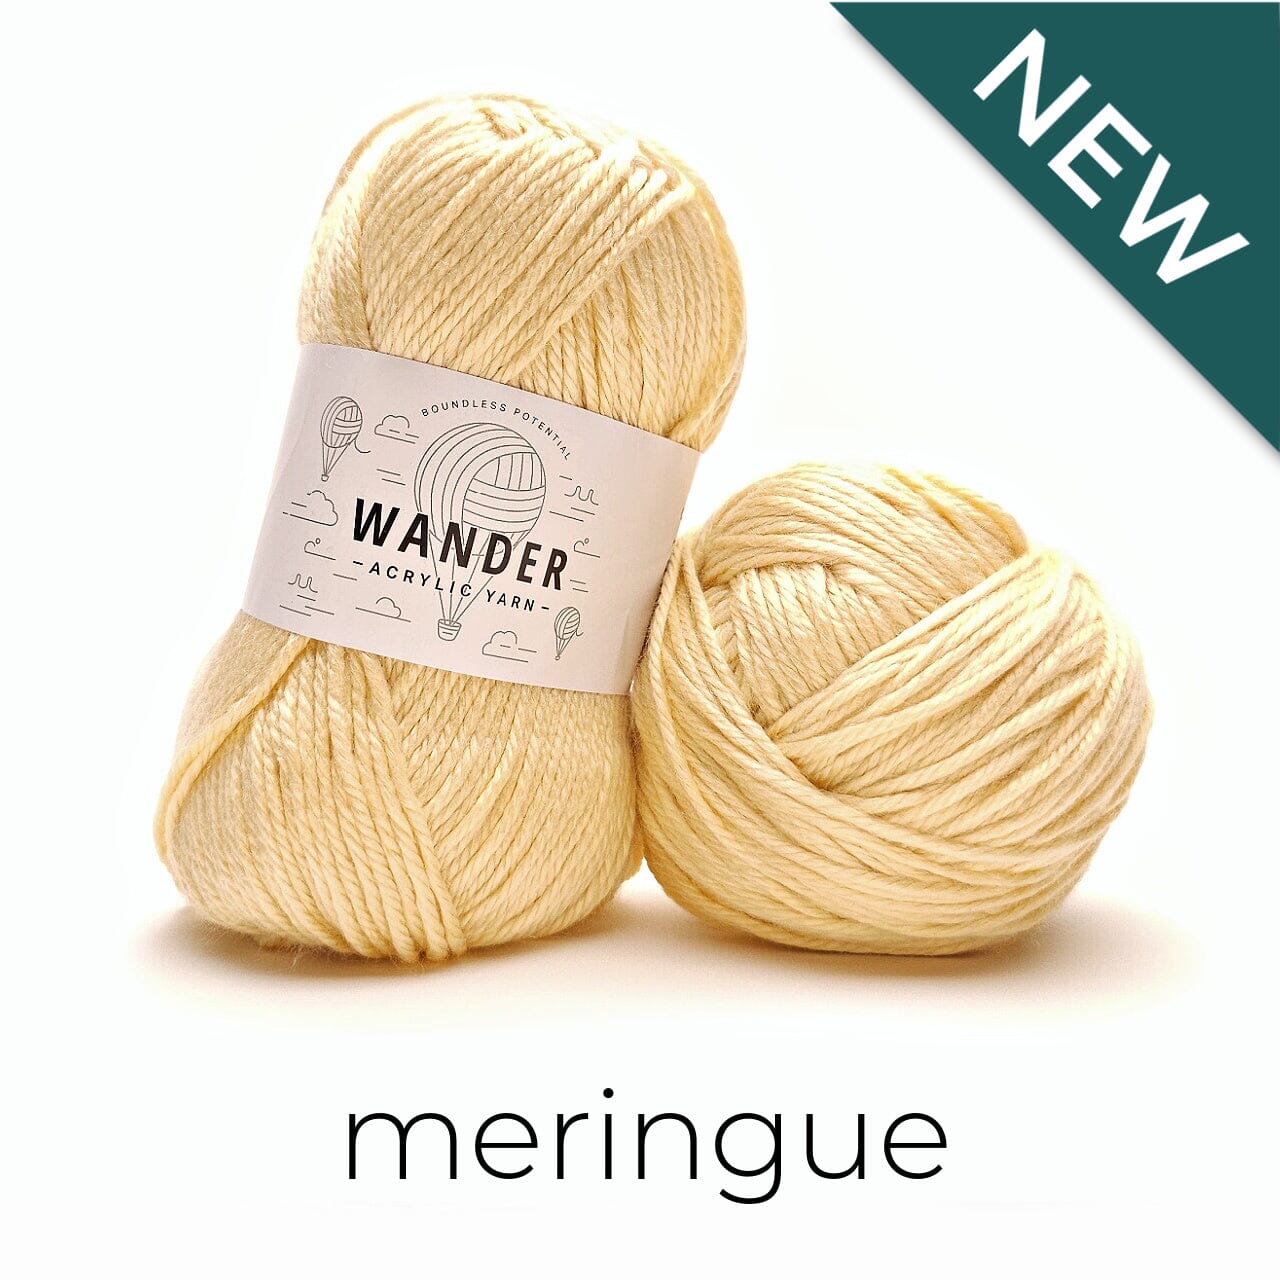
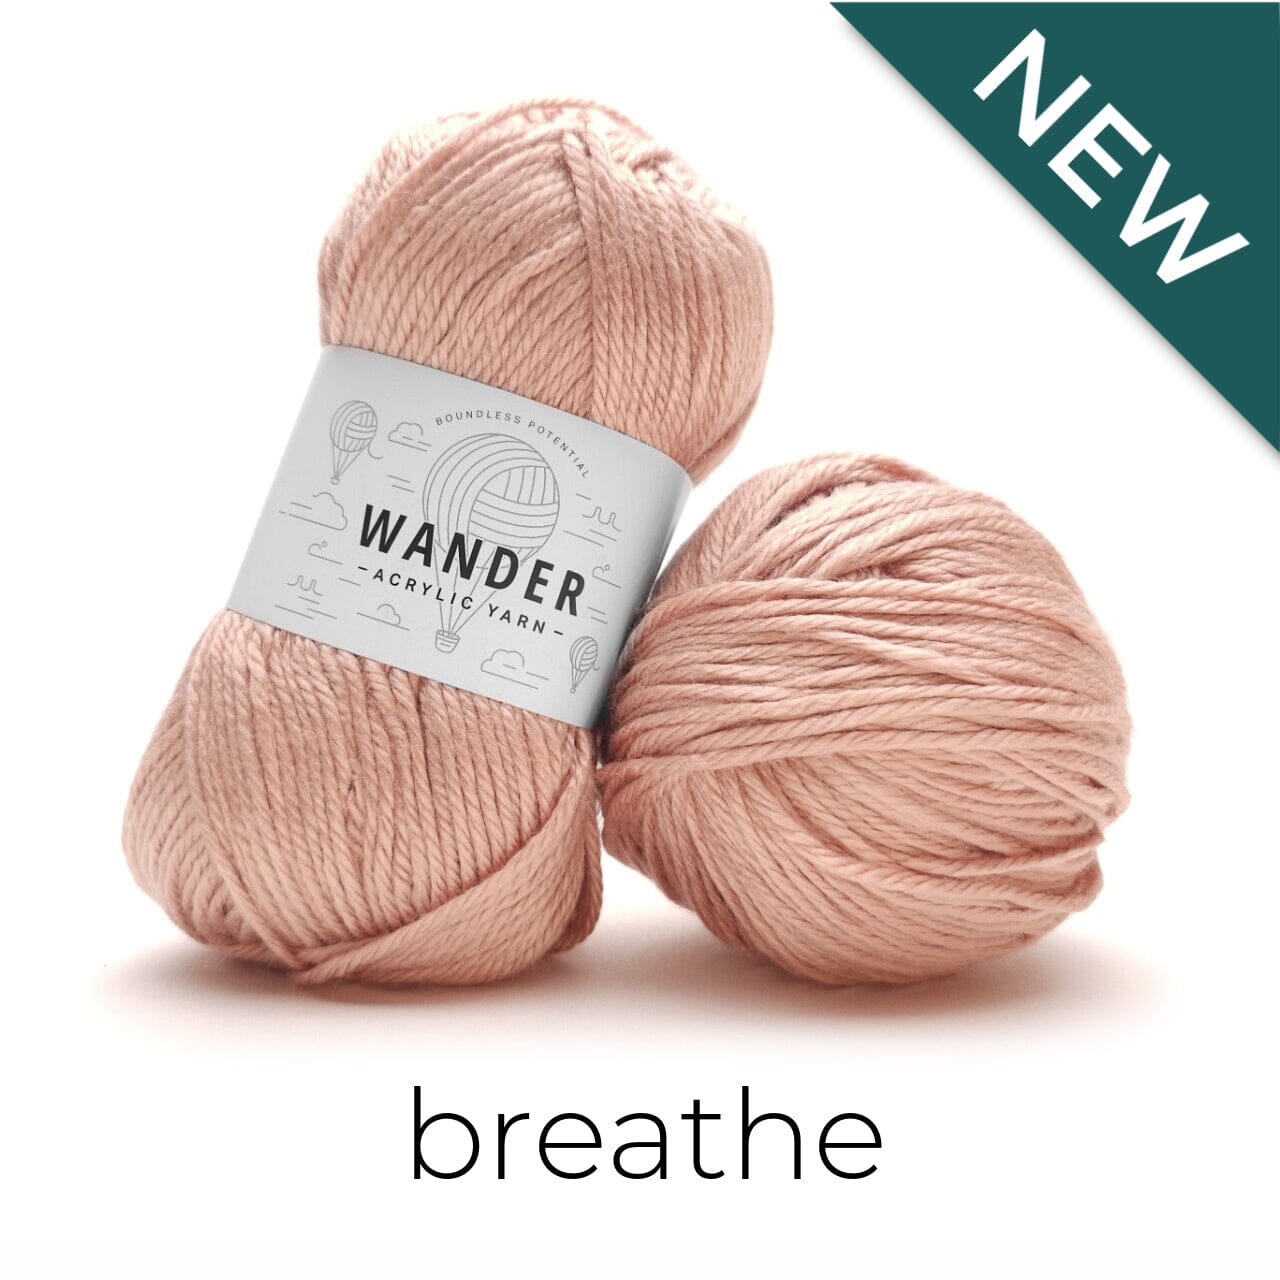
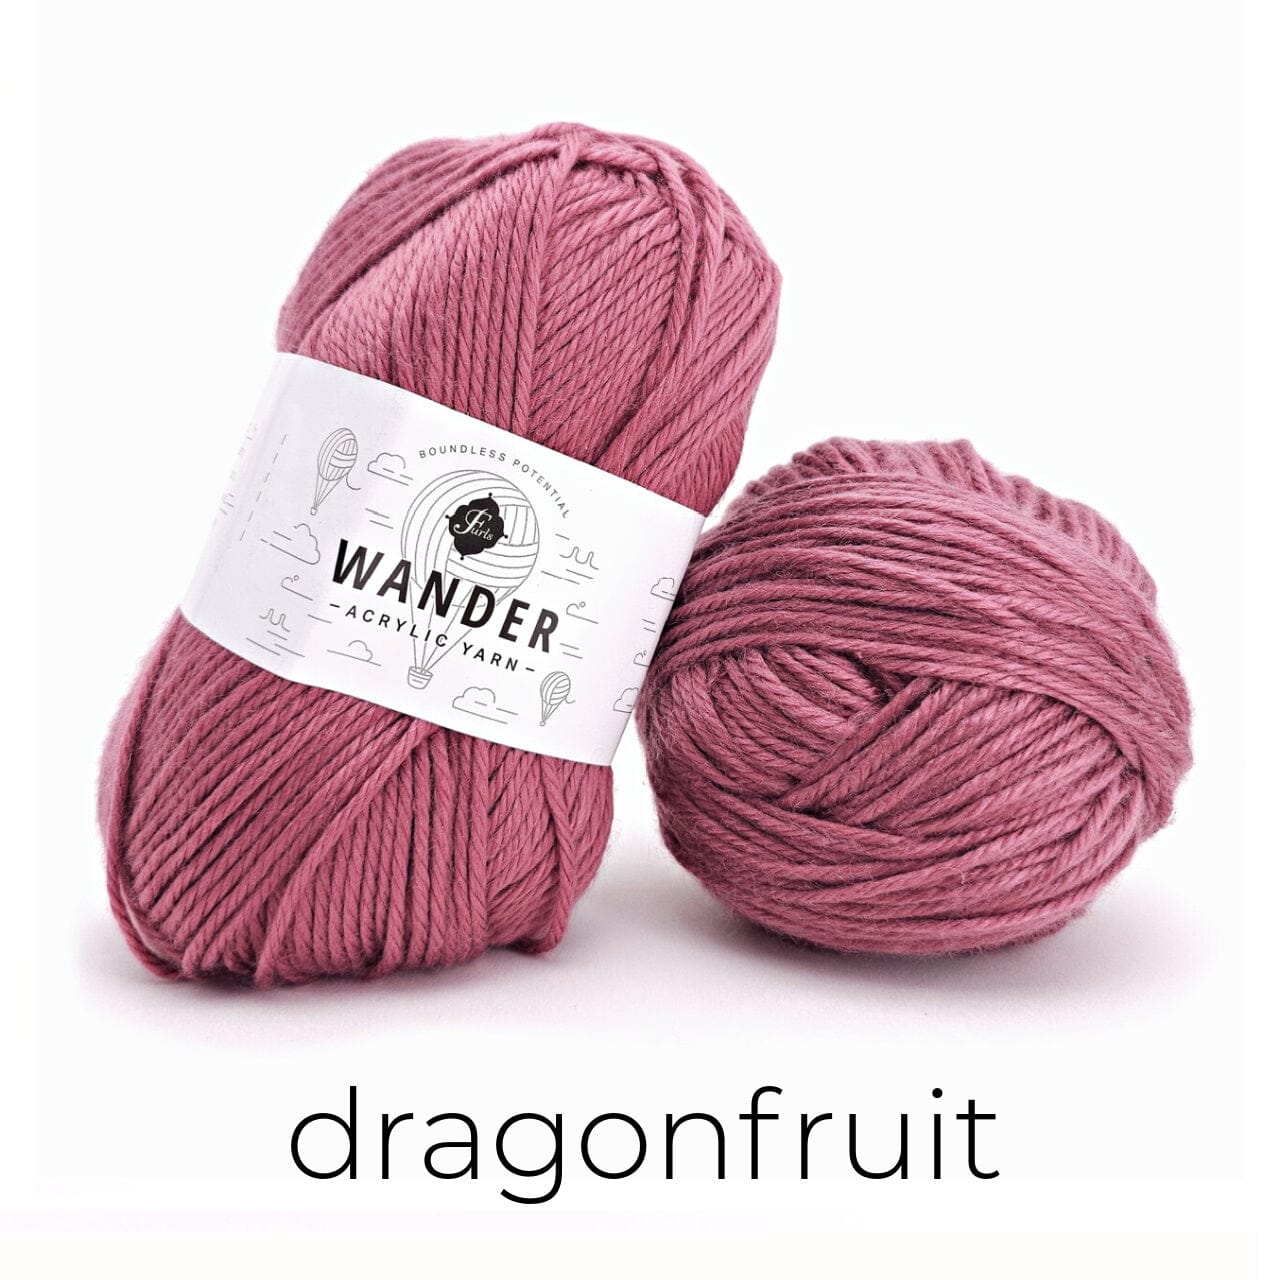
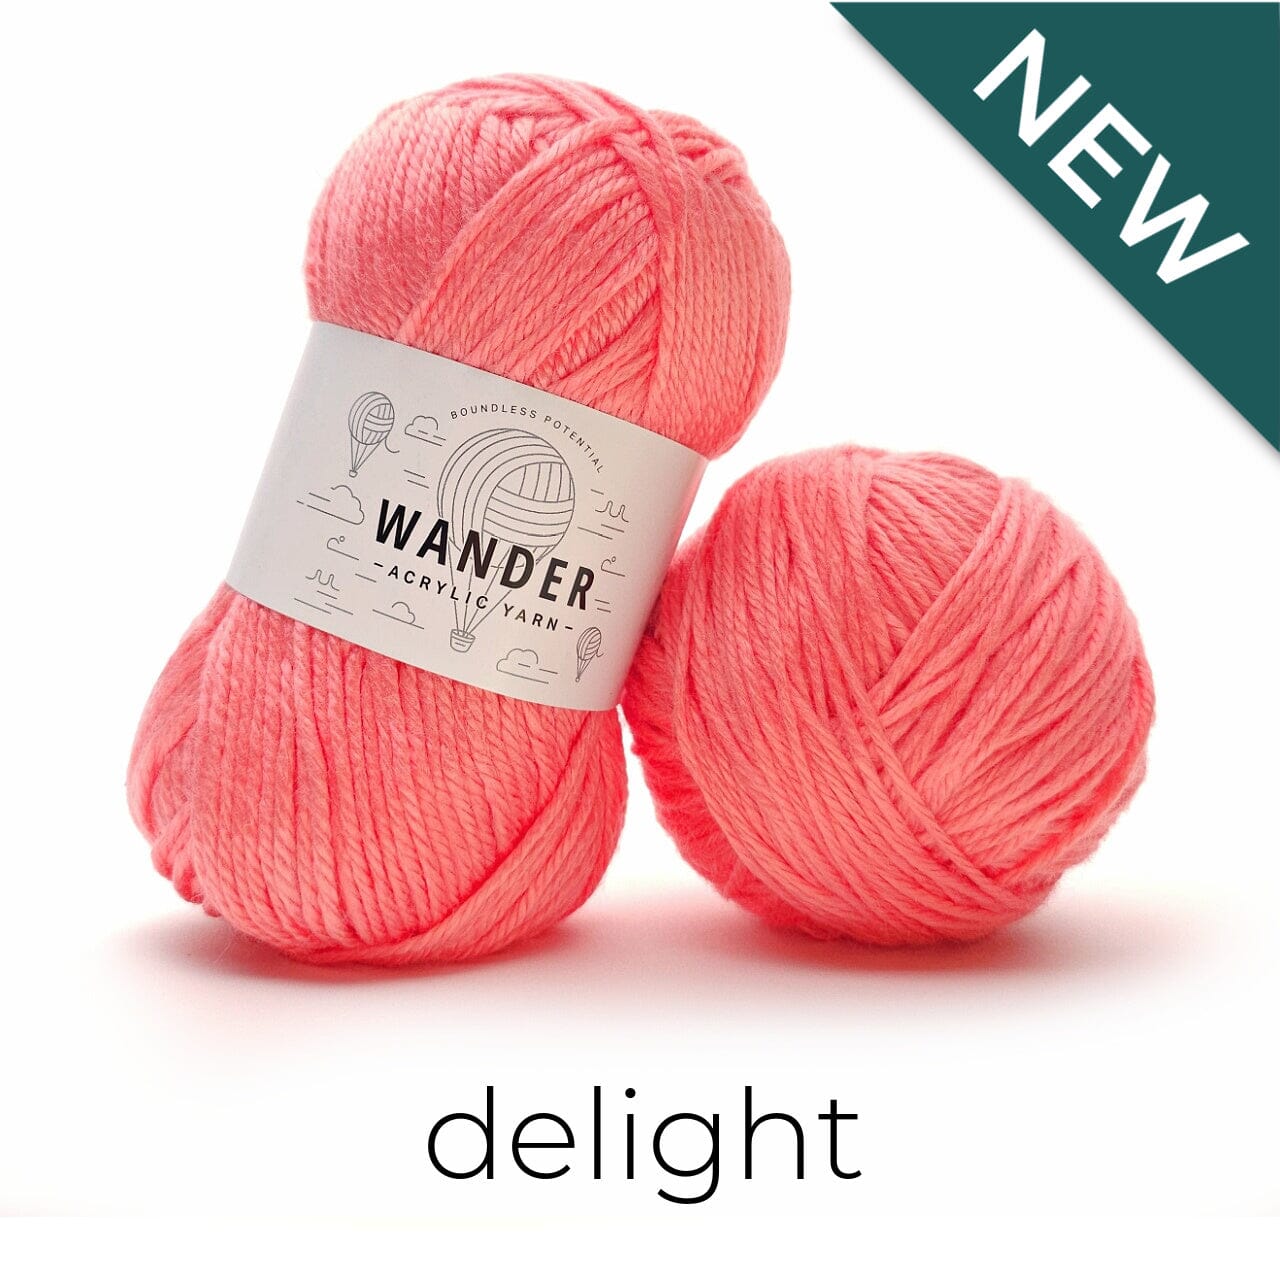
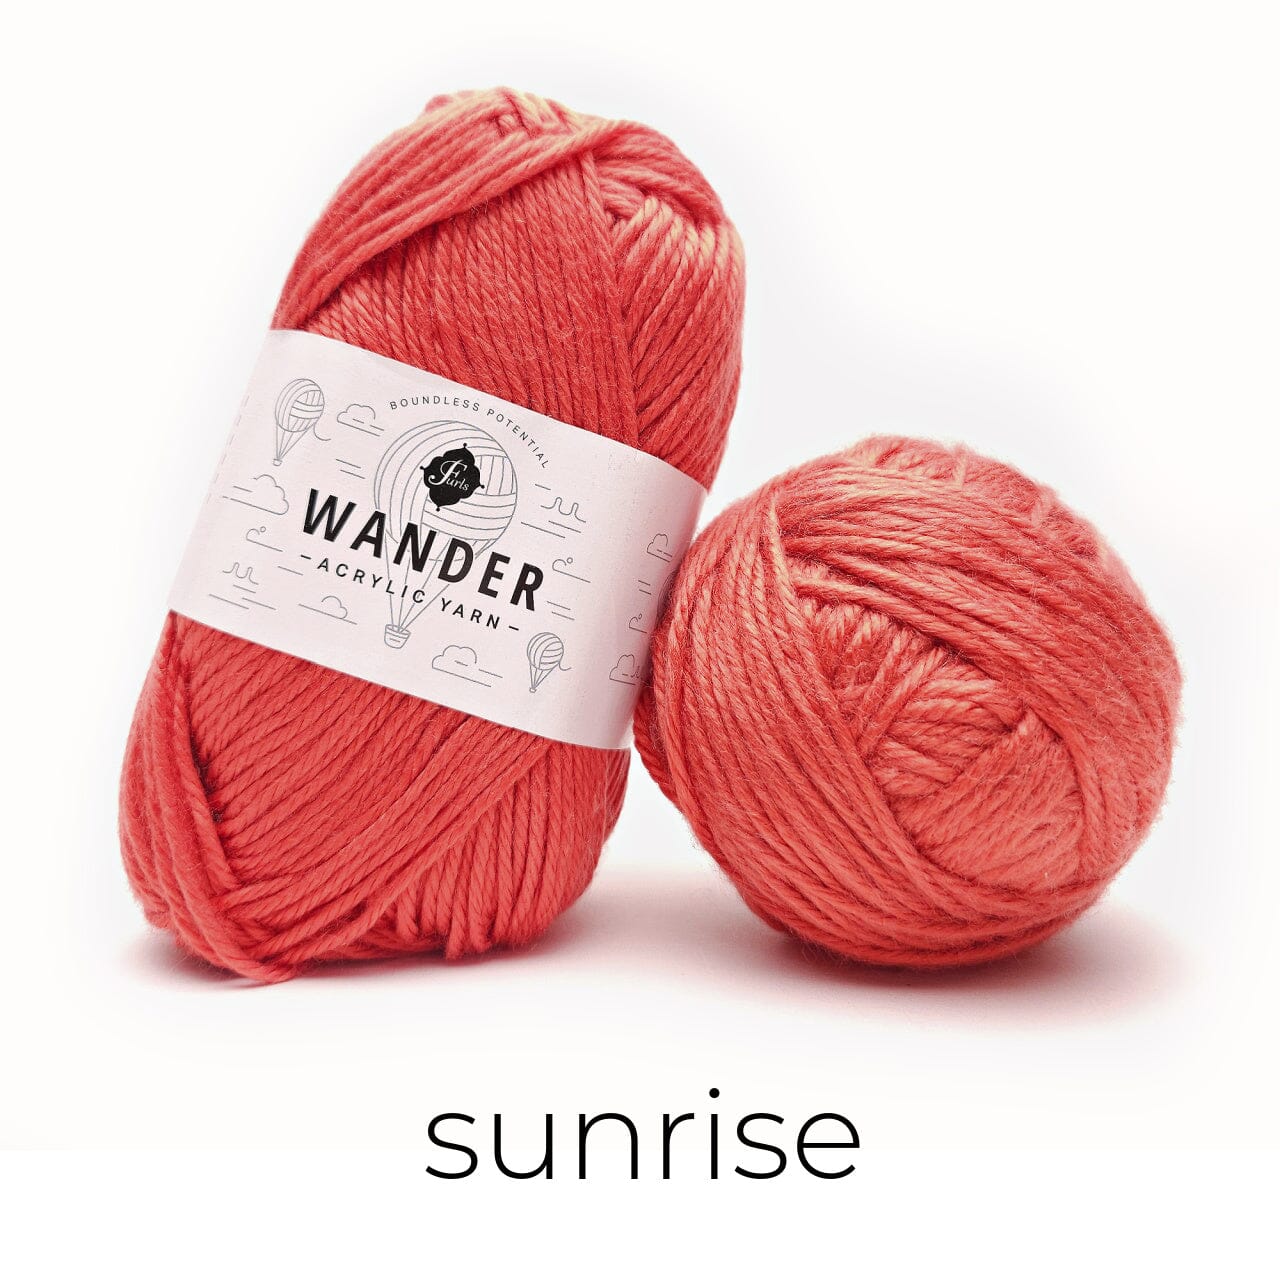
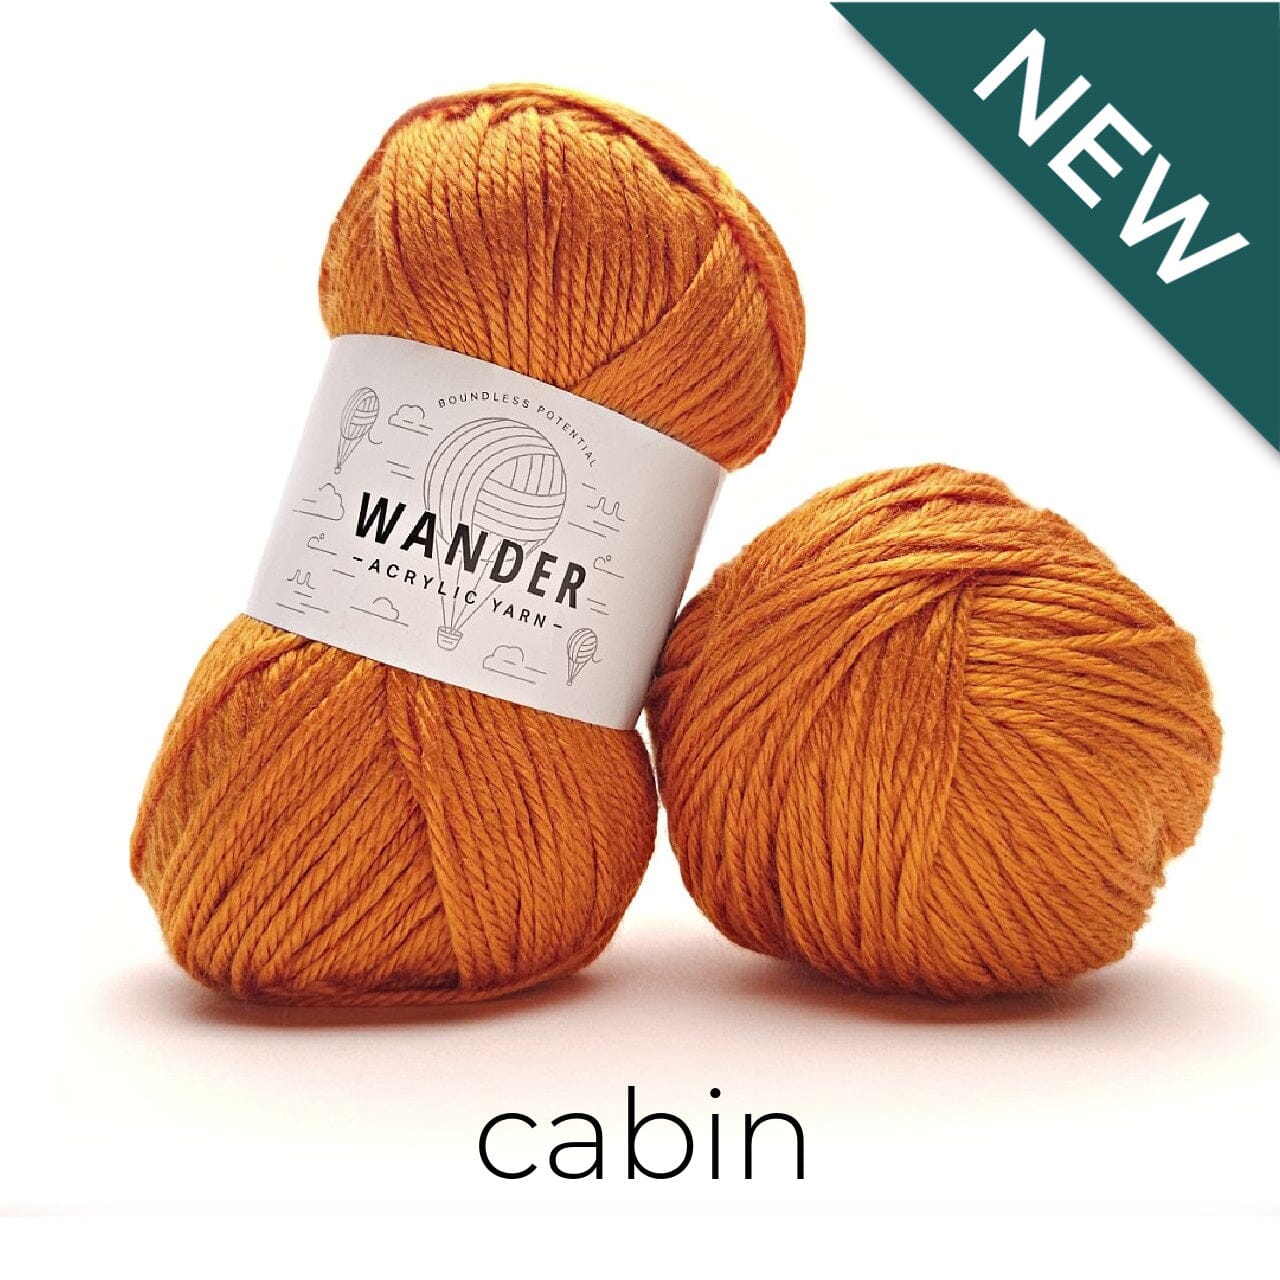
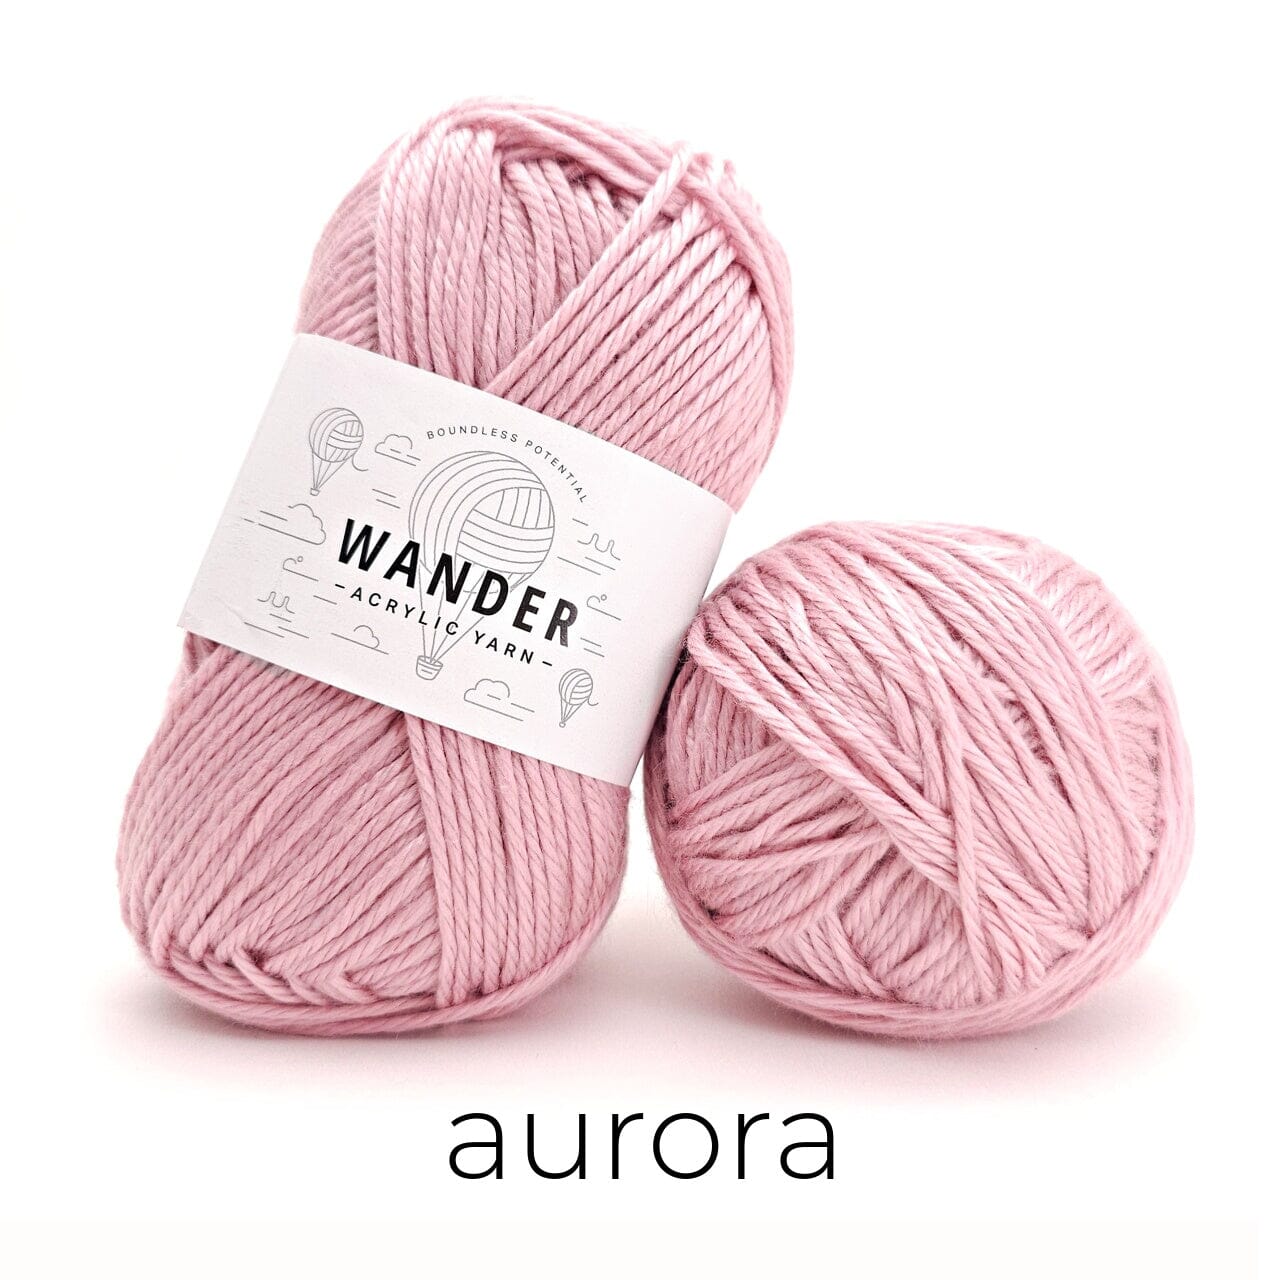
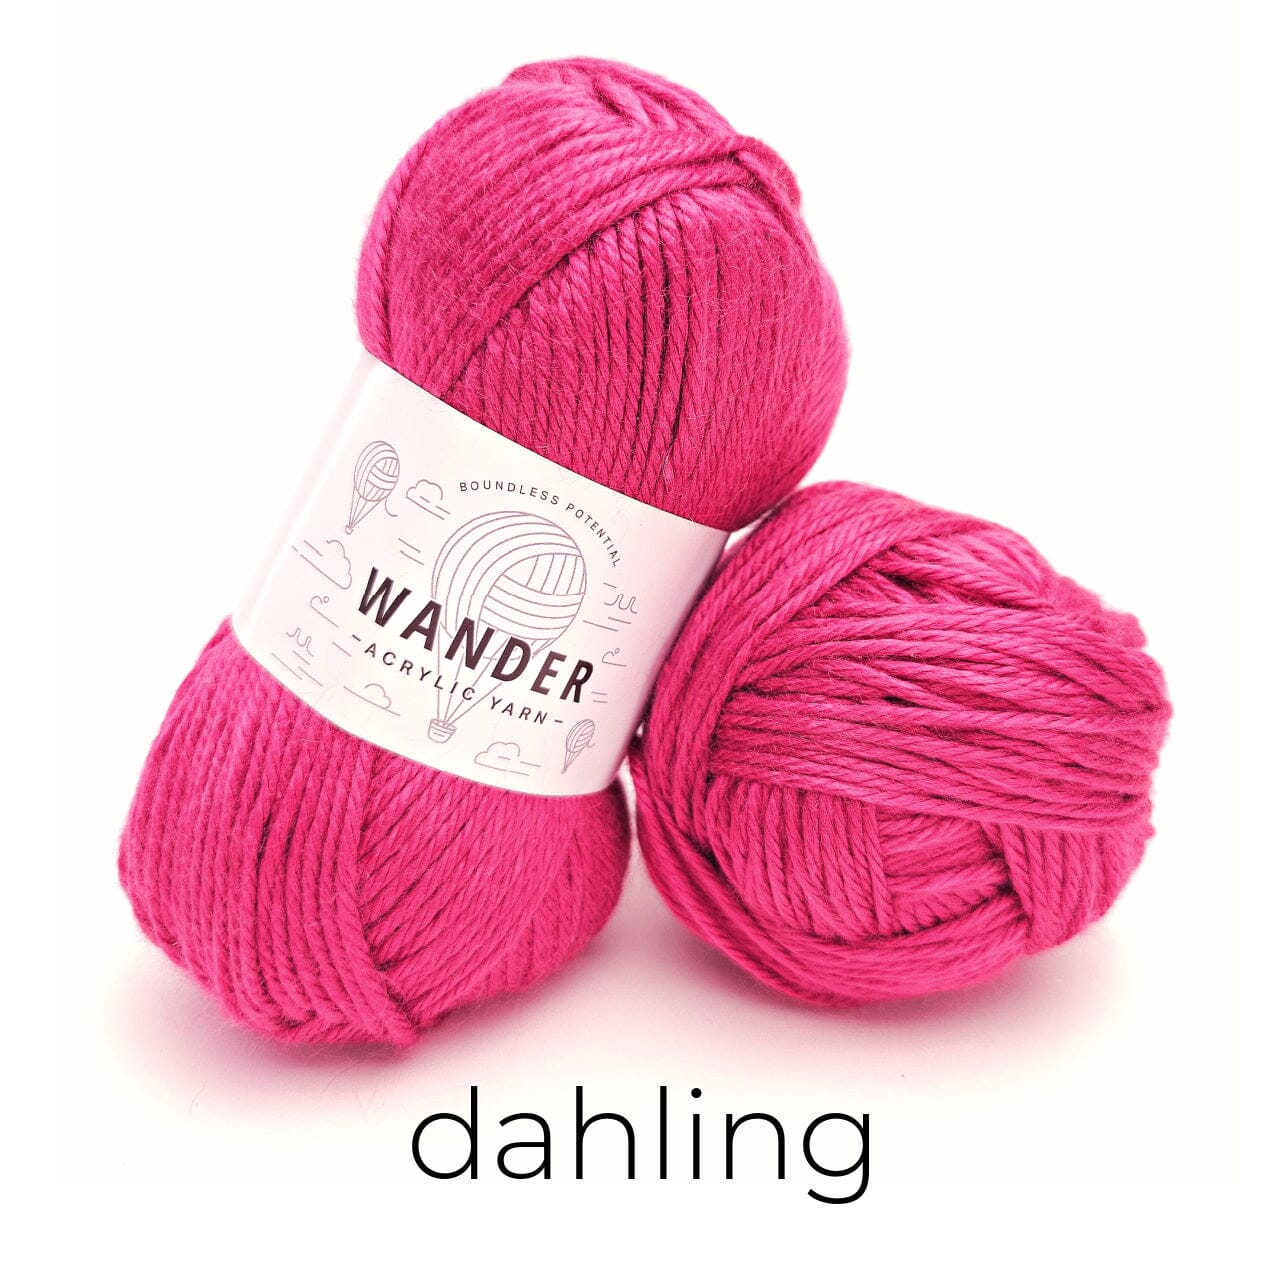
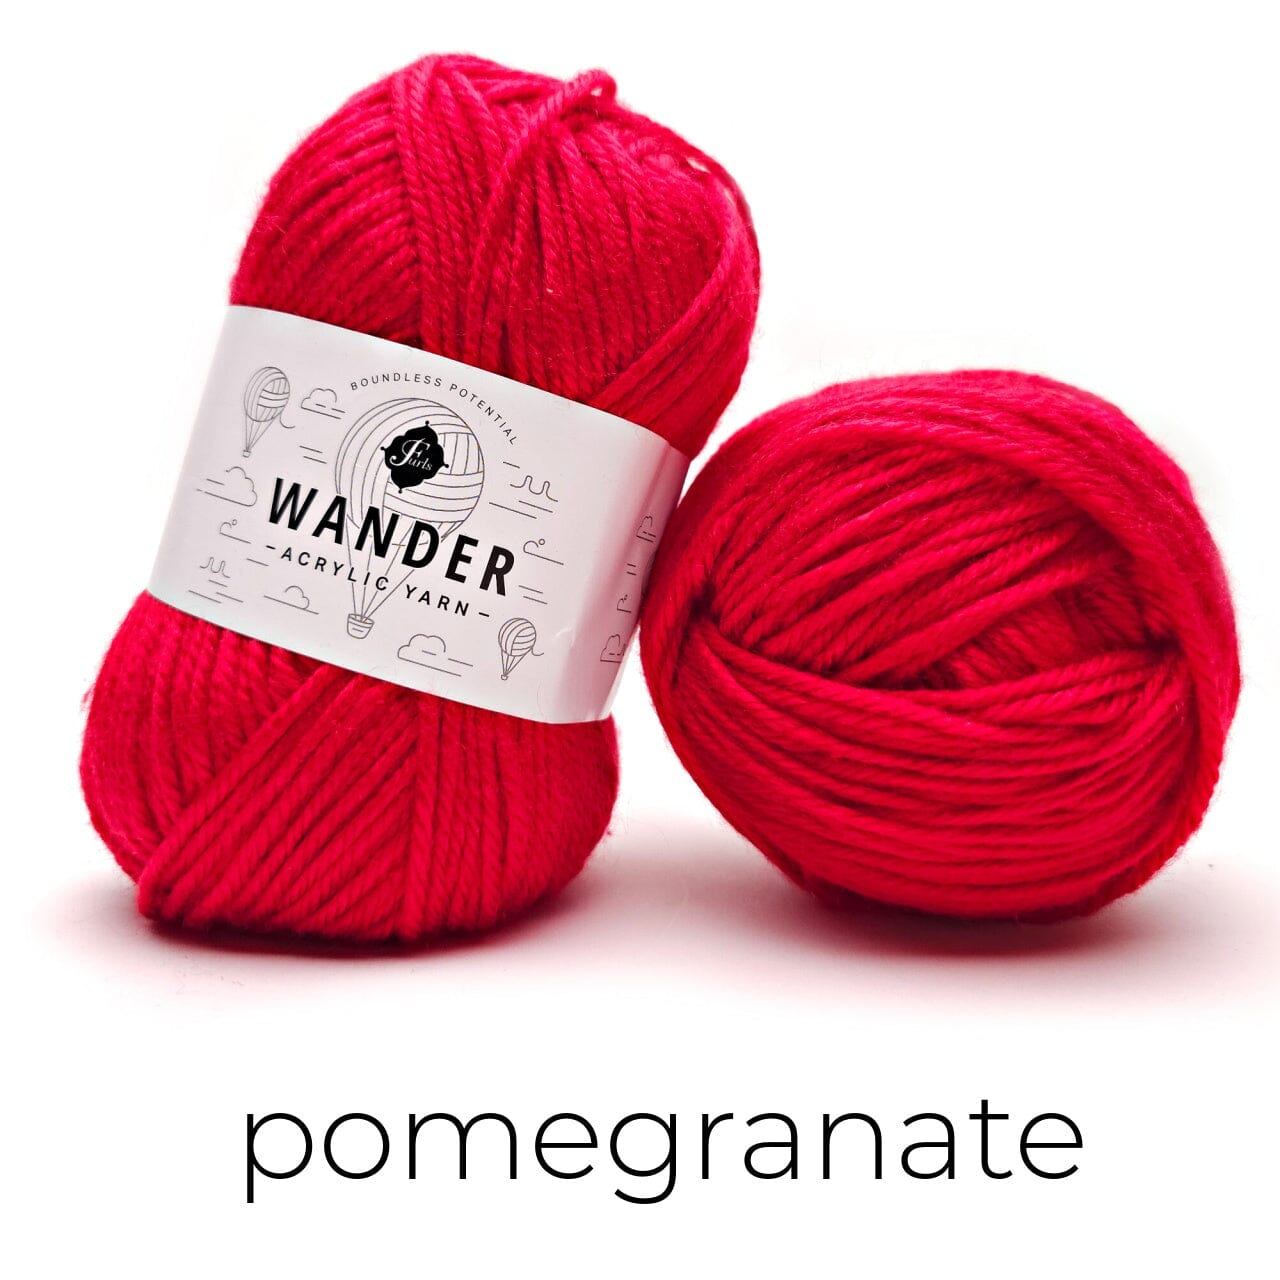
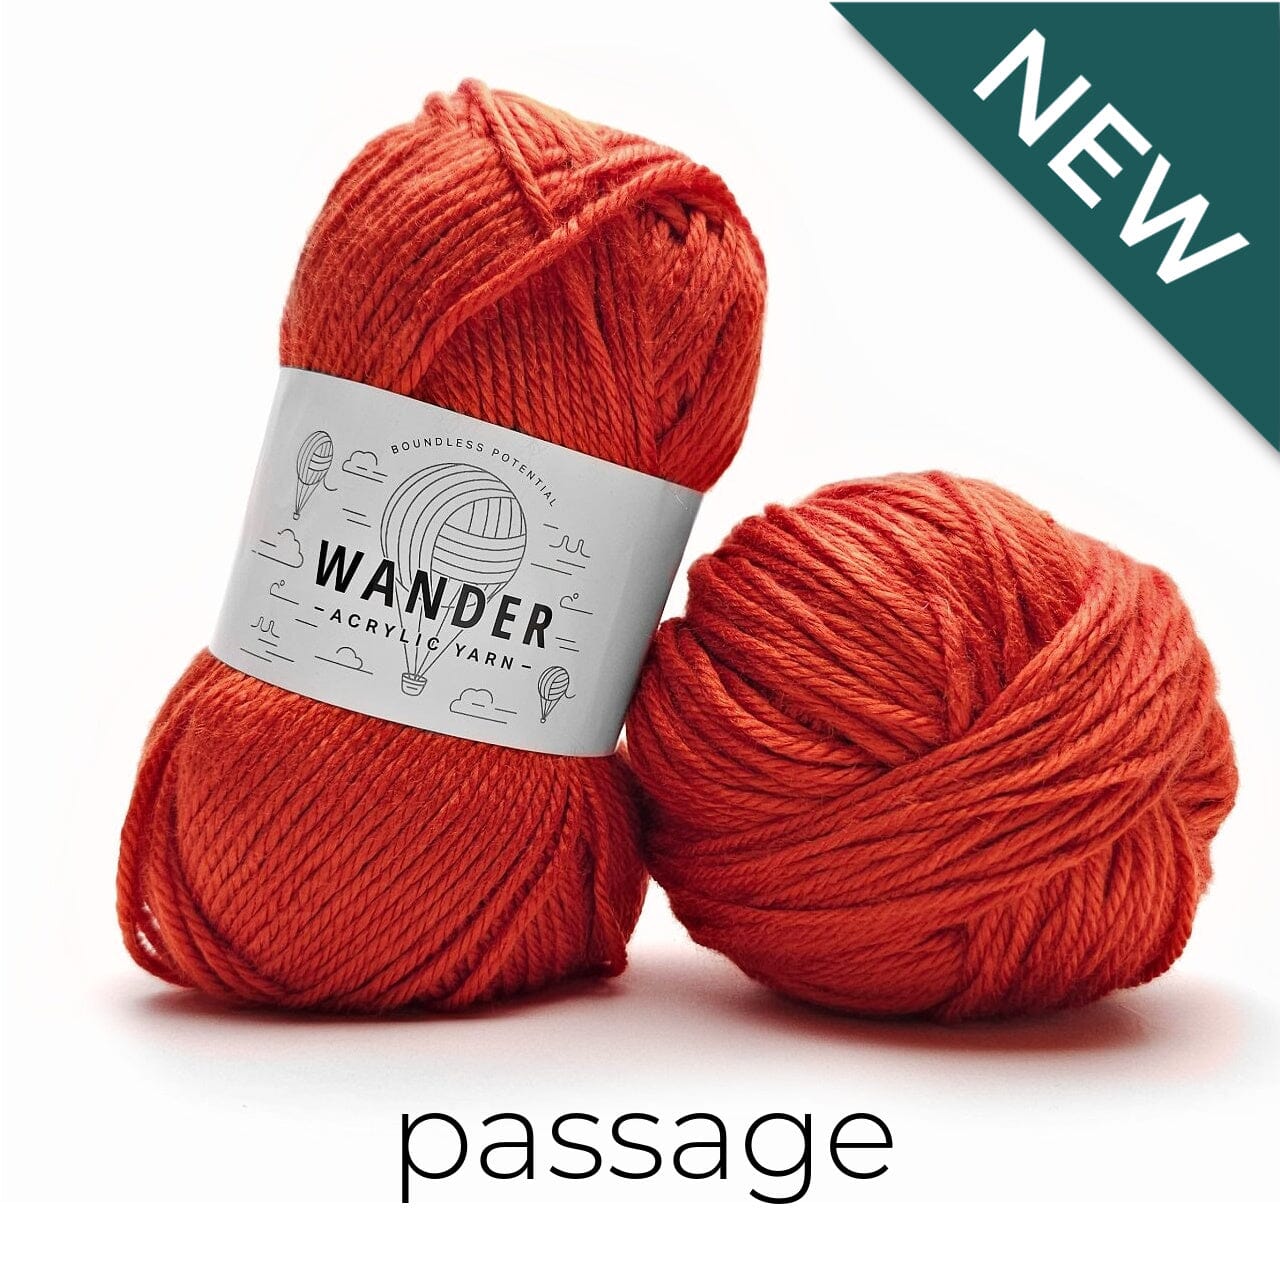
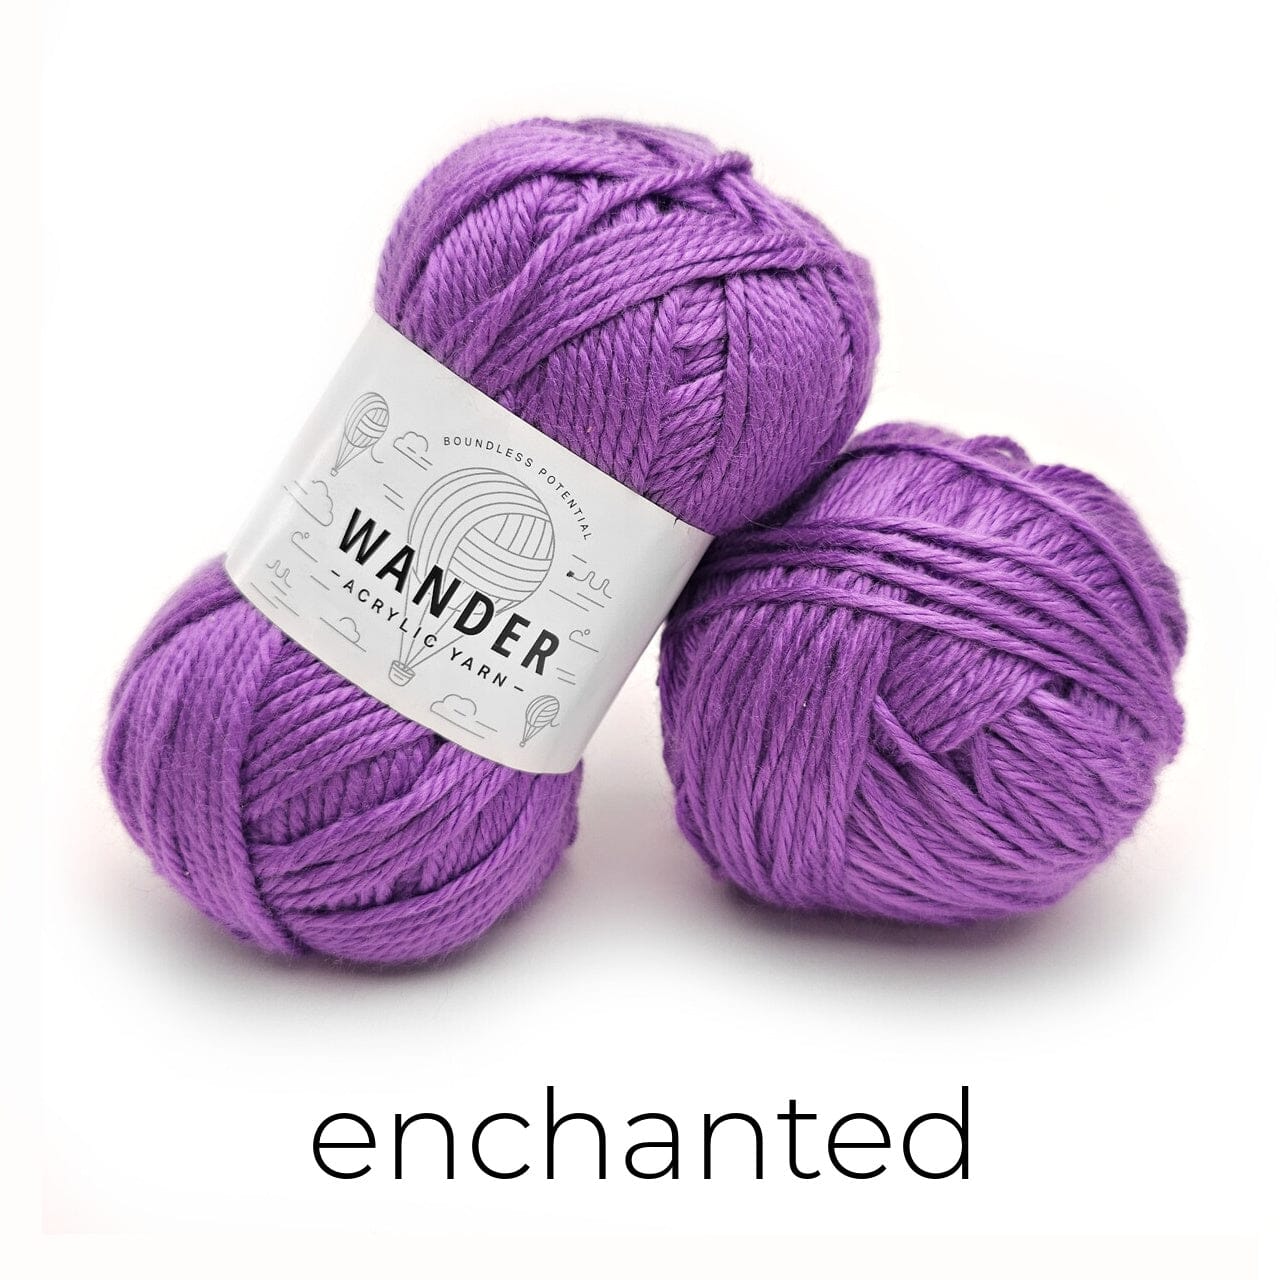
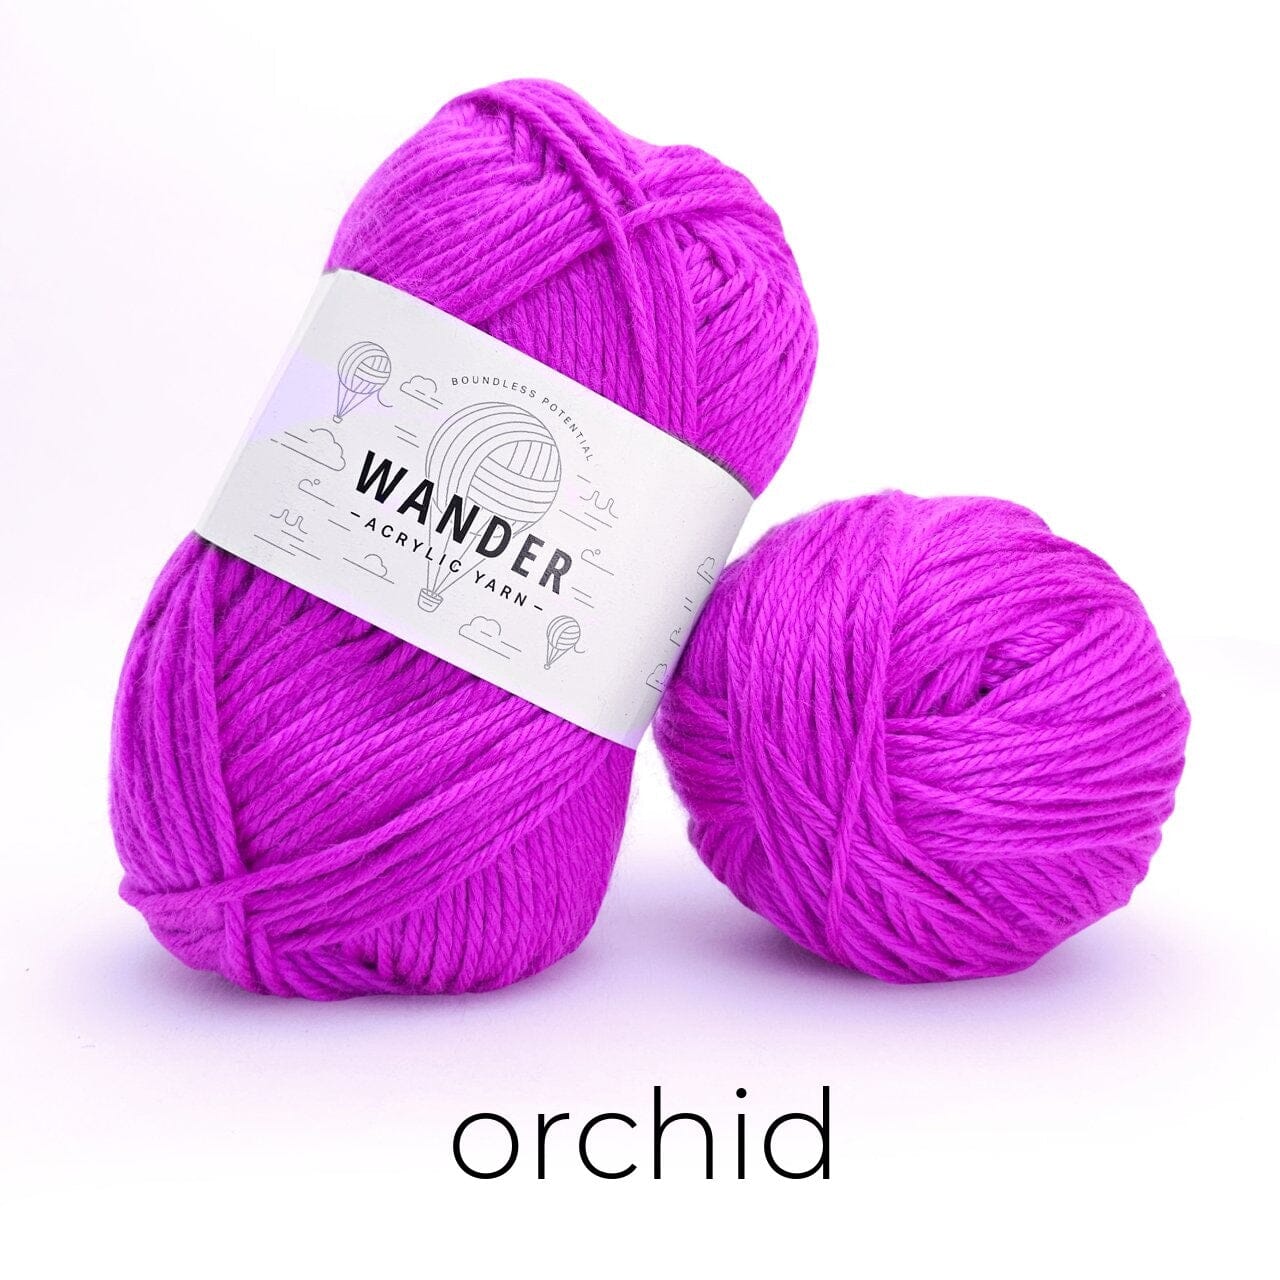
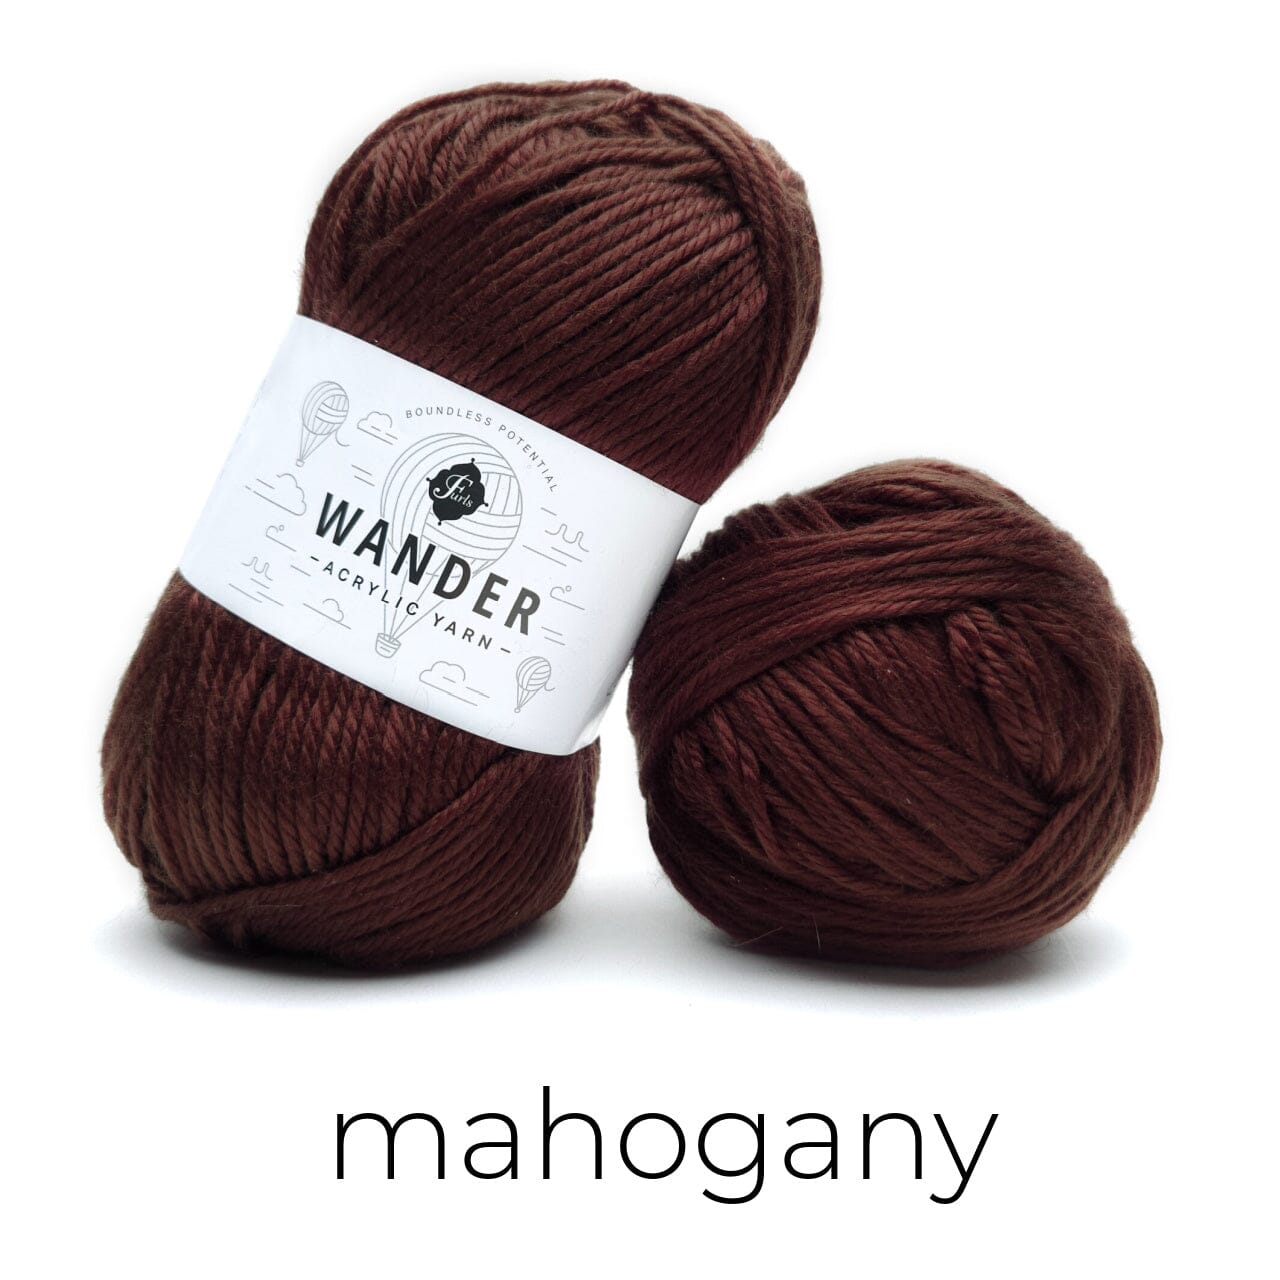
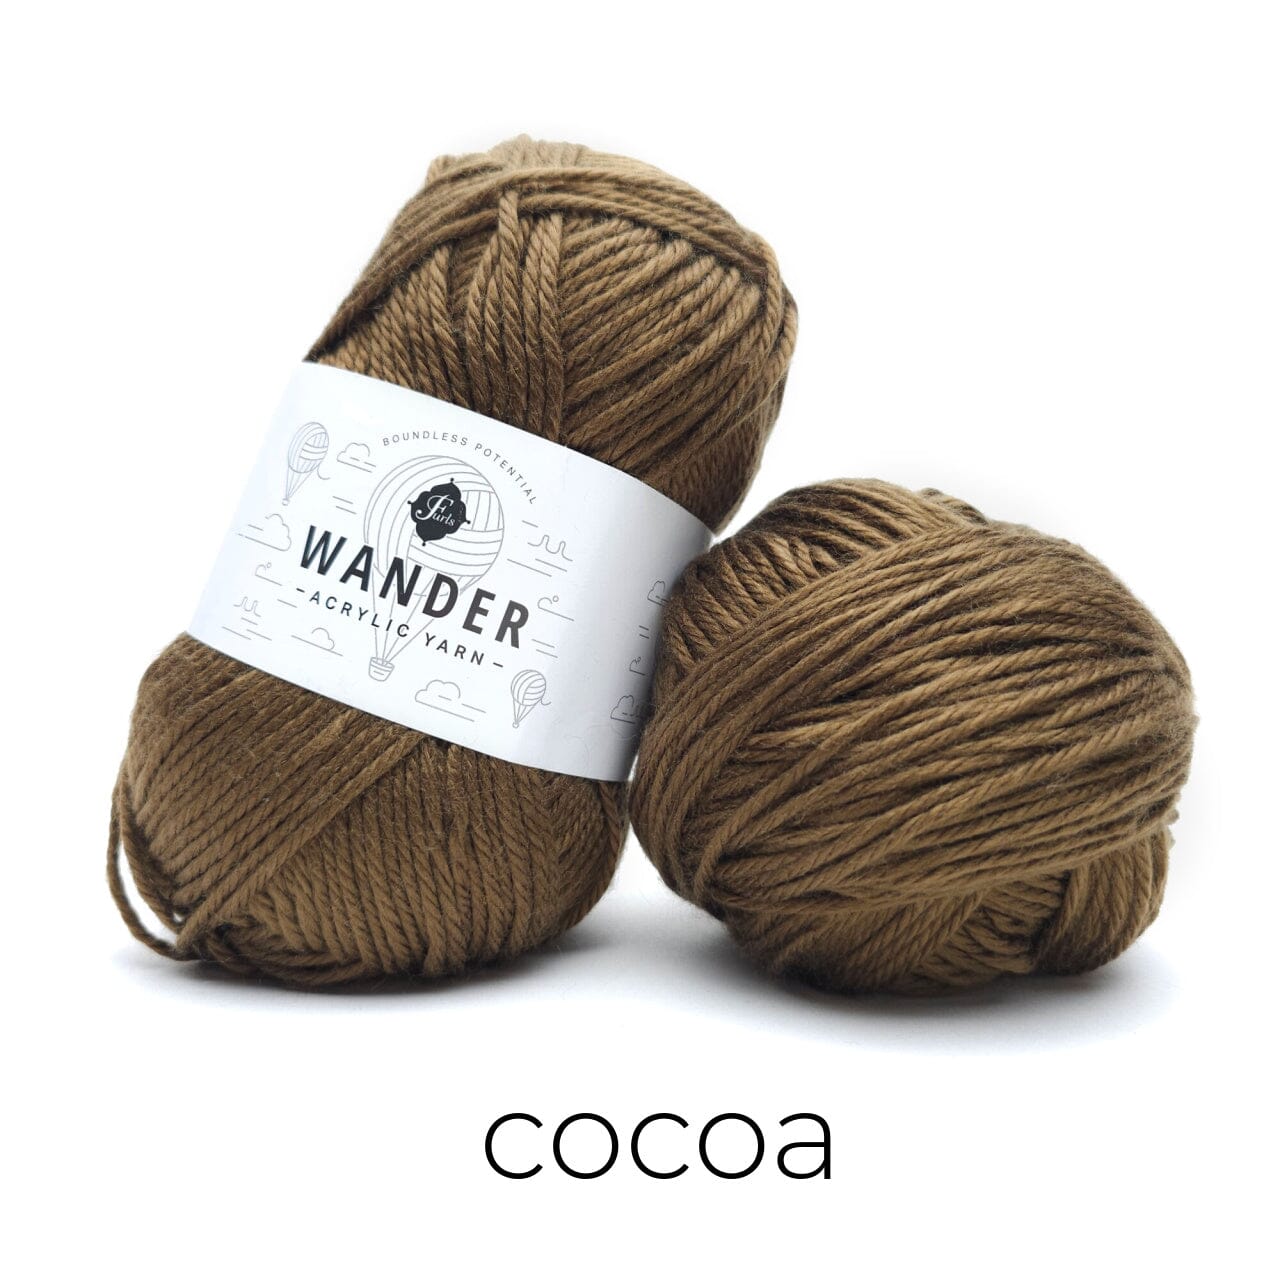
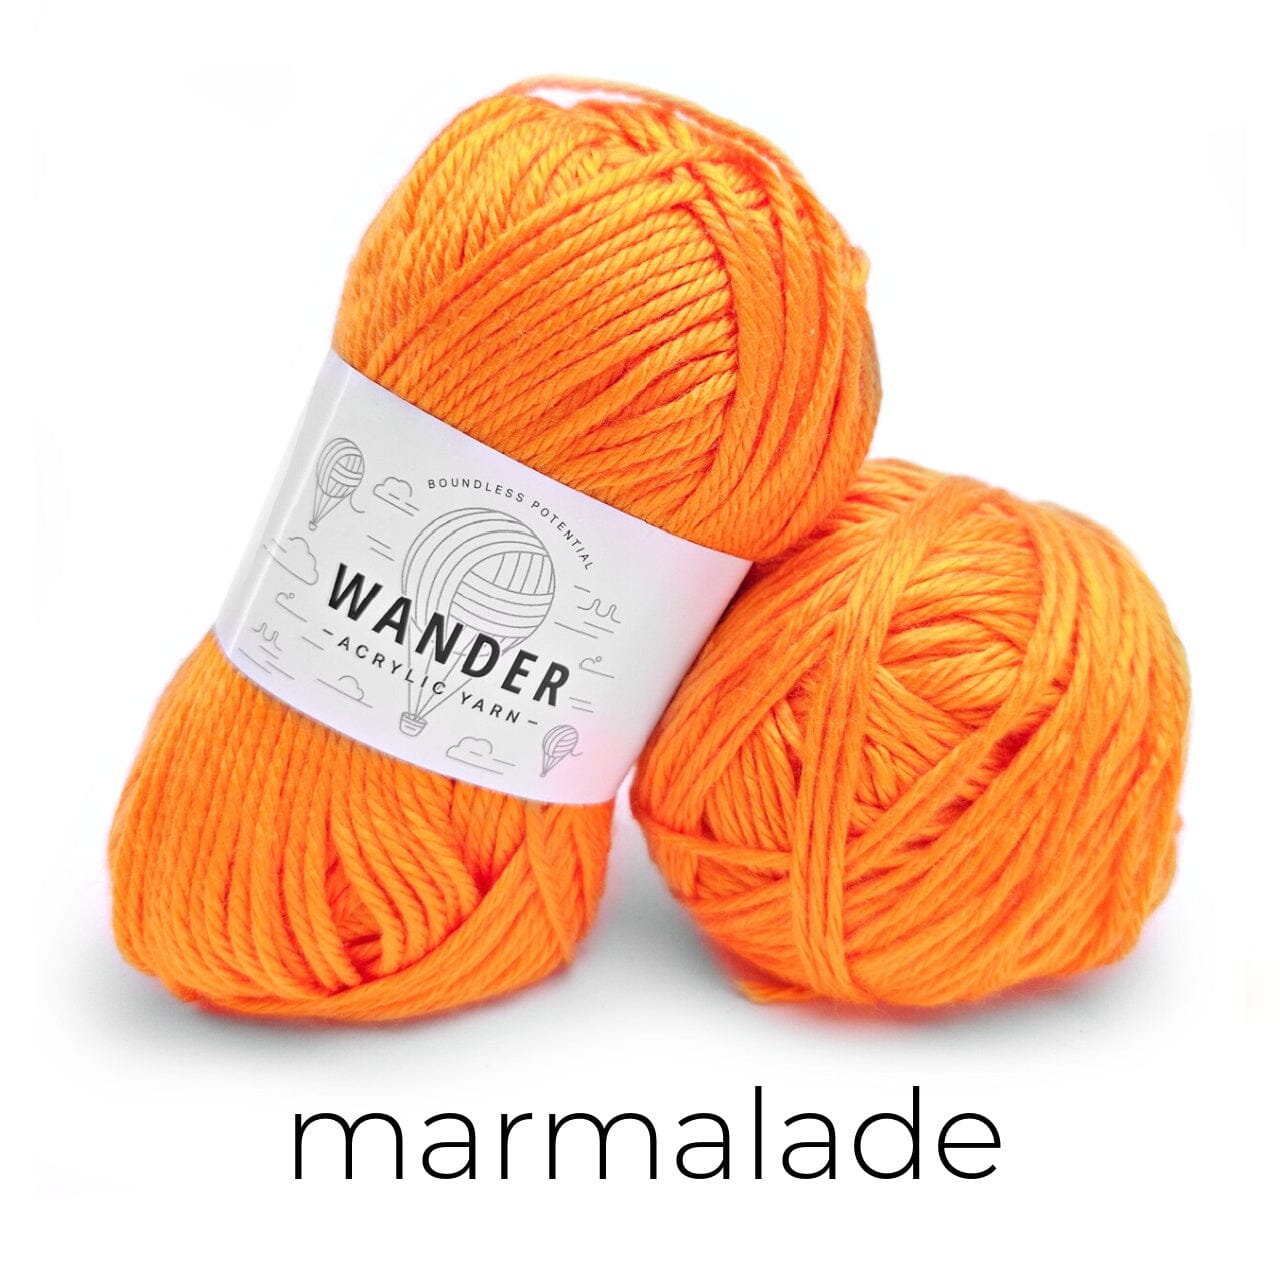
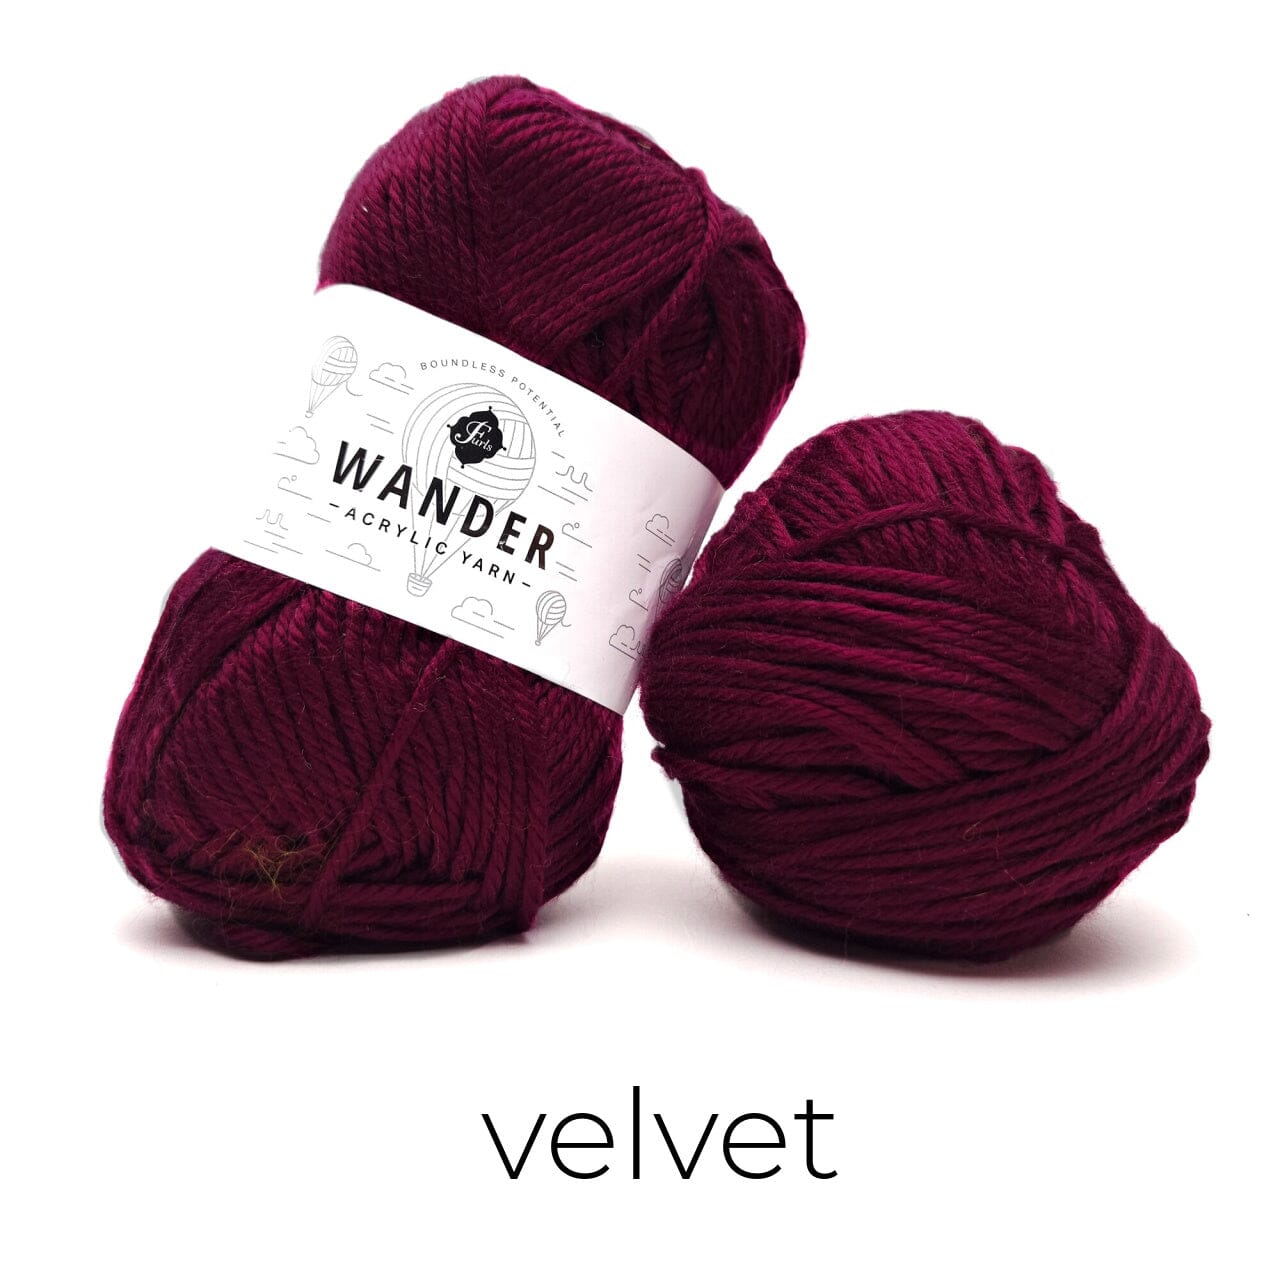
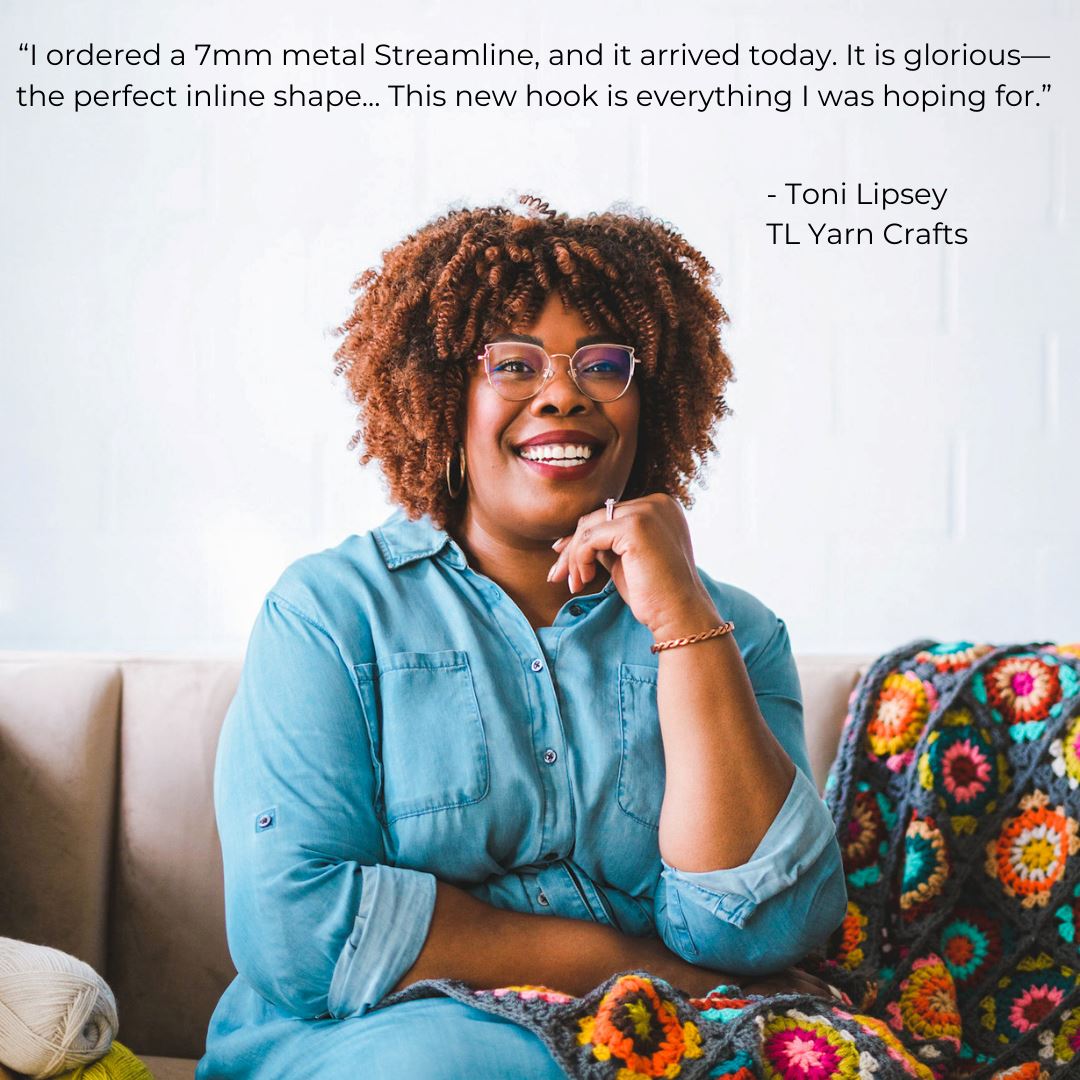
- DK Weight (#3) yarn, I used Furls Whims Merino (196 yards per hank); see chart for yardage used.
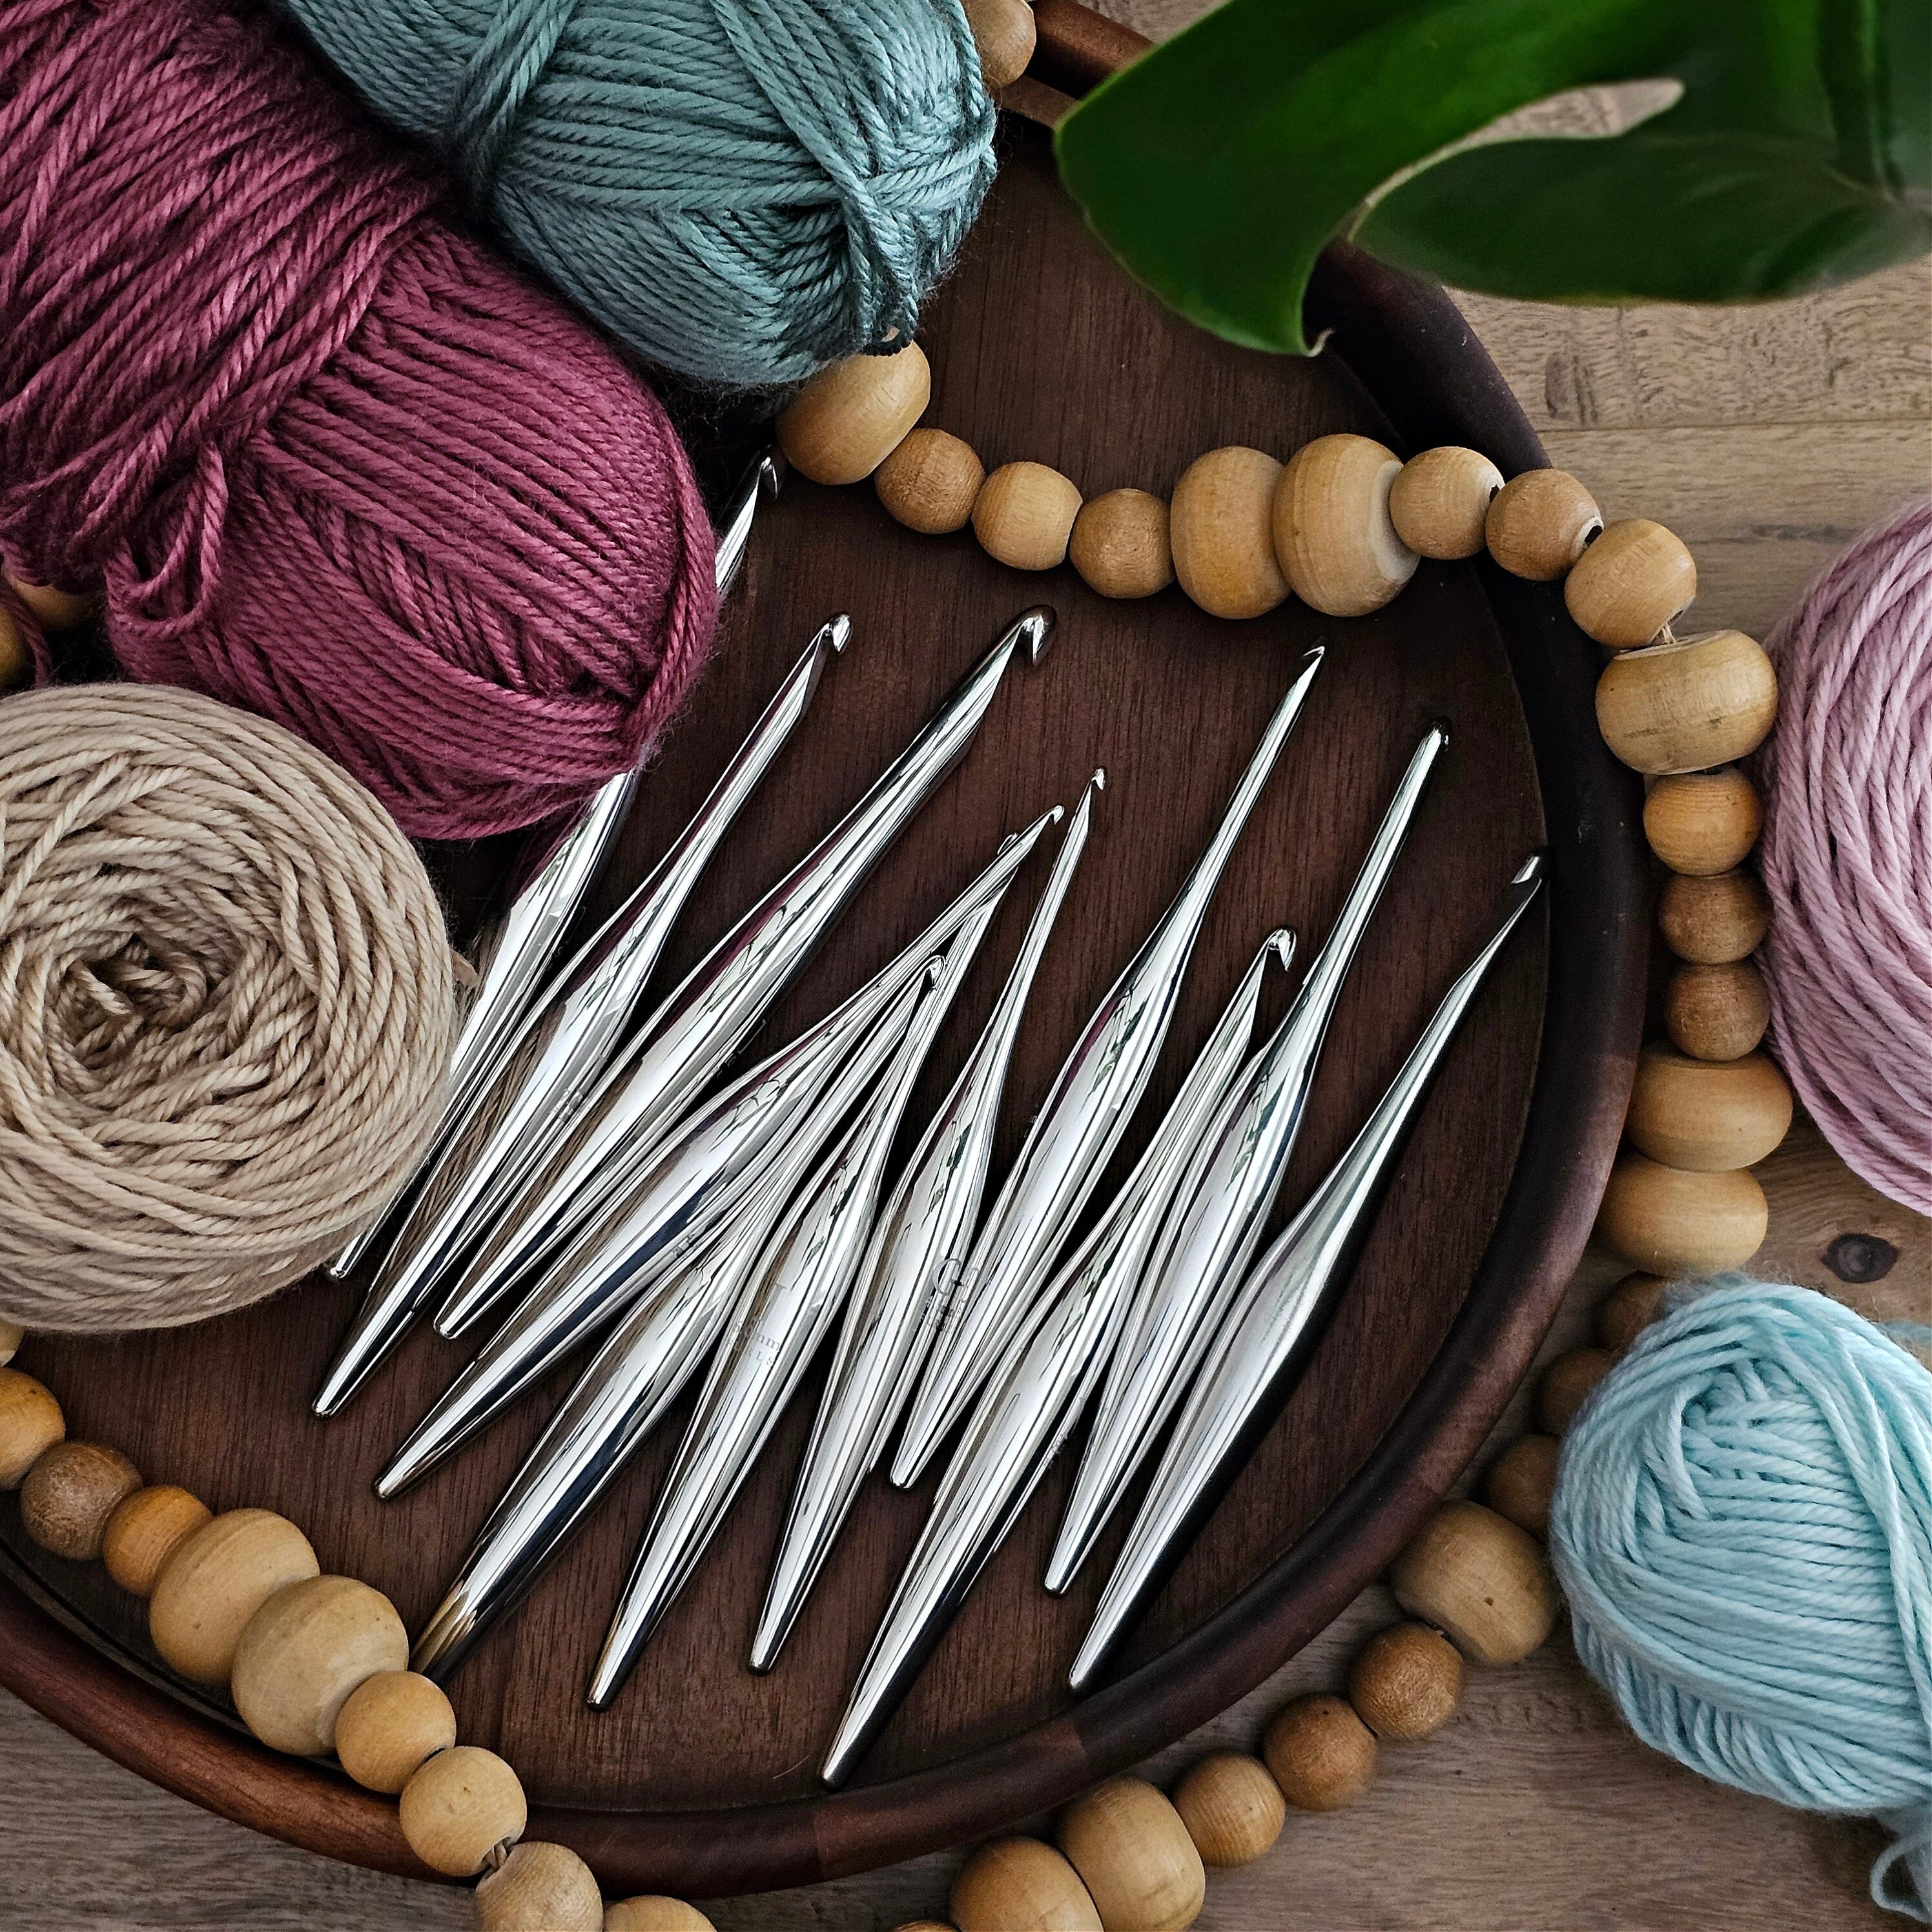
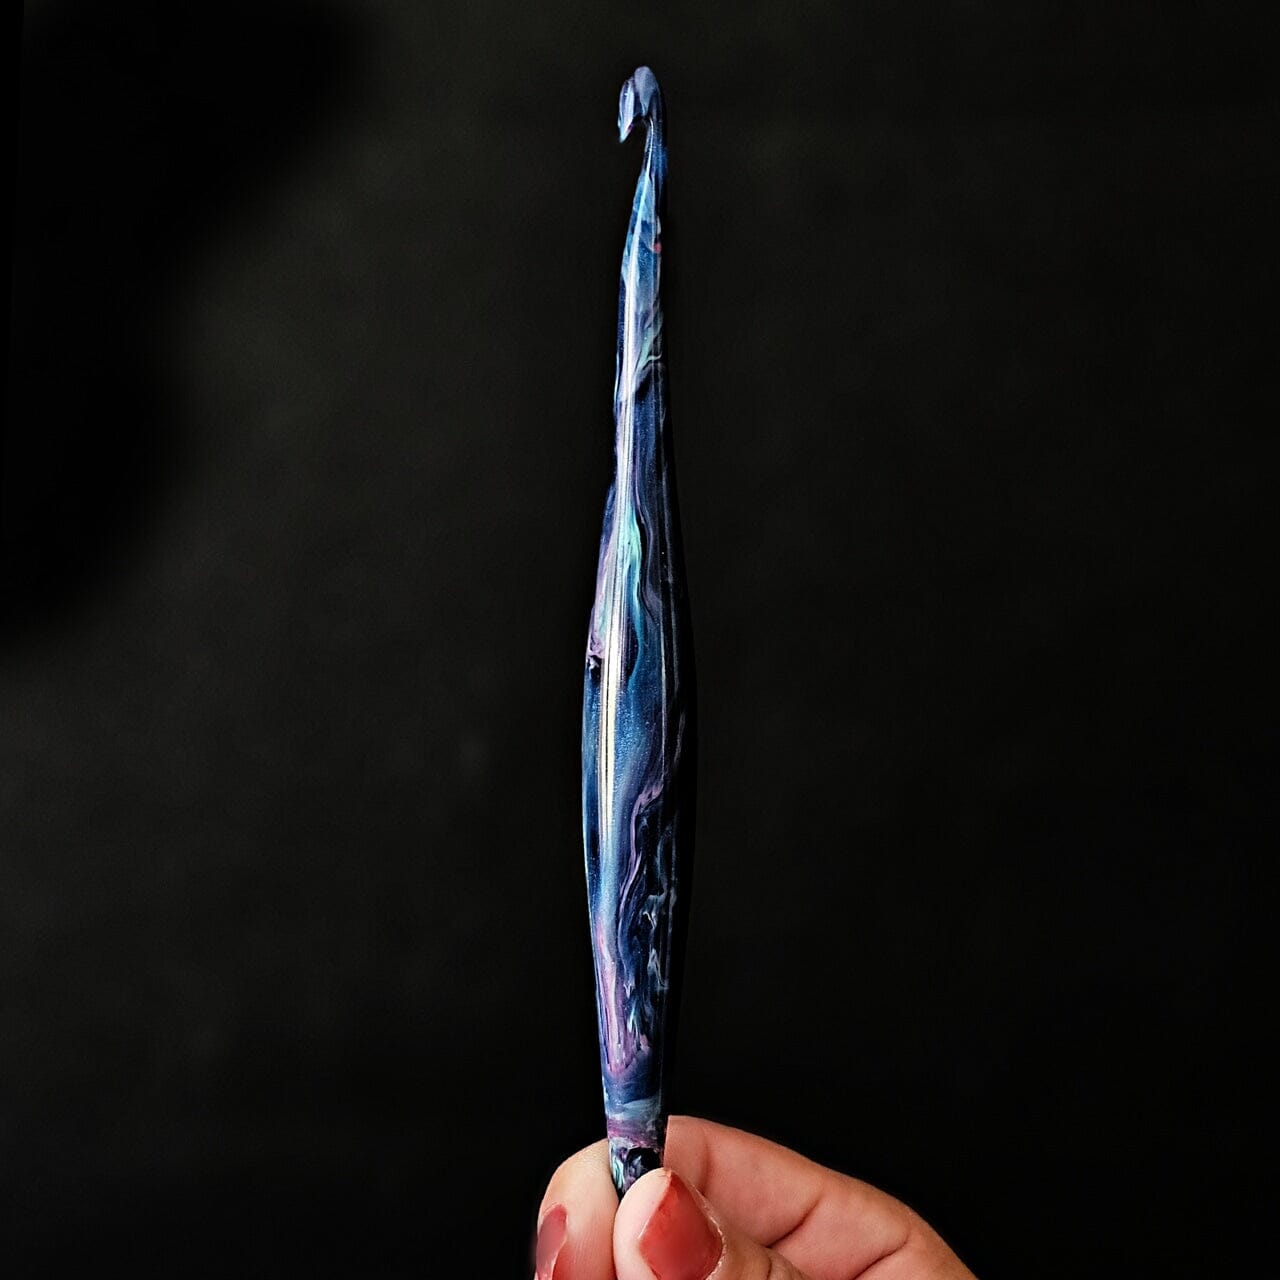
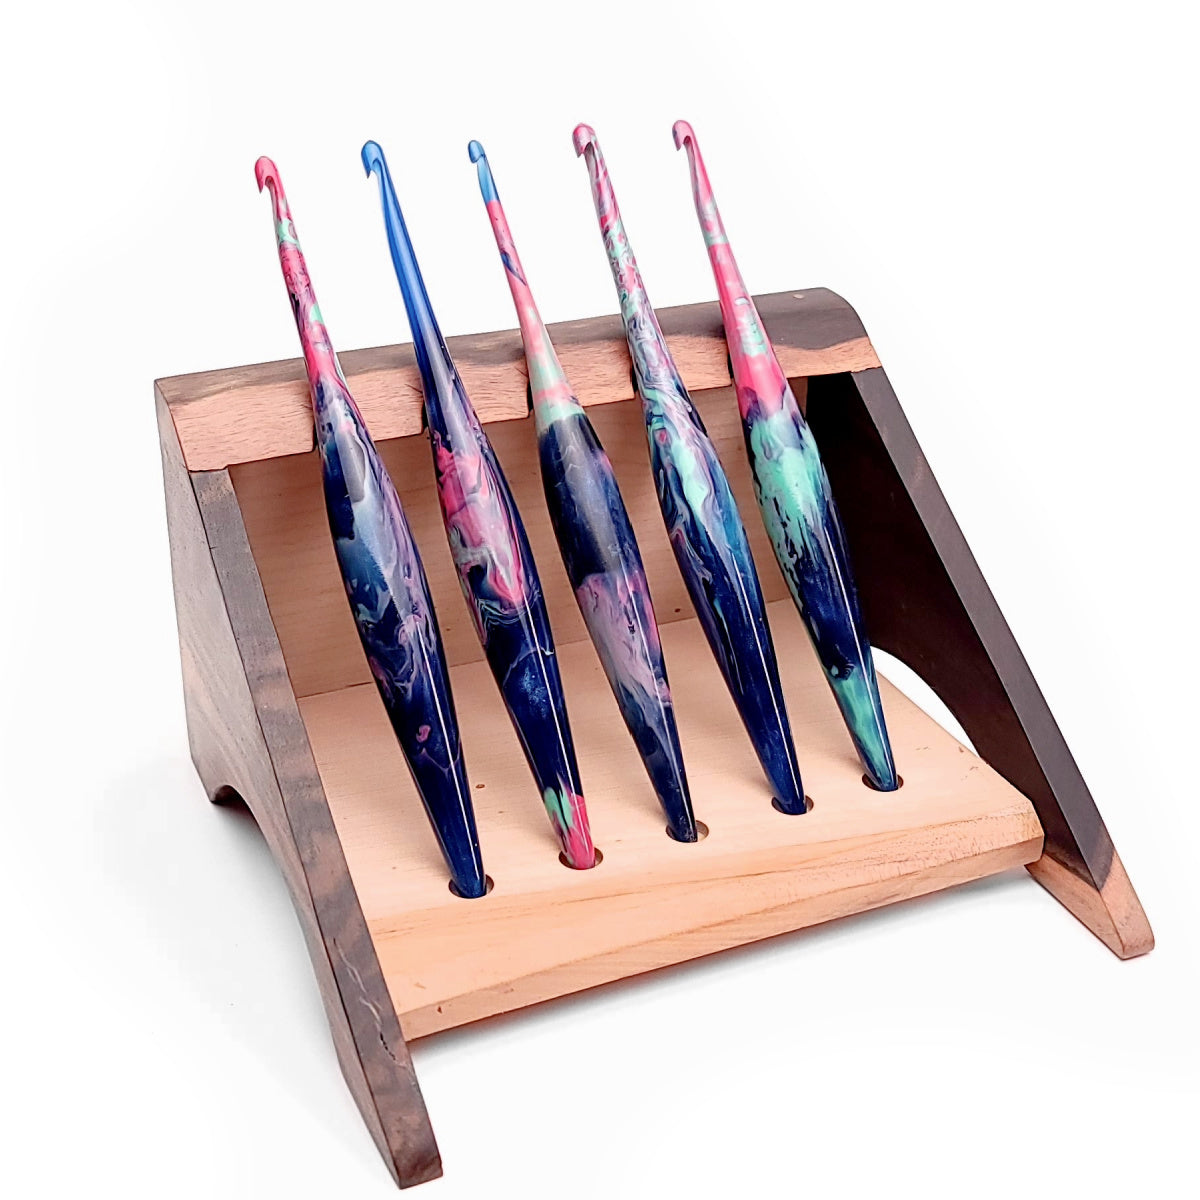
- Furls Odyssey Hook J/6.0 mm
- Furls Odyssey Hook I/5.5 mm
- Furls Odyssey Hook H/5.0 mm
- 4 locking stitch markers
- Tapestry needle for weaving ends
PATTERN DETAILS
Sizes
S, (M, L, XL, 2X, 3X, 4X)
Pattern written for smallest size with changes in ( ). Gauge 19 dc x 10 rows = 5”

Gauge Swatch- using J/6.0mm hook
Gauge is important, please take time to make a gauge swatch.
Row 1: Ch 27, dc in 4th ch from hook and each remaining ch to end.
Row 2: Ch3, turn, dc in each st to end.
Repeat Row 2 until piece measures at least 5 inches.
Compare to listed gauge and adjust hook as needed.
This sweater is available with options
- Tee Shirt length (hip length)
- ¾ Sleeve
- Sleeveless
Be sure to follow the correct instructions.
Abbreviations (US terms)
ch: chain, dc: double crochet, FSC: Foundation single crochet, sc: single crochet sl: slip, st(s): stitch(es), tog: together

Notes
- Weave in ends as you work.
- Beginning ch2 does NOT count as a stitch.
- Number in ( ) at end of round indicates the number of stitches in that round.
- Join rounds with sl st to first st of round.
- Ch1 spaces within the round count as a stitch toward total stitch count. Ch2 spaces within the round are referred to as Corner.
Add this pattern to your Ravelry Favorites HERE
PART ONE
The Chelsea Top is worked top down. You will work the yoke and then fold it in half to establish the beginning of the bodice. Once the top is complete, the sleeves are worked from the armhole opening toward the cuff.
The yoke is split into 4 sections: front, back, and 2 sleeves. Each section has the same number of stitches, however, the front and back are solid double crochet while the sleeves are filet crochet (mesh)for an open lace feel. Pay close attention to the stitch count in the corners as on the filet side it is comprised of a dc and ch1 and on the solid side, it is comprised of 2 dc.
Yoke
With Hook J/6.00 mm - FSC 68 (76, 84, 92, 100, 108, 124), join to first st to form circle.
Round 1: Ch3 (counts as dc throughout), dc in same stitch, ch2, 2dc in next st, dc in next 15, (17, 19, 21, 23, 25, 29) sts, *2dc in next st, ch2, 2dc in next st, dc in next 15, (17, 19, 21, 23, 25, 29) sts*, repeat between * to end, join. Sl st in next st and into ch2 space. (76, 84, 92, 100, 108, 116, 132 + 4 corners)
Round 2: Ch5 (counts a dc + ch2), dc in same corner, ch1, dc in next dc, [ch1, skip 1, dc in next dc] repeat to next corner, ch1, *[dc, ch2, dc] in corner, ch1, dc in next dc, [ch1, skip 1, dc in next dc] repeat to next corner, ch1*, repeat between * to end, join to 3rd ch of the beginning ch5. Sl st into corner. (92, 100, 108, 116, 124, 132, 148 + 4 corners)
Round 3: [Ch3, dc, ch2, dc] in corner, *[ch1, dc in next dc], repeat to next corner, ch1, [dc, ch2, 2dc] in corner, dc in each st to next corner*, [2dc, ch2, dc] in corner, repeat between * to end, join. Sl st in next st and into corner. (108, 116, 124, 132, 140, 148, 164 + 4 corners)
Rounds 4 to 11, (12, 14, 15, 16, 17, 19): Repeat Round 3. The stitch count will increase by 16 for each round. (236, 260, 300, 324, 348, 372, 420 + 4 corners after last repeat)

PART TWO
Now that you’ve established the yoke you will add the bodice. The bodice is established by working a round connecting the back and fronts at the underarm with a chain 3 and then working in consistent rounds to the hemline.
This top is intended to be close fitting but not overly fitted, however, to maintain nice shaping, I’ve changed up the hook size throughout the bodice section. This will correct for the inevitable stretch and increase I gauge that occurs when working double crochet for long stretches. If you prefer a more fitted top, you could add a couple of decreases in the rounds where I indicate a hook change leading up to the waistline and then add them back as you change hook size working up to the hips.

Round 1 (Establish Bodice): Ch3, dc in same corner, place a marker in this corner after the dc, *ch3, skip all stitches in mesh area, place a marker in the next corner and work 2dc in the same corner, dc in each dc to next corner*, 2dc in corner, place a marker in this corner after the second dc, repeat between * once, join. Fasten off.

Round 2: Join in middle ch of the underarm (it doesn’t matter which side), ch2 (does not count as a stitch throughout), dc in the same ch and each ch and dc to end, join. (132, 144, 164, 176, 188, 200, 224)
Rounds 3 to 7 (Hook I/5.5 mm): Ch2, dc in each st to end, join. (132, 144, 164, 176, 188, 200, 224)
Rounds 8 to 16 (Hook H/5.0 mm): Ch2, dc in each st to end, join. (132, 144, 164, 176, 188, 200, 224)
Rounds 17 to 21 (Hook I/5.5 mm): Ch2, dc in each st to end, join. (132, 144, 164, 176, 188, 200, 224)
Round 22 (Hook J/6.0 mm): Ch2, dc in each st to end, join. (132, 144, 164, 176, 188, 200, 224)
Repeat Round 22 until top measures 19.5”, (20”, 21”, 21”, 21”, 22”, 22”) from nape of neck – this is the finished length of the top, less 3”, if you want a longer top, you would add more repeats. (132, 144, 164, 176, 188, 200, 224)
Next Round: Ch2, 2dc in first st, dc in next 65, (71, 81, 87, 93, 99, 111) sts, 2dc in next st, dc in each st to end, join. (134, 146, 166, 178, 190, 202, 226)
Border:
Round 1: Ch4 (counts as dc + ch1), skip 1, [dc in next st, ch1, skip 1] around to end, join. (134, 146, 166, 178, 190, 202, 226)
Rounds 2 to 4: Ch4 (counts as dc + ch1), [dc in next st, ch1] around to end, join. (134, 146, 166, 178, 190, 202, 226)
Round 5: Ch2, dc in each ch1 space and each dc to end, join. (134, 146, 166, 178, 190, 202, 226)
Round 6: Working loosely in back loop only, ch1, sc in each st to end, join. Fasten off.
PART THREE
If you would like a sleeveless top, you will simply add a finishing edging to the armholes and you are done! If you would like a sleeve, I’ve designed a mesh sleeve that is intended to go about ¾ of the way down the arm. Of course, you can adjust this to your desired length, so be sure to measure and try it on as you go, and make adjustments as needed.
Pay close attention to the first round of the sleeve where stitch counts are established and be sure to count the decreases as one stitch only (see Figure 1).
¾ Sleeves (Hook J/6.00 mm):
Round 1: With right side of top facing you, join yarn at center stitch at underarm. Ch4 (counts as dc + ch1 throughout), skip next st, dc around post of next st, ch1, dc in marked ch2 space, ch1, [dc in next dc, ch1] across to end of mesh section, placing last dc in marked ch2 space, dc around post of next st, ch1, join to 3rd ch of beginning ch4. (35, 38, 43, 46, 49, 52, 58 ch1 spaces)

For Sizes S, M, L
Rounds 2 & 3: Ch4, [dc in next dc, ch1] around to end, join to 3rd ch of beginning ch4. (35, 38, 43 ch1 spaces)
Round 4 (decrease round See Figure 1): Ch2 (does not count as a stitch and you will not work into the stitch where you made the join), [dc in next dc, ch1] around until last dc before previous join, dc in last dc and sl st into first st of round. Note, the combination of the first dc and last dc counts as one stitch for the next round. (33, 36, 41 ch1 spaces)
Repeat Rounds 2 to 4 until (27, 28, 29 ch1 spaces remain. Note: Each repeat is a decrease of 2 ch1 spaces.
Next Round: Ch4, [dc in next dc, ch1] around to end, join to 3rd ch of beginning ch4. (27, 28, 29 ch1 spaces)
Repeat Next Round (if necessary) until sleeve measures 10”, (11”, 11) at the underarm.
For Sizes XL, 2X, 3X
Rounds 2 & 3: Ch4, [dc in next dc, ch1], repeat to end, join to 3rd ch of beginning ch4. (46, 49, 52 ch1 spaces)
Round 4 (decrease round See Figure 1): Ch2 (does not count as a stitch and you will not work into the stitch where you made the join), [dc in next dc, ch1] around until last dc before previous join, dc in last dc and sl st into first st of round. Note, the combination of the first dc and last dc counts as one stitch for the next round. (44, 47, 50 ch1 spaces)
Repeat Rounds 3 & 4 until (28, 29, 30 ch1 spaces remain. Note: Each repeat is a decrease of 2 ch1 spaces.
Next Round: Ch4, [dc in next dc, ch1] around to end, join to 3rd ch of beginning ch4. (28, 29, 30 ch1 spaces)
Repeat Next Round (if necessary) until sleeve measures 11”, (12”, 12”) at the underarm.
For Size 4X
Round 2: (decrease round See Figure 1): Ch2 (does not count as a stitch and you will not work into the stitch where you made the join), [dc in next dc, ch1] around until last dc before previous join, dc in last dc and sl st into first st of round. Note, the combination of the first dc and last dc counts as one stitch for the next round. (56 ch1 spaces)
Round 3: Ch4, [dc in next dc, ch1] around to end, join to 3rd ch of beginning ch4. (58 ch1 spaces)
Repeat Rounds 2 & 3 until 32 ch1 spaces remain. Note: Each repeat is a decrease of 2 ch1 spaces.
Sleeve should measure 13” at the underarm.
Sleeve Border (All Sizes):
Round 1: Ch2, (each dc and ch1 count as a stitch), dc2tog, dc in each ch1 space and each dc until 2 sts remain, dc2tog, join. (52, 54, 56, 54, 56, 58, 62 dc)
Round 2: Working loosely in back loop only, sc in each st to end, join. Fasten off. (52, 54, 56, 54, 56, 58, 62 sc)
Sleeveless Finish (Hook H/5.00 mm):
Round 1: With right side of top facing you, join yarn at center stitch of underarm. Ch1, work sc in each st and ch1 space around entire armhole, join.
Round 2: Working loosely in back loop only, sc in each st to end, join. Fasten off.

That completes the Chelsea Top. We hope you have enjoyed this pattern. If you have any questions, please feel free to ask in our sister Facebook group, Fun with Furls. We'd also LOVE to see all your pictures so feel free to share.