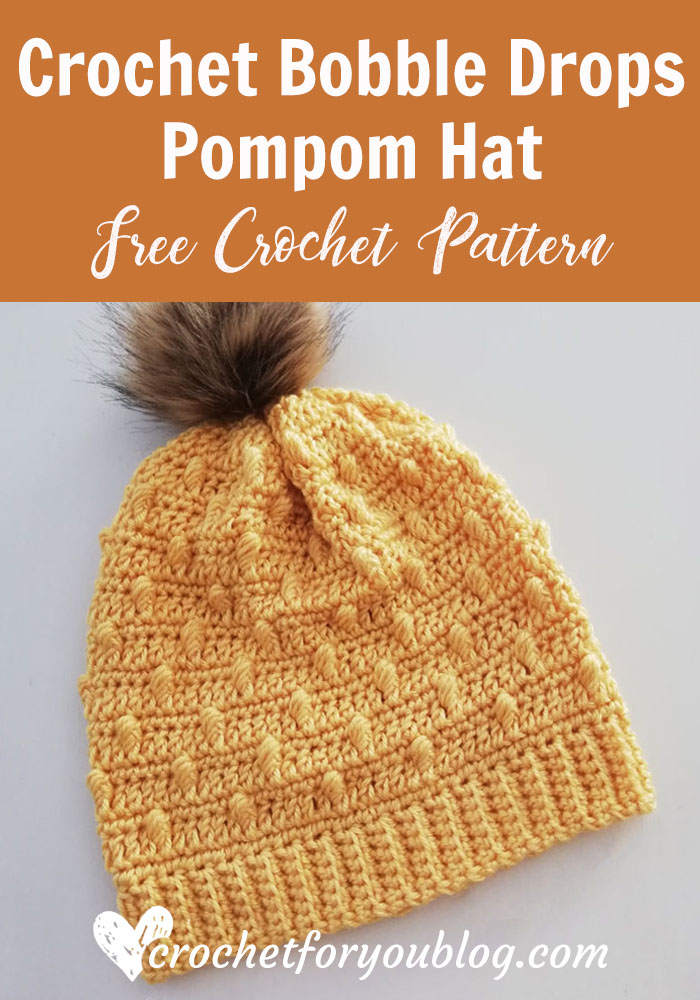
Crochet Bobble Drops Pompom Hat Free Pattern
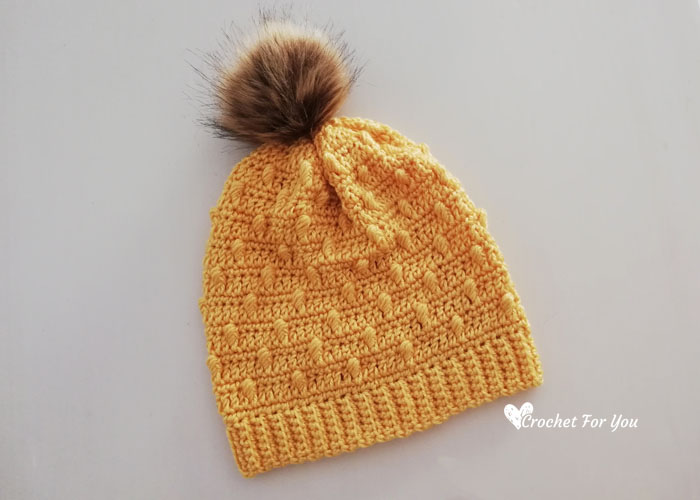
Crochet Bobble Drops Pompom Hat Pattern by Crochet For You
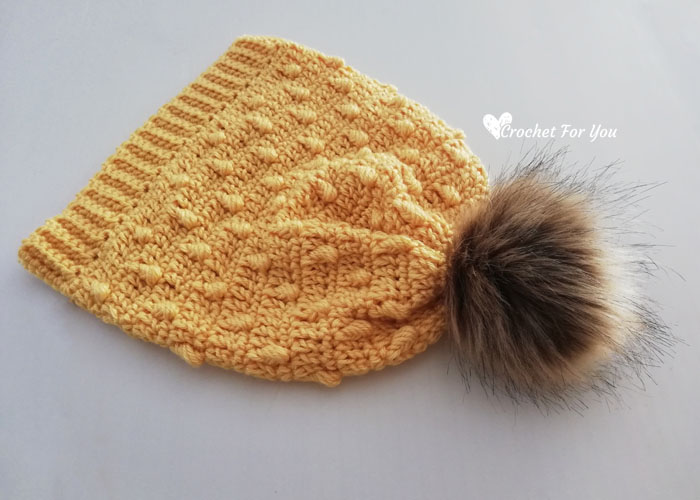
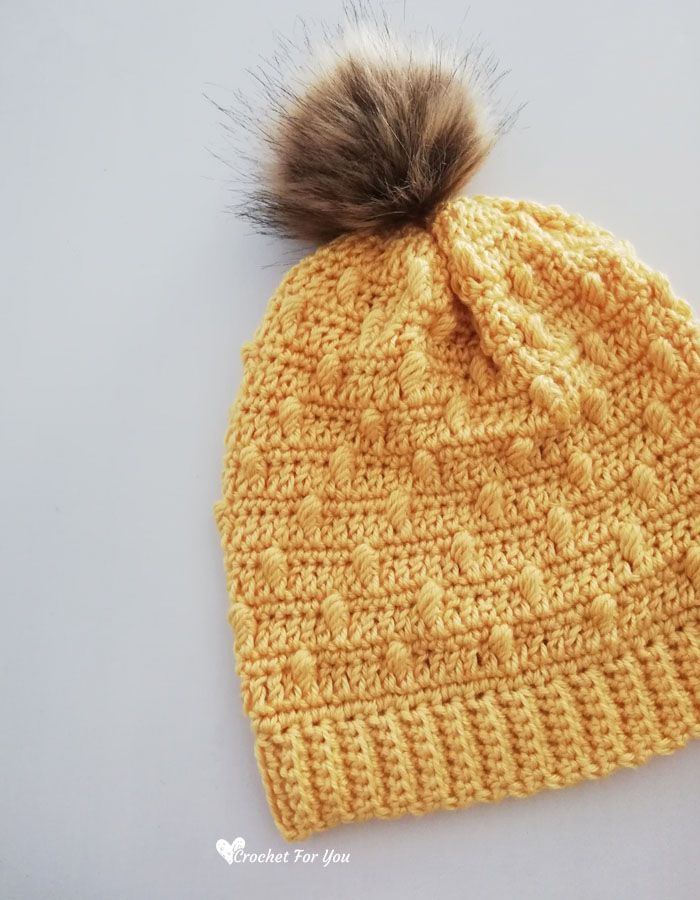
I really love how this Bobble Drops Pompom Hat turned out. Especially these scattered front post bobbles on this hat here and there. It is a lovely and simple texture pop up on the hat lastly when you finished. And this Sunshine color of Caron Simply Soft perfectly matches for the fall season. But I think you can use other beautiful colors of Caron Simply Soft and crochet more hats with your favorite colors. See other color options here, select the color you like and crochet your own hat.
Disclosure This blog contain affiliate links.
Add this pattern to Ravelry queue
Save on Pinterest
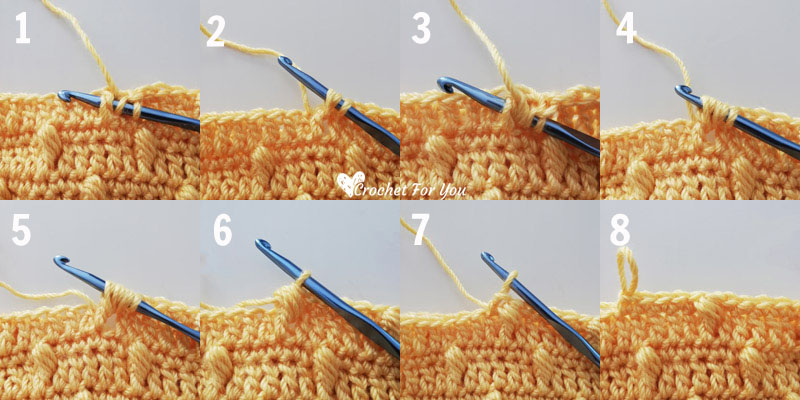
This hat features the special stitch called front post bobble. I have shown below how to crochet this stitch with step by step photos. I hope you really like to try this Bobble Drops Hat. And you guys have suggested me that this beautiful pattern is also great for more patterns, thank you so much my Facebook Page friends for your suggestions I will hope to design more pattern using this texture in the future. Until then I hope you enjoy the pattern.

Unicorn Bobble Drops Child Hat
Click on the image for the free pattern

Skill Level: Intermediate
Finished size: Teen/Adult (can be adjusted to any size)
- Hat circumference = 19″ to 20″
- Hat height = 9.5″
Materials: 4-Medium / Worsted / 100% Acrylic / Approx: 250 yards
(I used)
- Caron Simply Soft – Sunshine (Amazon affiliate) (approx: 250 yards)
- H-8 / 5mm crochet hook
- Tapestry needle for weaving ends
- Scissors
- pompom
Gauge: 13 sc x 14 rows = 4″ with H-8 / 5mm crochet hook
Abbreviations/special stitches:
- ch = chain
- sl st = slip stitch
- sc = single crochet
- dc = double crochet
- BL = back loop
- st(s) = stitch(s)
- *to = repeat * to the instructions.
- beg = beginning
- RS = Right Side
- Special stitches:
- dc2tog = [Yarn over, insert hook in next stitch, yarn over, pull back a loop, yarn over, pull back through 2 loops on the hook] 2 times, yarn over, pull back through all the loops on the hook.
- sc2tog = [insert hook in next stitch, yarn over, pull back a loop] 2 times, yarn over, pull back through all the loops on the hook.
- fpbobble = yarn over, insert the hook from front to back to front again around the post of next st, yarn over, pull back loop through the st, [yarn over, insert the hook from front to back to front again around the post of the same st, yarn over, pull back loop through the st] 2 times, yarn over, pull back through 6 loops on the hook, yarn over, pull back through 2 loops on the hook.
Notes:
- This slouch hat can be adjusted to any size.
- Crochet multiple of 6 rows for the band part to get your desired circumference.
- beg ch does not count as an st.
Crochet Bobble Drops Pompom Hat Pattern
Ribbed band
Leaving 6” long tail, with the 5mm crochet hook, crochet ch 8.
Row 1: sc in 2nd ch from the hook, sc in each st across, turn. (7 sts)
Row 2: ch 1, sc in first st, sc in BL of each of next 5 st, sc in last st, turn. (7 sts)
Row 3 to 72: repeat row 2.
Insert the yarn tail through the tapestry needle, place two short sides together and sew with the tapestry needle.
Body of the Hat
(Work in the long side of the band)
Round 1: ch 1, sc in first st and each st around, sl st to the first st. (72 sts)
Round 2: ch 2, dc in first st and each st around, sl st to the first st. (72 sts)
Round 3: ch 1, sc in first st and each of next 4 st, *fpbobble in next st, sc in each of next 5 st; repeat * to around, sl st to the first st. (60 sc/12 fpbobble)
Round 4: ch 2, dc in first st and each st around, sl st to the first st. (72 sts)
Round 5: ch 1, sc in first st and next st, *fpbobble in next st, sc in each of next 5 st; repeat *to around until last 3 sts remain, sc in each of next 3 st, sl st to the first st. (60 sc/12 fpbobble)
Round 6 to 17: repeat rounds 2 to 5 continuously.
Round 18: ch 2, dc in first st and each of next 3 st, *dc2tog, dc in each of next 4 st; repeat * to around, sl st to the first st. (60 sts)
Round 19: ch 1, fpbobble in first st, *sc in each of next 4 st, fpbobble in next st; repeat * to around, sl st to the first st. (48 sc/12 fpbobble)
Round 20: ch 2, dc in first st and next st, *dc2tog, dc in each of next 3 st; repeat *to around, sl st to the first st. (48 sts)
Round 21: ch 1, sc in first st, *sc2tog, sc in next st; repeat * to around, sl st to the first st. (32 sts)
Round 22: ch 1, (start from the first st) sc2tog around, sl st to the first st. (16 sts) Fasten off and cut the yarn leaving about 10” long yarn tail.
Finishing (Close top of the hat)
Turn the hat inside out first. Insert the yarn tail through the tapestry needle and weave through spaces between sc2tog in last round. Pull the yarn tightly and close the top of the hat with few more stitches. Lastly, attach pom-pom.
Hope to see you soon with a new FREE pattern
Until then, Happy Crocheting!!
Share your finished projects of this pattern on Crochet For You FB page.
Happy hooking with Crochet For You!!
Let’s connect and share
Facebook | Google+ | Pinterest | Twitter | Instagram
All contents include photography and patterns are copyrighted Crochet For You by Erangi Udeshika.
Do not copy, edit, distribute or republish patterns and images in this blog in part or whole as your own. Please, share a direct link to the pattern with others and anywhere else. You are welcome to make and sell finished items using my patterns.
Visit Copyright / Terms of use for more info. Thank you.


8 Comments
Ruth
That is a beautiful hat. Thank you so much or the pattern!
Kristin
Can this be left open at the top and used as a messy bun hat? I absolutely love this hat and while I’m not very good at working from patterns, I’m going to give this one a try!
Mandy Taylor
excellent pattern, well written and easy to follow. thanks so much
Amy
Are these bobble stitches going around the post of the double crochet from the previous row?
Theresa Myers
I am confused with round 5. The pattern says to ch 1, sc in first st and next st, and then the repeat pattern. If you follow that you don’t get the right amount of bobbles and you are left with 4 stitches at the end rather than 3. It seems like doing 1 sc after the ch 1 makes the math work. Can someone confirm this?
Erangi Udeshika
Hi Theresa, did you get 72 stitches total in previous round? Or you have surely crocheted a sc in same st that you crocheted bobble.
Kelly
Hello there, I am loving this pattern but new to trying new stitches. My bobble doesn’t look like the ones in your picture, just a regular bobble instead of your cone looking ones. Do you have a video of you doing them? I’ve tried to YouTube it but I feel like yours is special. Bare with me I’m a converted knitter. Lol thanks so much!
Kelly
I apologize, I found what a fp bobble should be done like. Thanks!!