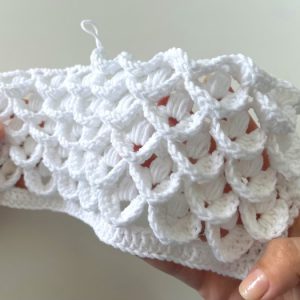

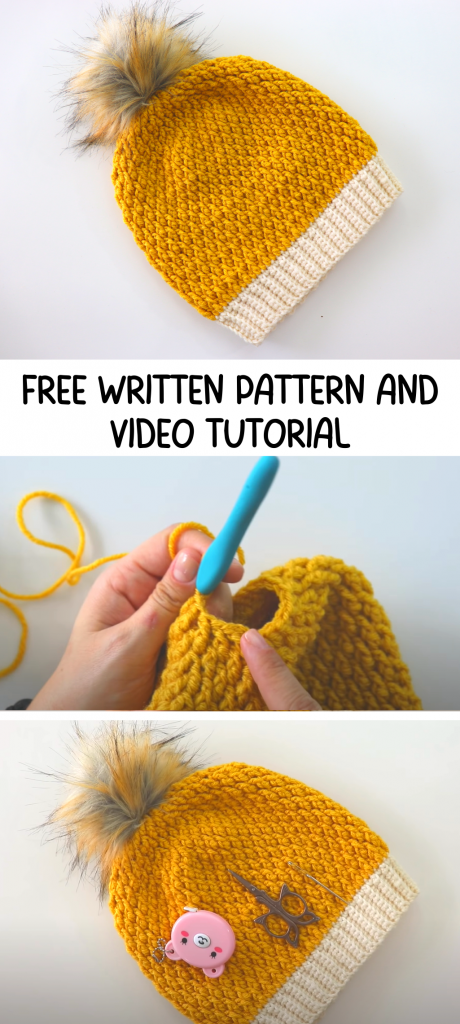
The Alpine Stitch crochet hat is really beginner friendly! I strongly suggest you that you should absolutely have one before the winter ends. It’s soo easy to follow and adjust for any sizes. I really enjoyed when creating this pattern and hope you enjoy it too. 🙂
- You can purchase the ad-free PDF versions of my patterns on Etsy.
- You can print the PDF’s and use them anywhere you want. This way you can also support my works too.
MATERIALS
Lion Brand Vanna’s Choice (cat4)
4.5 mm Crochet Hook
Faux Fur or Hand Made Pom Pom
Measure Tape
Yarn Needle
Scissors

STITCHES & ABBREVIATIONS
ch: Chain
st(s): Stitch(es)
sl st: Slip Stitch
blo: Back Loop Only
sc: Single Crochet
dc: Double Crochet
fpdc: Front Post Double Crochet
fpdc2tog: Front Post Double Crochet Two Together (decrease)
NOTES
*Size: Adult. It’s easy to adjust for any size. By measuring the brim around the head, you can arrange the size of the hat. Just make sure that it has an even number of rows.
*US crochet terms are used in this pattern.
*Make your turns always in the same direction.
*Ch2 does NOT count as a DC.
* []* means repeat the following instructions as many time as directed.
*Total stitches are indicated in between < >.
Brim
with color white,
ch 9.
Row 1: sc in 2nd ch from the hook, sc in each ch until end, turn. <8>
Row 2: ch1, blo sc in each st until end, turn. <8>
Rows 3-72: As Row2.
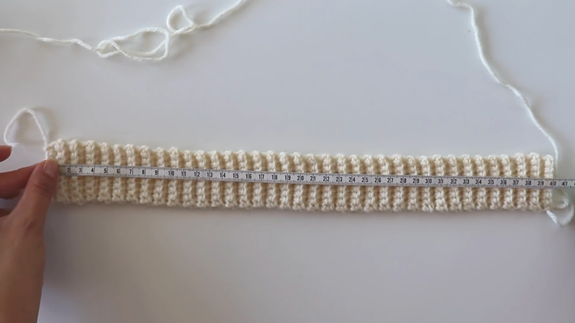
**It measures 40 cm. You can make it shorter or longer.
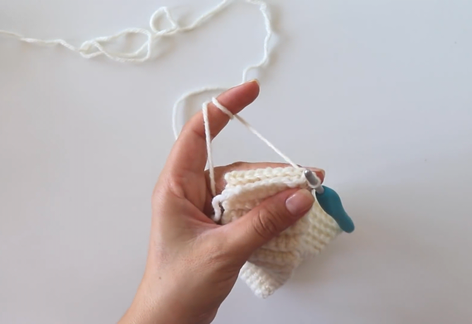
Joining of the Brim
When you finish, fold it in half so that first and last row are on top of on another. Drop the working loop and insert hook to the last ch of foundation row and pull through the working loop in it, join them together and ch 1. Working through the both loops of foundation row and only back loop of the last row, seam the two rows together by slip stitching across. Turn the right side of the work.
Rnd 1: ch 1. work 1 sc in each sc row along the edge of the brim, join with a sl st into 1st st by completing with color yellow, and cut the color white. <72>
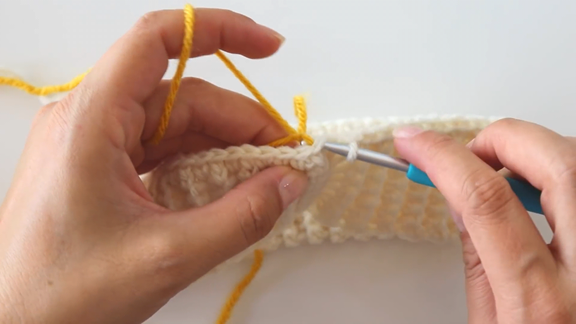
Rnd 2: ch2, dc in same st, dc in each st around, join with a sl st into 1st st. <72>
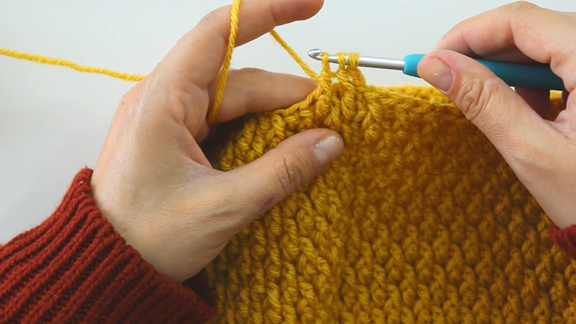
Rnd 3: ch2, fpdc(loosely) around 1st st, dc in next st, *fpdc around next st, dc in next st**, repeat from * to ** all the way around, sl st into 1st st. <72>
Rnd 4: ch2, dc in 1st st, fpdc around next st, *dc in next st, fpdc around next st**, repeat from * to ** around, sl st into 1st st. <72>

Rnds 5-16: Repeat Rnds3&4 until it measures 20cm(8inches) with the brim.
Rnd 17: ch2, *fpdc2tog around next 2 dc st, [dc in next st, fpdc around next st]*2 times, dc in next st**, repeat from * to ** around, sl st into 1st st.
Rnd 18: ch2, dc in 1st st, fpdc around next st, *dc in next st, fpdc around next st**, repeat from * to ** around, sl st into 1st st.
Rnd 19: ch2, *fpdc2tog around next 2 dc st, [dc in next st, fpdc around next st]*2 times, dc in next st**, repeat from * to ** around, sl st into 1st st. (at the end of the round, there will be 3 dc and fpdc sts left in total. it’s not that important.)
Rnd 20: ch2, dc in 1st st, fpdc around next st, * dc in next st, fpdc around next st**, repeat from * to ** around, sl st into 1st st.
Rnd 21: ch2, *fpdc2tog around next 2 dc st, dc in next st, fpdc around next st, dc in next st**, repeat from * to ** around, sl st into 1st st. (at the end of the round, there will be 1 dc st left.)
Rnd 22: ch2, dc in 1st st, fpdc around next st, * dc in next st, fpdc around next st**, repeat from * to ** around, sl st into 1st st.
Rnd 23: ch2, fpdc around 1st st, sk 1, *fpdc around next st, sk 1**, repeat from * to ** around, sl st into 1st st, ch1, cut of the yarn leaving a bit long tail to close the gap.
With a yarn needle, thread the yarn around the stitches of last round(in and out). Pull tight to cinch the top of the hat closed. Secure the yarn. You can make and attach a pom pom if you like.
Pattern created by Sirin’s Crochet
Written by Ece Bektas (@ecelibuculu)
Copyright: This pattern is copyrighted by Sirin’s Crochet and may not be copied, sold, distributed and claimed as yours. You are more than welcome to share and sell your makes using this pattern. Please give credit to Sirin’s Crochet.
Please feel free to visit my Youtube channel at Sirin’s Crochet for more free video tutorials and don’t forget to subscribe to be notified for more free patterns.
- Video Tutorial :