
Hello Sunday!


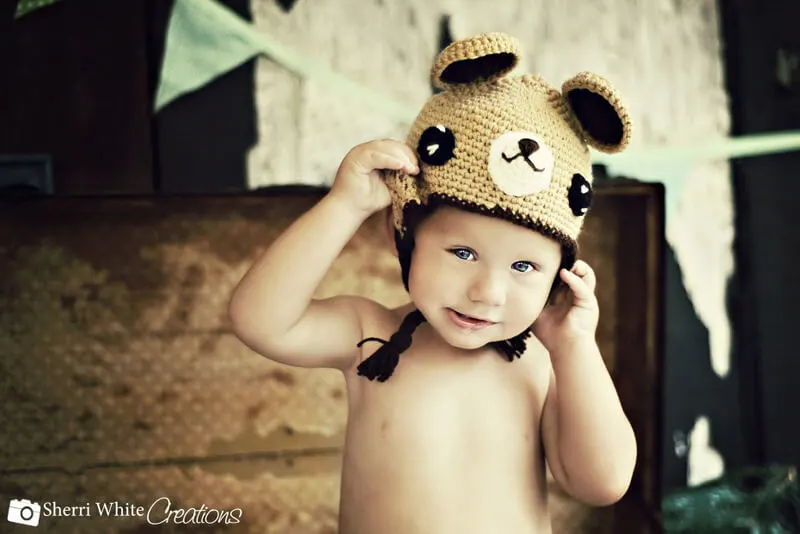
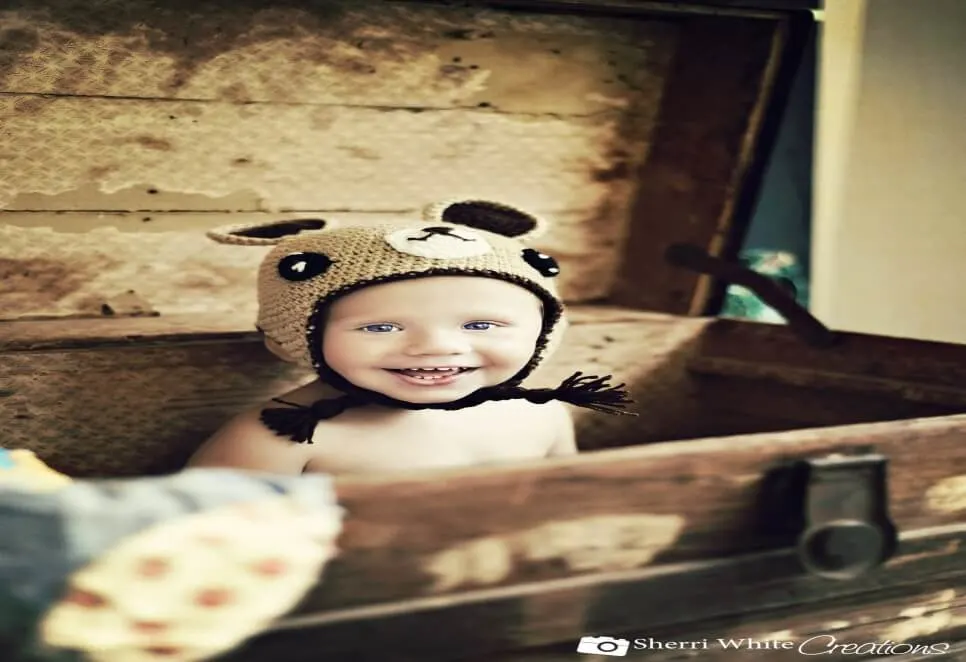
Special Thanks to Sherri White photography for cute photo.
I hope your weekend has been a great one.
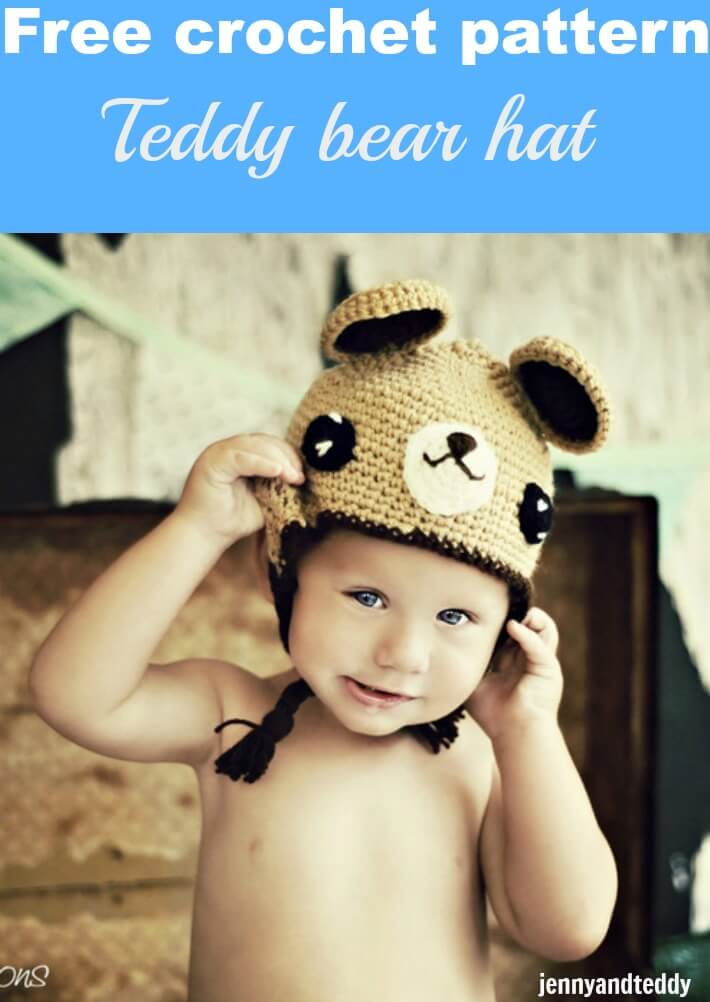
Are you a teddy bear fan? You will love to make this cute Crochet Teddy bear Hat and it’s a FREE Pattern. This hat very special to me because it was one of the first hat that I designed and created hat pattern from Amigurumi.

Let’s crochet the day away with this cute teddy bear hat.
Sizes:
Infant (fits up to 15 inch)
Toddler/child (fits up to 19 inch)
Teen/adult (fits up to 24 inch)
Materials:
You will need
- DK weight (8-ply) yarn (I normally used fingering/4-ply yarn held double) in the following colours:
- MC (shown here in light brown): 100 grams/350 meters of 4-ply yarn or 100 grams/
- CC (shown here in dark brown): small amount
- White: small amount
- Black: small amount
Crochet hook size 3.0mm
Sewing yarn needle
Removable stitch markers or contrasting coloured yarn
Gauge: 4 single crochet stitches x 4 rows = 1 square inch
Skill and abbreviations:
You will need to know how to make:
Chain (ch)
Slip stitch (sl st)
Single crochet (sc)
Magic ring or adjustable ring
My beginner tutorial check it out here
How to add braid to an earflap
Note:
- In this pattern, you will work in the round continuously. You may use a removable stitch marker or a short piece of yarn of contrasting colour to mark the beginning of each round. At the end of each round, you will not join, but begin the next round in the next stitch.
- The stitch counts at the end of each round are given.
Hat body (All sizes)
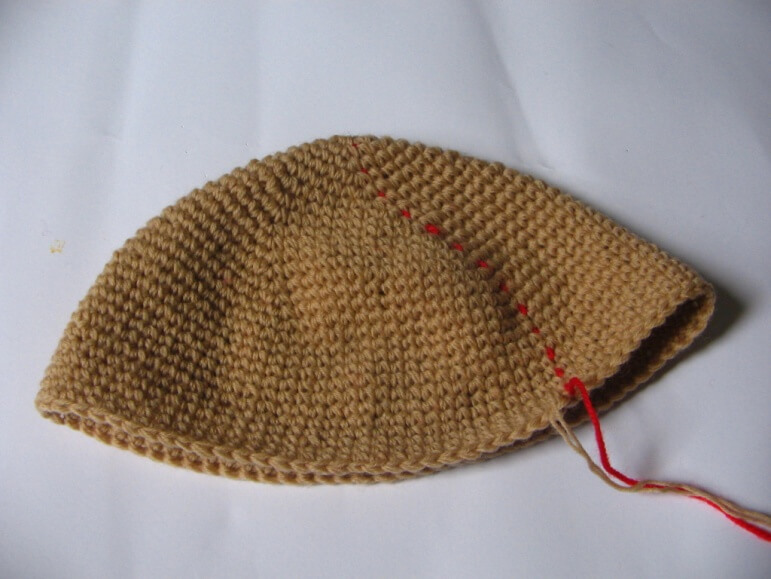

You will work from top to bottom
Round1. Make magic ring or adjustable ring and 10sc in ring (10 sts)
Round2. *Sc in next st, 2sc in next st*, repeat from * around (15 sts)
Round3. *Sc in next 2 st, 2sc in next st*, repeat from * around (20 sts)
Round4. *Sc in next 3 st, 2sc in next st*, repeat from * around (25 sts)
Round5. *Sc in next 4 st, 2sc in next st*, repeat from * around (30 sts)
Round6. *Sc in next 5 st, 2sc in next st*, repeat from * around (35 sts)
Round7. *Sc in next 6 st, 2sc in next st*, repeat from * around (40 sts)
Round8. *Sc in next 7 st, 2sc in next st*, repeat from * around (45 sts)
Round9. *Sc in next 8 st, 2sc in next st*, repeat from * around (50 sts)
Round10. *Sc in next 9 st,2sc in next st*, repeat from * around (55 sts)
Round11. *Sc in next 10 st,2sc in next st*, repeat from * around (60 sts)
Infant size only:
Round12 – 23 . Sc in each st around (60 sts). Finish off at the end of Round 23.
Toddler/child and Teen/adult sizes:
Round12. *Sc in next 11 st, 2sc in next st*, repeat from * around (65 sts)
Round13. *Sc in next 12 st, 2sc in next st*, repeat from * around (70 sts)
Toddler/child size only:
Round14 – 27. Sc in each st around (70 sts). Finish off at the end of Round 27.
Teen/adult size only:
Round14. *Sc in next 13 st, 2sc in next st*, repeat from * around (75 sts)
Round15. *Sc in next 14 st, 2sc in next st*, repeat from * around (80 sts)
Round16. *Sc in next 15 st, 2sc in next st*, repeat from * around (85 sts)
Round17 – 33 . Sc in each st around (85 sts). Finish off at the end of Round 33.
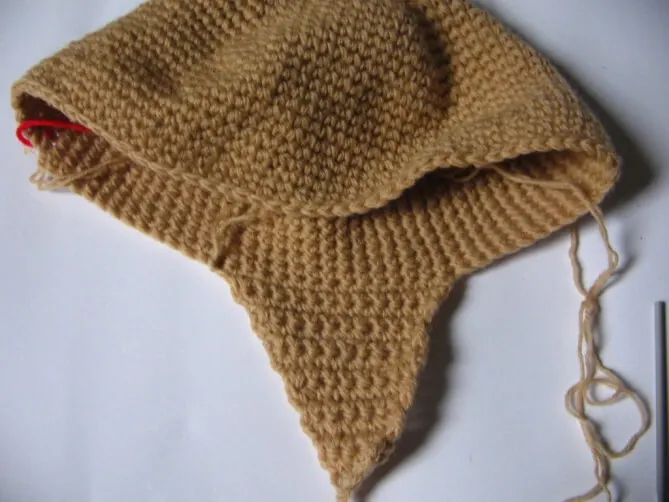
Shape earflap (all sizes):
Use two stitch markers to mark the stitch in the middle of each side of the hat. Join MC at the first marker with sl st.

Row1. Ch 1 (counts as first sc here and throughout), sc 13, ch1, turn (14 sts)
Row2. Sc in next 12 sts, ch1, turn (13 sts)
Row3. Sc in next 11 sts, ch1, turn (12 sts)
Row4. Sc in next 10 sts, ch1 turn (11 sts)
Row5. Sc in next 9 sts, ch1 turn (10 sts)
Row6. Sc in next 8 sts, ch1, turn (9 sts)
Row7. Sc in next 7 sts, ch1, turn (8 sts)
Row8. Sc in next 6 sts, ch1, turn (7 sts)
Row9. Sc in next 5 sts, ch1, turn (6 sts)
Row10. Sc in next 4 sts, ch1, turn (5 sts)
Row11. Sc in next 3 sts, fasten off.
Join MC at second marker with sl st and repeat as above for second earflap.
Contrast edging:


Join CC at any st along the edging with sl st and work one round of sc around the edge, going around the earflaps. Fasten off.
Ties:

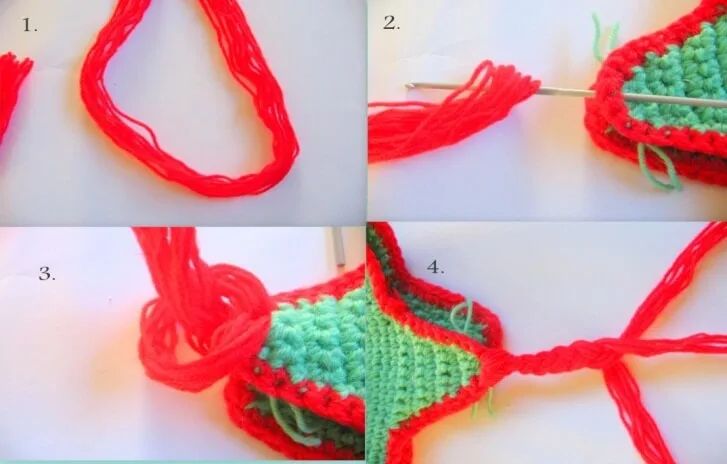
With CC, loop yarn into approximately 18-inch long loops as shown in the picture.
Cut one side of the loop, so the lengths of yarn are still joined together on the other side.
Using a crochet hook, pull the folded side of the yarn through the center stitch at the bottom of the earflap, making a loop. Pull the free ends of the yarn through this loop and pull tight.
Divide yarn in to three parts, plaint or braid to the end, and tie a knot to finish up. One tie is made.
Repeat on the other earflap to make second tie.
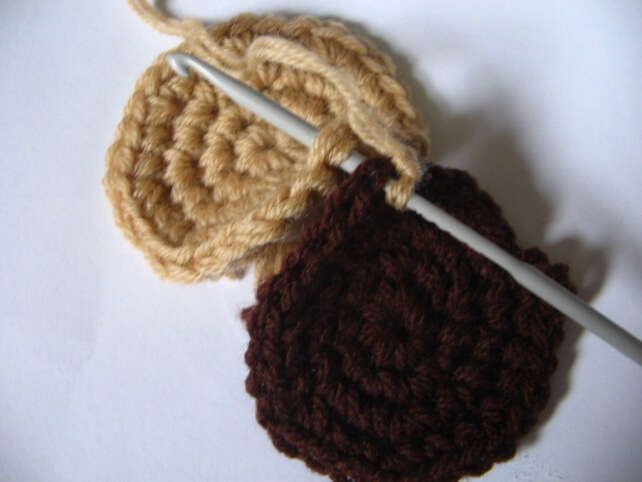
Ears:
Make 2 pieces with CC (shown in 8-ply yarn) and 2 pieces in MC (shown in 4-ply yarn held doubled)
Round1. Make magic ring, work 6sc in ring (6 sts)
Round2. 2sc in each st around (12 sts)
Round3. *Sc in next st, 2sc in next st*, repeat from * around (18 sts)
Round4. *Sc in next 2 st, 2sc in next st*, repeat from * around (24 sts)
Fasten off.
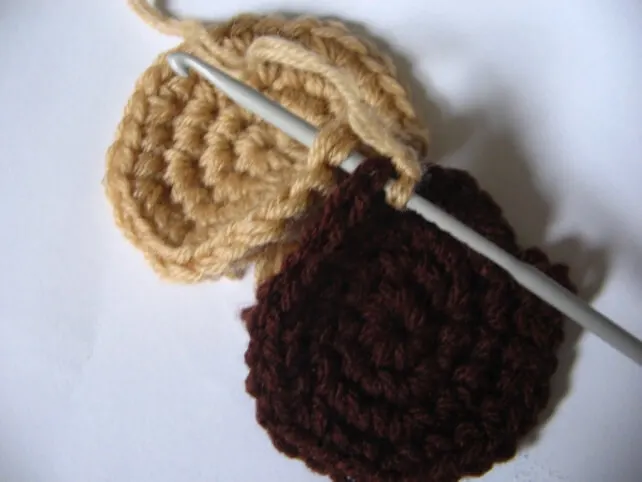
Now we will joining one piece in MC and one piece in CC.

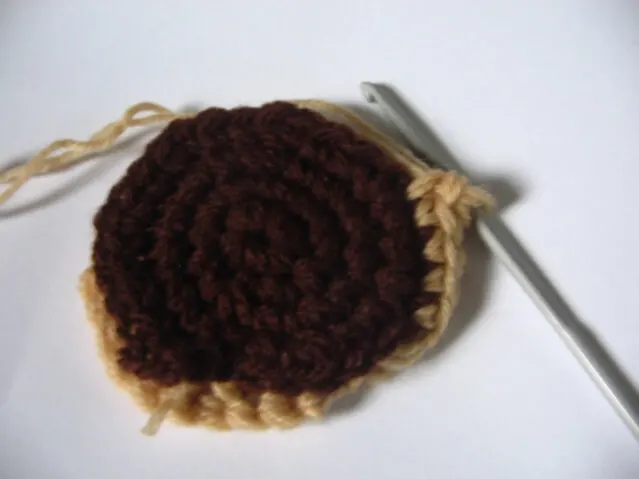
Round1. With MC yarn and holding together the two pieces right side out, sc through both pieces around the edge
Round2. sc in each st around and fasten off, leaving a long tail for sewing.
Eyes:
Make 2 pieces in Black (shown here in 8-ply yarn)

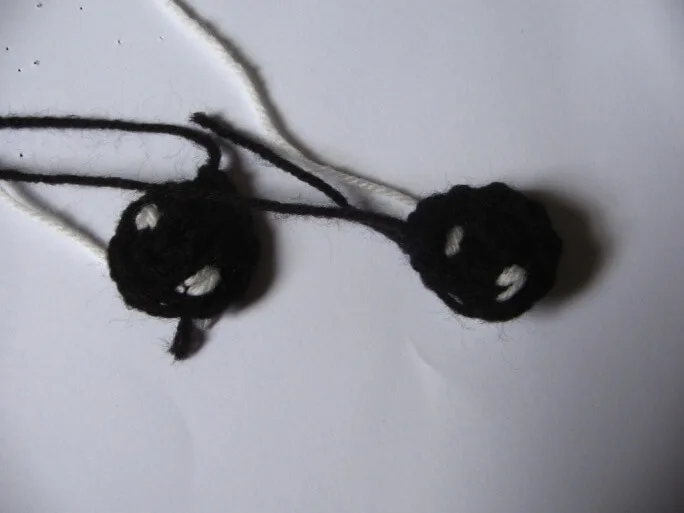
Round1. Make magic ring and 5sc in ring (5 sts)
Round2. 2sc in each st around (10 sts)
Round3. Sc in each st around (10 sts)
Fasten off, leaving a long tail for sewing.
Inner whites of the eyes
Use White yarn and sewing needle, sew a couple of stitches anywhere inside the eyes, and fasten off.
Nose:
Make 1 piece (shown here in 8-ply yarn)
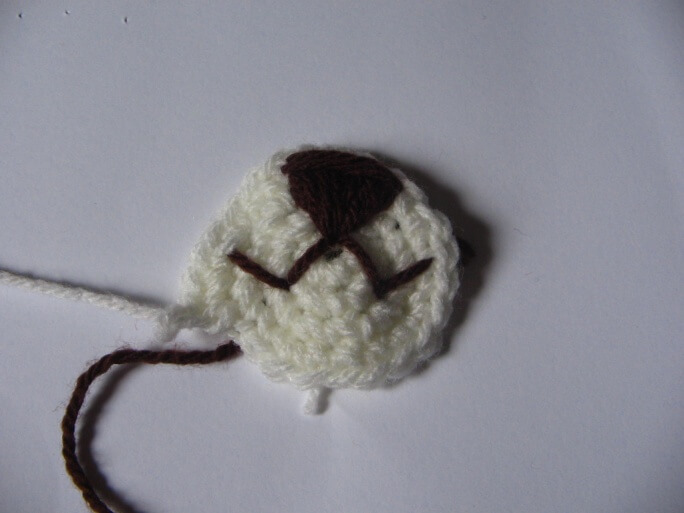
Round1. Using White yarn, Make magic ring and 6sc in ring (6 sts)
Round2. 2sc in each st around (12 sts)
Round3. *Sc in next st, 2sc in next st*, repeat from * around (18 sts)
Fasten off, leaving long tail for sewing.
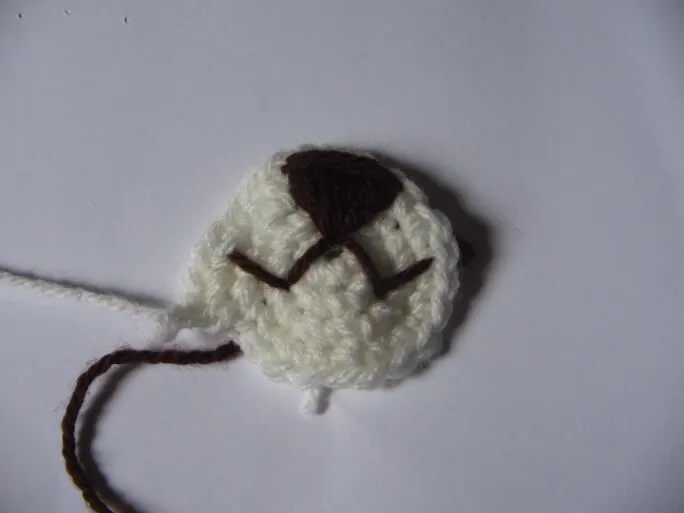
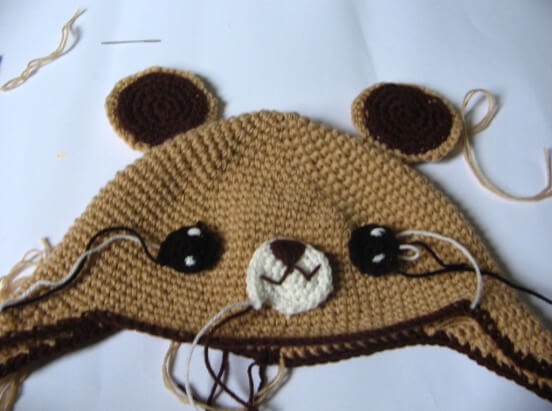
Nose details
Using CC or brown embroidery floss, embroider the nose details as shown in the pictures.
Note: The nose shown in the picture is rounded, while the nose in this pattern is flat. Please use these pictures only as a guide to embroider nose details on the white nose you made earlier.
Finishing
Sew the eyes of the teddy bear to the hat as shown, using yarn tails. Then attach ears to the hat body, with the CC sides facing front. Weave in yarn ends.

Thank you.
Tari
Saturday 2nd of July 2016
really great share. it shows how much time it takes to make such beautiful products
jane
Saturday 2nd of July 2016
Thank you Tari.